Installation • wiring – Winegard MV-0099 User Manual
Page 10
10
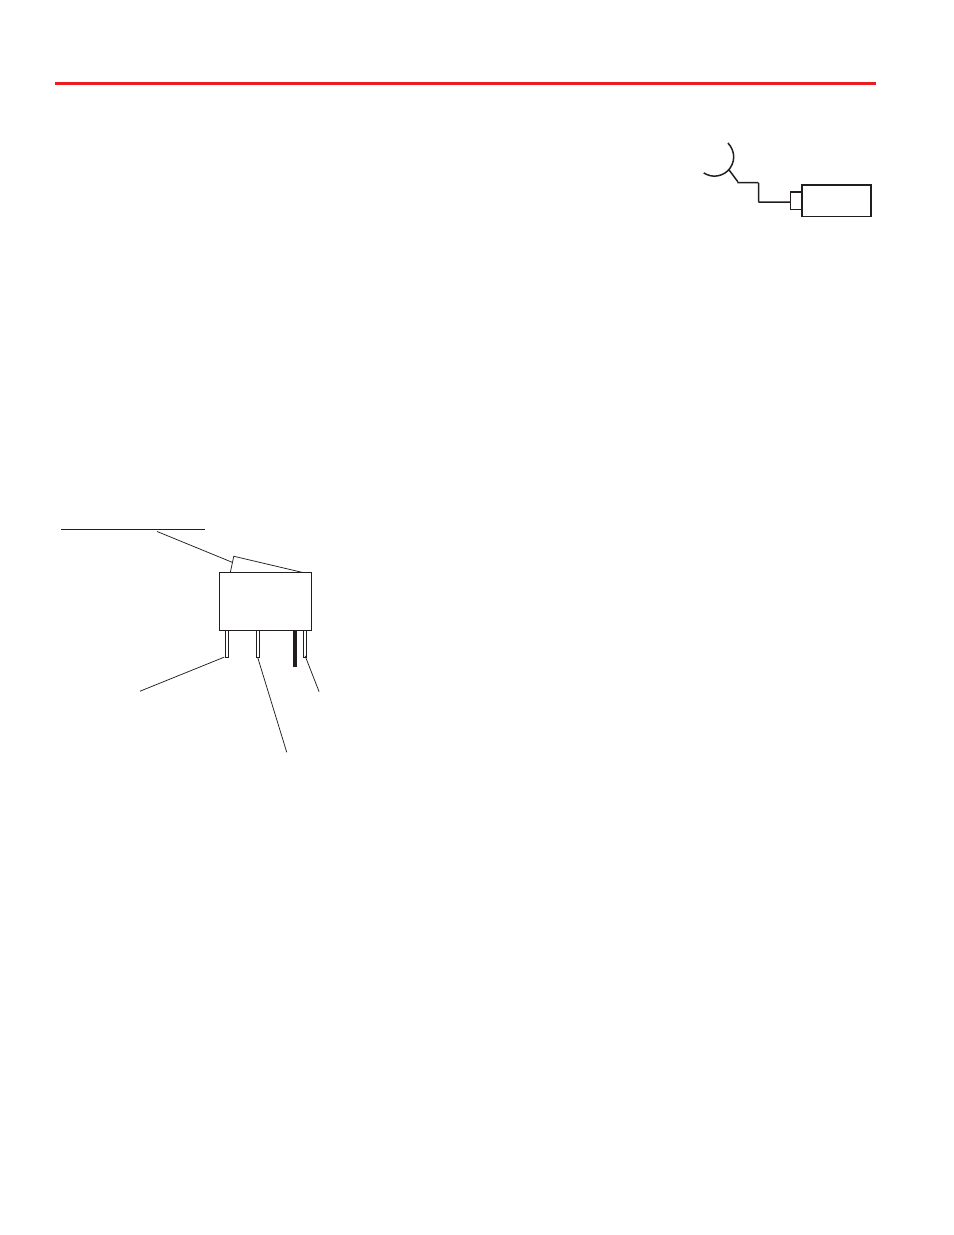
1. Connnect the coax cable
from the roof to the
ìSatellite Inî connection
on the receiver. (A dual receiver
upgrade kit is available. Contact
Winegard Company for more information.)
CONNECTING THE RECEIVER —
Installation • Wiring
Satellite
Receiver
Initializing —
1. Be sure vehicle is in a location free of all obstruc-
tions and with a clear view of the satellite.
2. DO NOT MOVE VEHICLE during the first
initialization. Power up unit, turn on receiver. FOR
THE FIRST TIME ONLY, the unit may take up to
10 minutes to initially find the satellite signal. The
GPS is also initializing at this time. After the GPS
initializes, the unit will begin searching for the
correct satellite.
3. If the GPS does not initialize at this time, turn
off the unit. You may need to move the GPS
antenna to a different location on your roof. After
you move the GPS, DO NOT SECURE TO ROOF.
4. TEST YOUR SYSTEM BEFORE SECURING
THE GPS ANTENNA. Make sure the
TV/receiver has found the correct satellite.
5. After the correct satellite has been found, secure
GPS antenna by removing adhesive backing and
securing to roof.
INSTALLING THE POWER SWITCH, cont’d.
SAT IN
INSTALLING THE POWER SWITCH DIAGRAM
2. Connect the ground wire from the vehicle and the
BLACK ground wire from the MV-0099 together,
using large yellow spade connector.
3. Connect the YELLOW spade connector to
the silver spade on the switch.
4. Connect the RED wire from the MV unit to the
small RED spade connector.
5. Connect small RED spade connector to center
spade on switch.
6. Connect the +12 V power wire from the vehicle to
a small RED spade connector.
7. Connect small RED spade connect to isolated
spade on switch.
STEPS 2 & 3
TWO GROUND WIRES
1 FROM VEHICLE
1 BLACK WIRE FROM
MV-0099
STEPS 4 & 5
MV-0099 RED
POWER WIRE
STEPS 6 &7
+12 V FROM VEHICLE
ON/OFF ROCKER SWITCH
WITH LIGHT
(Shown in OFF position.)