Installing amigo, Installation procedure – Turtle Beach Audio Advantage Amigo TBS-1121-01 User Manual
Page 11
Audio Advantage Amigo
Page 7
Installing Amigo
Â
Do not connect Amigo to a USB port until after you’ve run the Setup
program on the Installation CD! The install will prompt you when to connect
Amigo to the USB port.
Installation Procedure
1. Close any running programs (including anti-virus programs) so they will not interfere
with the installation process.
2. Place the Amigo Installation CD into your CD ROM drive. If the installation menu
does not appear within 30 seconds, click on the My Computer icon, browse to the
root directory of the installation CD and run SETUP.EXE.
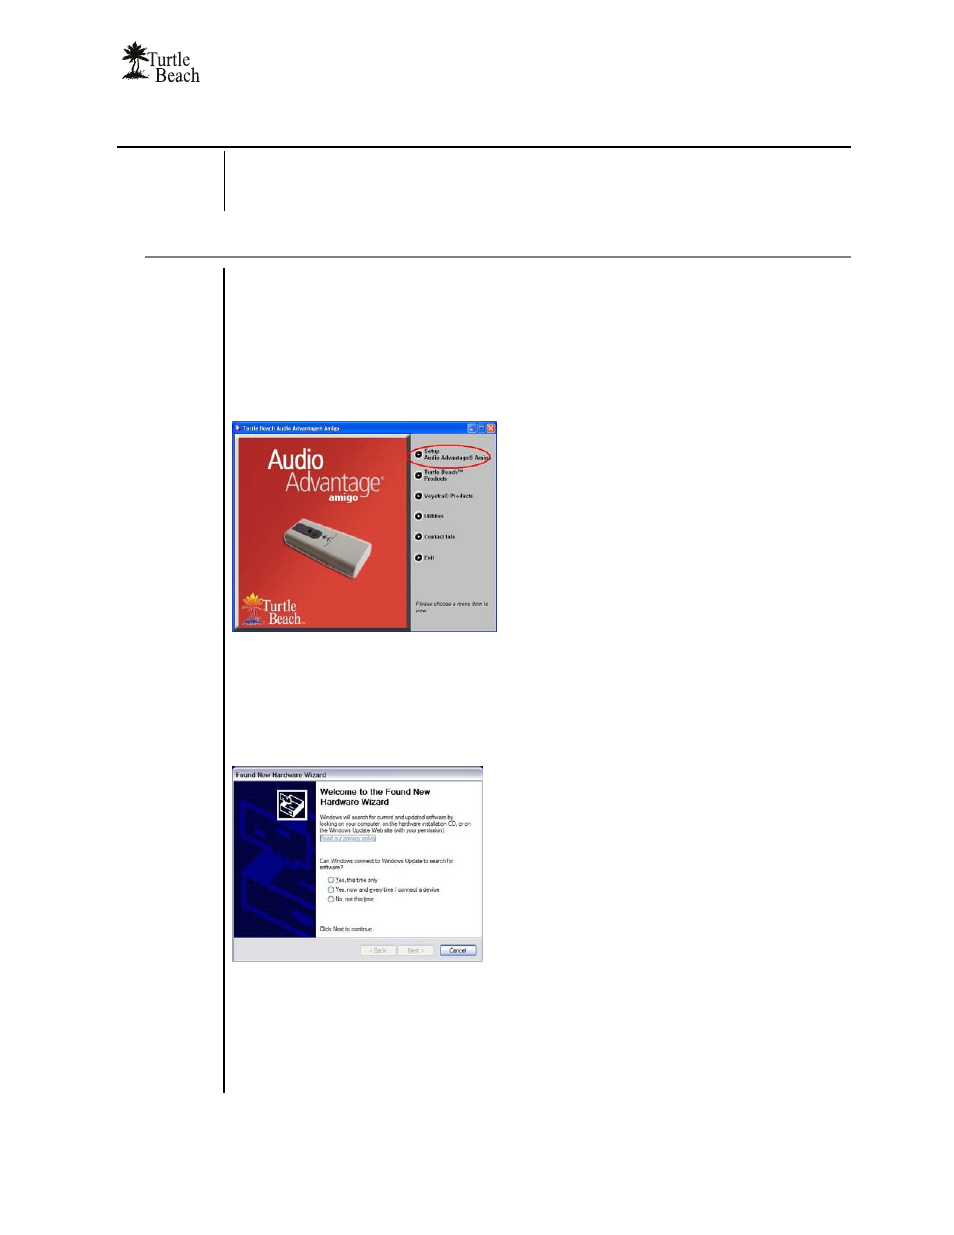
3. When the installation menu appears, click on Setup Audio Advantage Amigo.
The Amigo Installation Menu lets you
install the Amigo Applications and Drivers,
AudioSurgeon LE, the Voyetra music
programs, software utilities and provides
additional information about Turtle Beach
and Voyetra products.
4. When the second menu appears, select Install Drivers and Applications.
5. When prompted by the software installation, connect Amigo to a free USB port.
(Power for Amigo is provided by the USB port, so you don’t need an external power
adapter.) After Amigo’s green light turns on, click “Yes” to continue.
After inserting the Amigo into the USB
Port, if the Windows “Add New Hardware
Wizard” screen is displayed, click on the
Cancel button to end this process.
6. When the welcome screen appears, click Next to continue.
7. When
the
End User License Agreement screen appears, if you choose to continue
with the installation select “I accept…” and click Next to continue.
8. When the Setup Type screen appears, select “Complete”, then click Next to
continue. When the next screen appears, click Install to continue.