Vivotek PZ7132 User Manual
Page 54
VIVOTEK
54 - User's Manual
■ Keep current value
Follow the steps below to manually set the white balance to compensate for the ambient lighting
conditions�
1� Set the White balance to
Auto and click Save�
2� Place a sheet of white paper in front of the lens, then allow the Network Camera to adjust the color
temperature automatically�
3. Select Keep Current Value to confirm the setting while the white balance is being measured.
4� Click
Save to enable the new setting�
Image Adjustment
■ Brightness: Adjust the image brightness level, which ranges from -5 to +5. The default value is set to 0.
■ Saturation: Adjust the image saturation level, which ranges from -5 to +5. The default value is set to 0.
■ Contrast: Adjust the image contrast level, which ranges from -5 to +5. The default value is set to 0.
■ Sharpness: Adjust the image sharpness level, which ranges from -3 to +3. The default value is set to 0.
You can click
Preview to fine-tune the image, or click Restore to recall the original settings without
incorporating the changes� When completed with the settings on this page, click
Save to enable the
setting and click
Close to exit the page�
Sensor Settings
Advanced Mode
Click Sensor Settings to open the Sensor Settings page� On this page, you can set the maximum
exposure time, exposure level, AGC, and WDR (Wide Dynamic Range) settings�
You can configure two sets of sensor settings: one for normal situations, the other for special situations,
such as day/night/schedule mode�
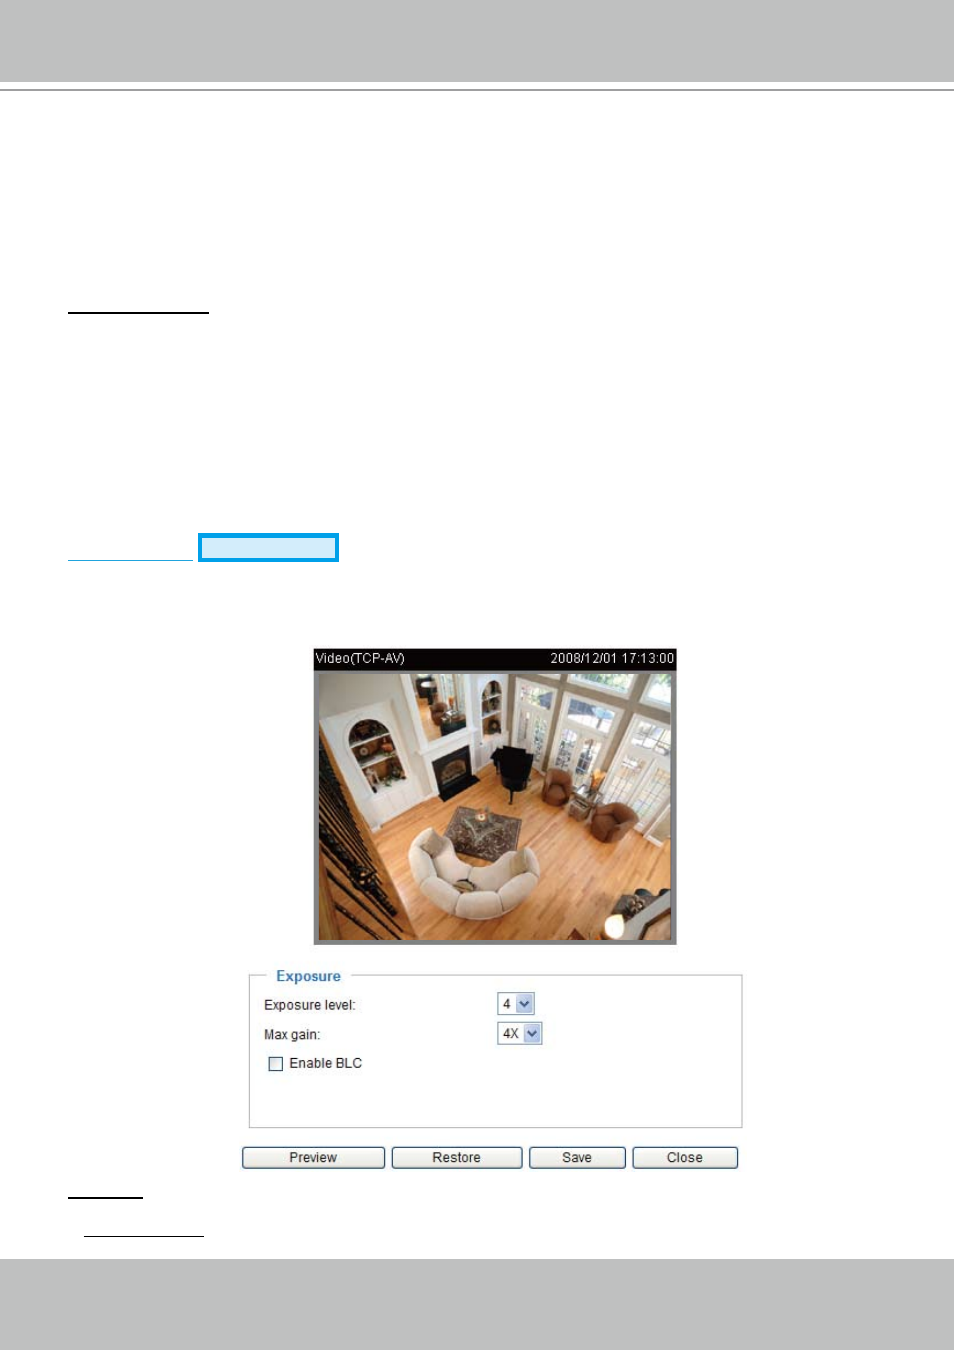
Exposure
■ Exposure level: You can manually set up the Exposure level, which ranges from 1 to 8 (dark to bright)�
The default value is 4�