Transferring the camera’s images to the computer, Connect the computer and camera with the usb cable, Launch image expert – Toshiba T10 User Manual
Page 45: Select connect via to “usb” and click “ok, Click [ ] on the tool bar
44
Basic
Photography
Getting Ready
Playing/
Erasing Images
Connecting to
the PC
Other
Applications
Additional
Information
Important
Transferring the Camera’s Images to the Computer
Launch the image viewing software “Image Expert” and transfer the camera’s images to
the computer.
• The data may be damaged if the camera’s power is terminated while image
data is being transferred. We recommend the use of the AC adapter (sold
seperately) when connecting the camera to the PC.
• The auto power Off does not operate when the camera is connected to the
PC.
• When removing the USB cable or the SD card from the camera after data is
transferred, be sure to remove in accordance with the OS you are using.
If Image Expert and the USB driver are not yet installed, first install them.
☞
Installing image viewing software
➲ page 42
☞
Installing the USB driver
➲ page 43
1
Connect the computer and camera with the USB cable.
When the USB cable is connected with both the computer and camera started up,
the computer automatically detects the camera. Pay attention to the direction of
the terminal when connecting the USB cable.
2
Launch Image Expert.
Click [ Start ] - [ Programs ] - [ Image
Expert ] on the Windows task bar.
3
Click “Camera” in the menu
bar then click
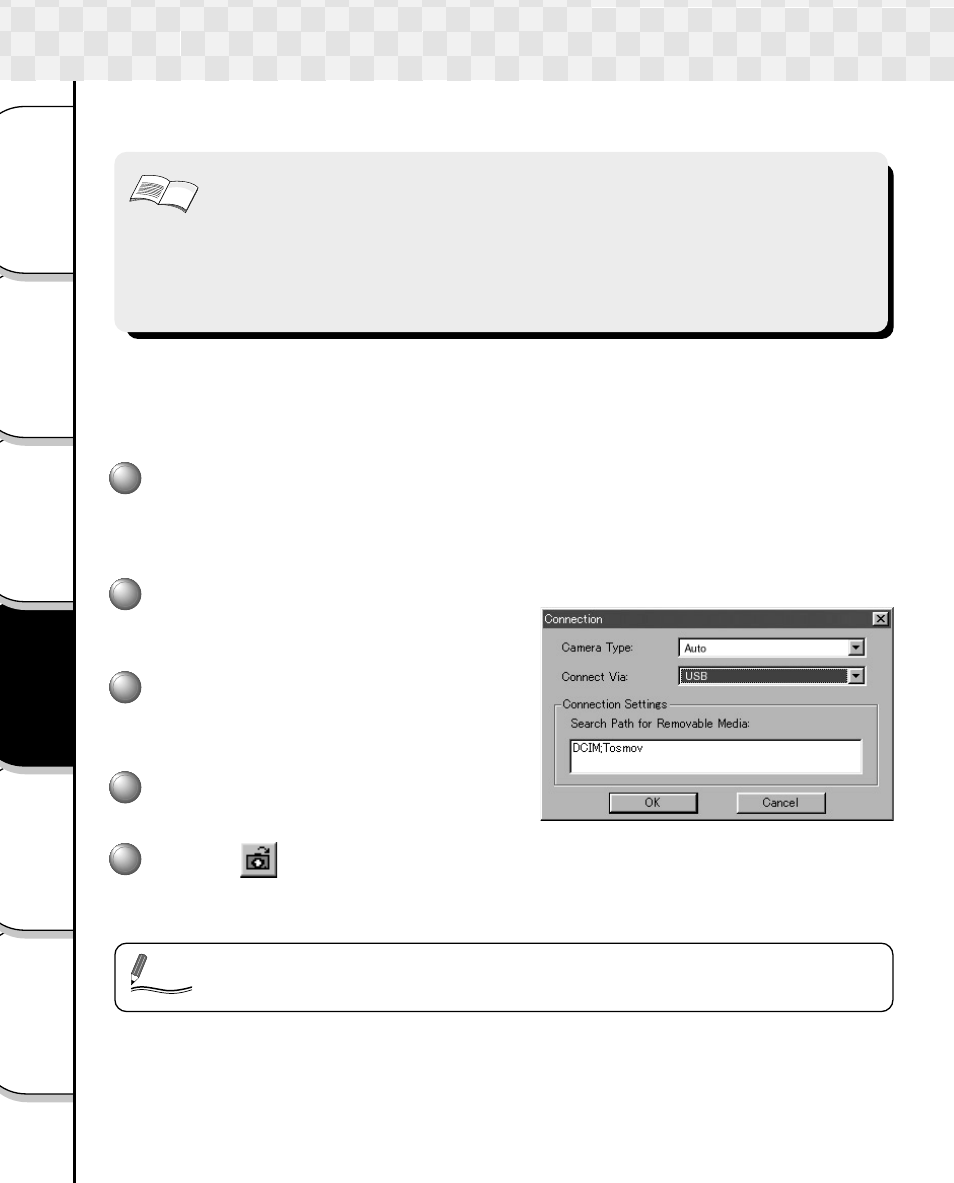
“Connection”.
4
Select Connect Via to
“USB” and click “OK”.
5
Click [
] on the tool bar.
In the “Select Album” screen, either select an album, or enter a new album name
and click Open, all images are downloaded to the selected album.
• Refer to the help file for details on Image Expert.
Memo