Oregon Scientific JUMBO RF WALL CLOCK WITH NIGHT SENSOR NR868 User Manual
Page 9
8
EN
NOTE When the motion sensor on the nightlight is
turned on, it needs approximately 2 minutes to warm
up before giving a response.
ACTIVATING THE CLOCK BACKLIGHT USING THE
CONTROL BUTTON
You can control the backlight of the clock through the
nightlight. You can set the backlight to the following
options:
1. Control On - The clock backlight is controlled by
the activation of the nightlight.
z
Slide the Clock Control switch to On.
2. Control Off - The nightlight does not control the
clock backlight.
z
Slide the Clock Control switch to Off.
NOTE See the Clock Backlight section, which shows
you how to set the nightlight sensors to be activated
at times specified by you.
THE CODE SWITCH
The Code switch on the nightlight must be set to the
same setting as the Code setting on the clock. The
Code allows the nightlight to recognize the clock’s
settings.
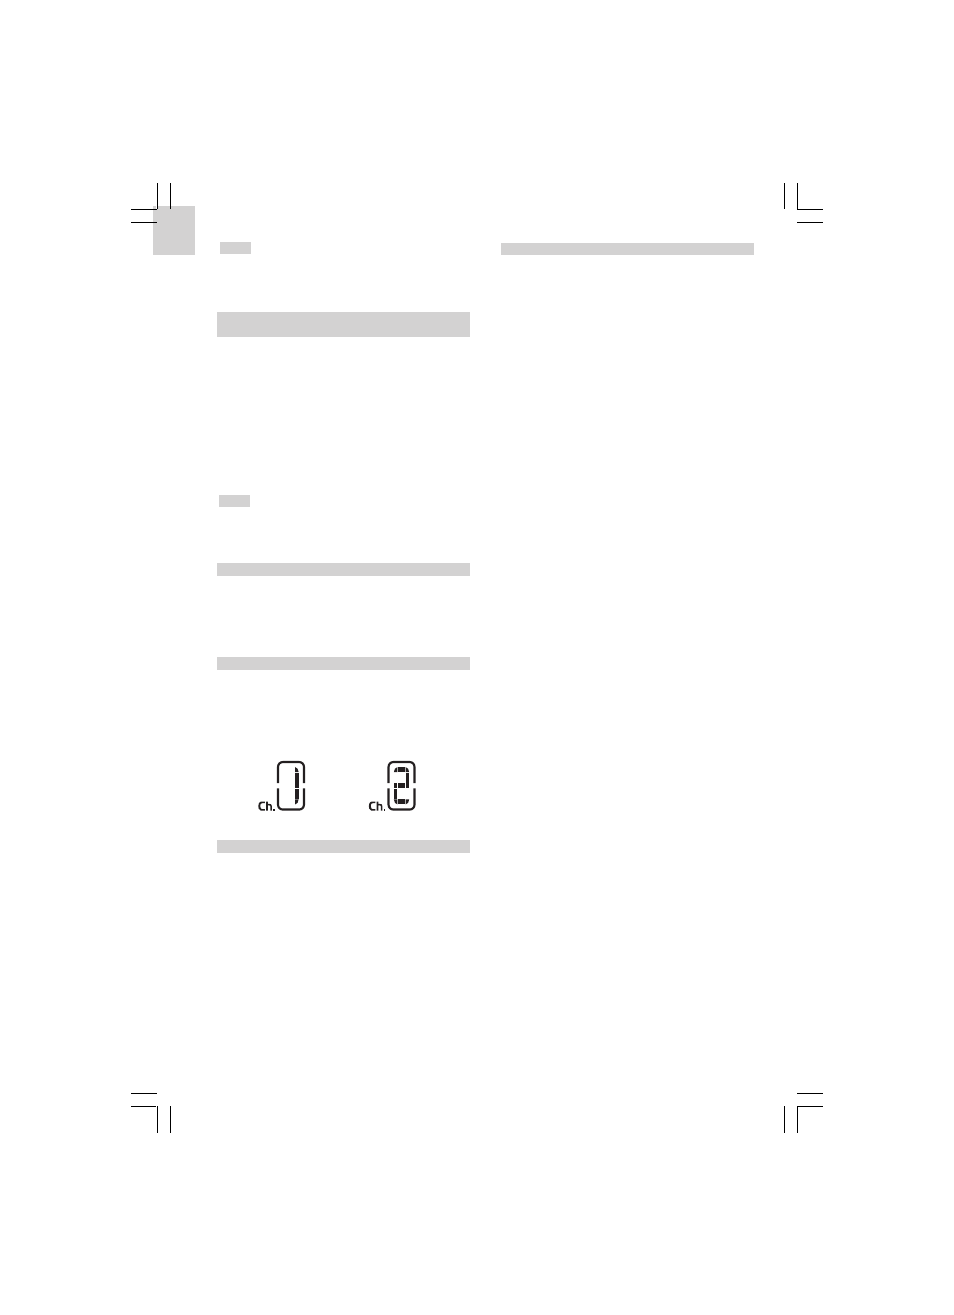
THE CHANNEL SWITCH
Up to 2 nightlights can be linked to 1 wall clock. (An
additional nightlight can be purchased separately.) By
setting 1 nightlight to Channel 1 and the other to
Channel 2, the clock display can tell you which sensor
has been activated by flashing “ch. 1” or “ch.2” on the
display.
RESET BUTTON
Insert a thin blunt instrument into the hole below Reset
to return to the default settings.
The default settings are:
Clock Time:
12.00 PM
Date:
1st January 2004
Time Offset:
+0
Alarm Time:
6.00 AM
Daily Alarm:
Disabled
Motion Alarm Start Time:
12.00 AM
Motion Alarm Stop Time:
6.00 AM
Motion Alarm:
Disabled
UK Display Setting:
12hr, DD / MM,°C
EU Display Setting:
24hr, DD / MM,°C
+ LIGHT - ROTARY KNOB
The light sensor’s level of sensitivity can be adjusted.
Turn the Light rotary knob towards + to make it more
sensitive to light or - to make it less sensitive to light.