Miscellaneous setup, Advanced setup —continued, Volume setup – Onkyo TX-SR875 User Manual
Page 96
96
Advanced Setup
—Continued
This section explains items on the Miscellaneous menu.
Note:
• This procedure can also be performed on the AV
receiver by using its [SETUP], [ENTER], and arrow
buttons.
Volume Setup
■
Volume Display
With this setting, you can choose how the volume level
is displayed.
Absolute:
Display range is Min, 0.5 through 99.5,
Max.
Relative:
Display range is –
∞
dB, –81.5 dB,
–81.0 dB through +18.0 dB.
The absolute value 82 is equivalent to the relative value
0 dB.
■
Muting Level
This setting determines how much the output is muted
when the Muting function is used (see page 68). It can be
set to –
∞
dB (fully muted) or from –50 dB to –10 dB in
10 dB steps.
■
Maximum Volume
With this setting, you can limit the maximum volume.
When the Volume Display setting is set to Absolute, the
Maximum Volume range is Off, 99 to 50. When it’s set
to Relative, the range is Off, +17 dB to –32 dB. To dis-
able this setting, select Off.
Miscellaneous Setup
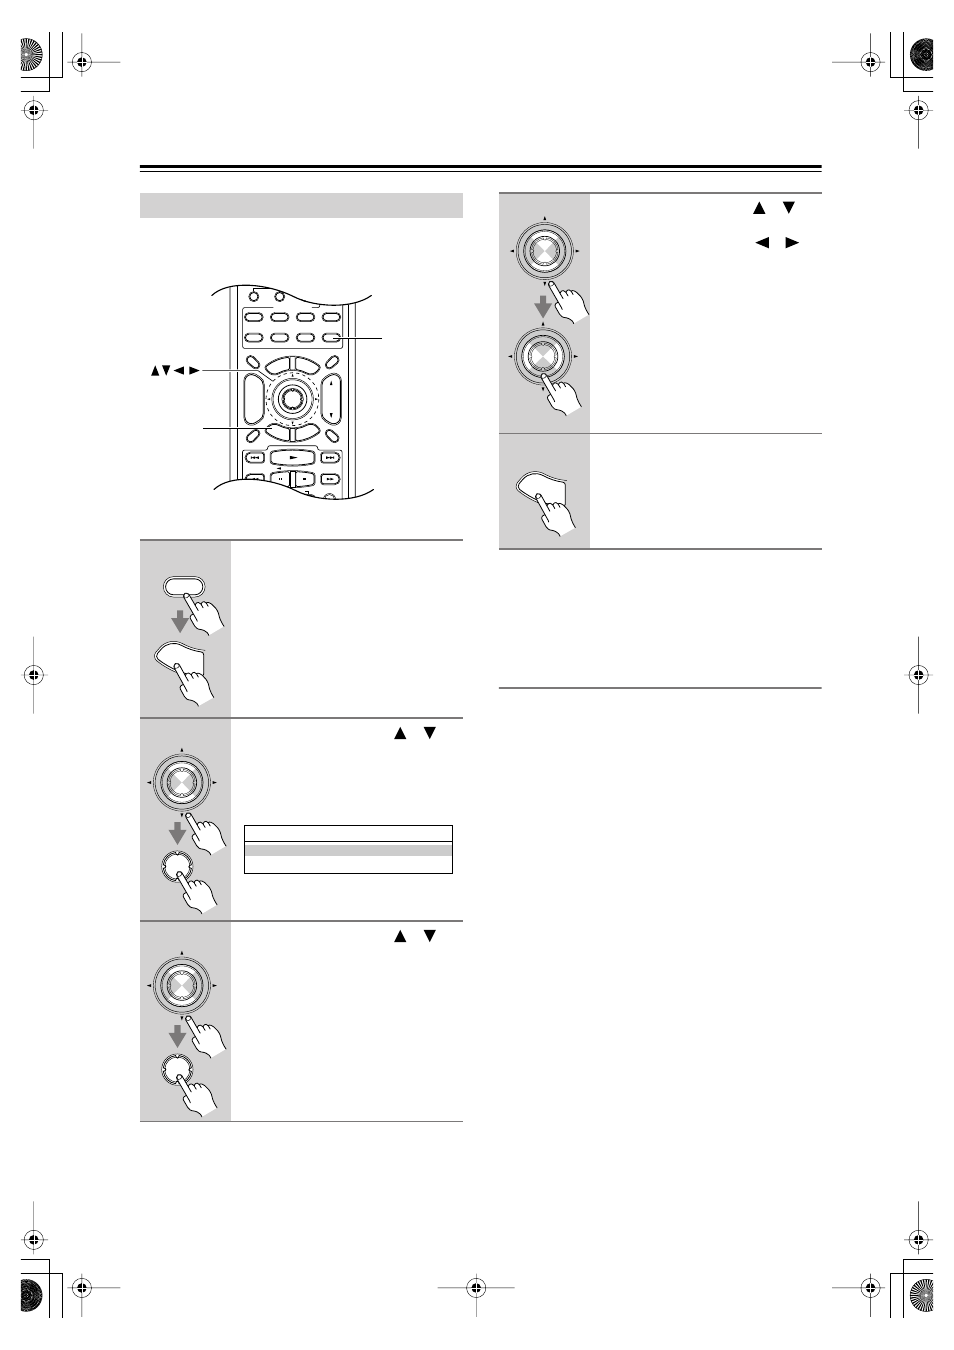
1
Press the [RECEIVER] REMOTE
MODE button, followed by the
[SETUP] button.
The main menu appears onscreen.
2
Use the Up and Down [
]/[
]
buttons to select
“6. Miscellaneous,” and then
press [ENTER].
The Miscellaneous menu appears.
3
Use the Up and Down [
]/[
]
buttons to select an item, and
then press [ENTER].
The screen for that item appears.
INPUT SELECTOR
DISPLAY
MUTING
GU
IDE
EXI
T
PREV
CH
DIMMER
CDR/MD
SAT
TAPE/AMP
SLEEP
MACRO
REMOTE MODE
--/--- 10
11
12
PLAYLIST
RANDOM
REC
ENTER
TO
P M
ENU
MEN
U
VOL
CH
DISC
ALBUM
TV
VCR
CABLE
DOCK
DVD
RECEIVER
CD
1
2
3
ZONE
3
ZONE
2
+
-
+10
0
CLEAR
SE
TUP
RET
UR
N
SETUP
RECEIVER
ENTER
RECEIVER
SE
TUP
ENTER
ENTER
6.Miscellaneous
1.Volume Setup
2.OSD Setup
ENTER
ENTER
4
Use the Up and Down [
]/[
]
buttons to select an item, and
use the Left and Right [
]/[
]
buttons to change it.
The items are explained below.
5
When you’ve finished, press the
[SETUP] button.
Setup closes.
ENTER
ENTER
SE
TUP