Basic setup —continued, Component video input setup, Press the [setup] button – Onkyo TX-L55 User Manual
Page 32: Press the [setup] button. the setup menu closes
32
Basic Setup
—Continued
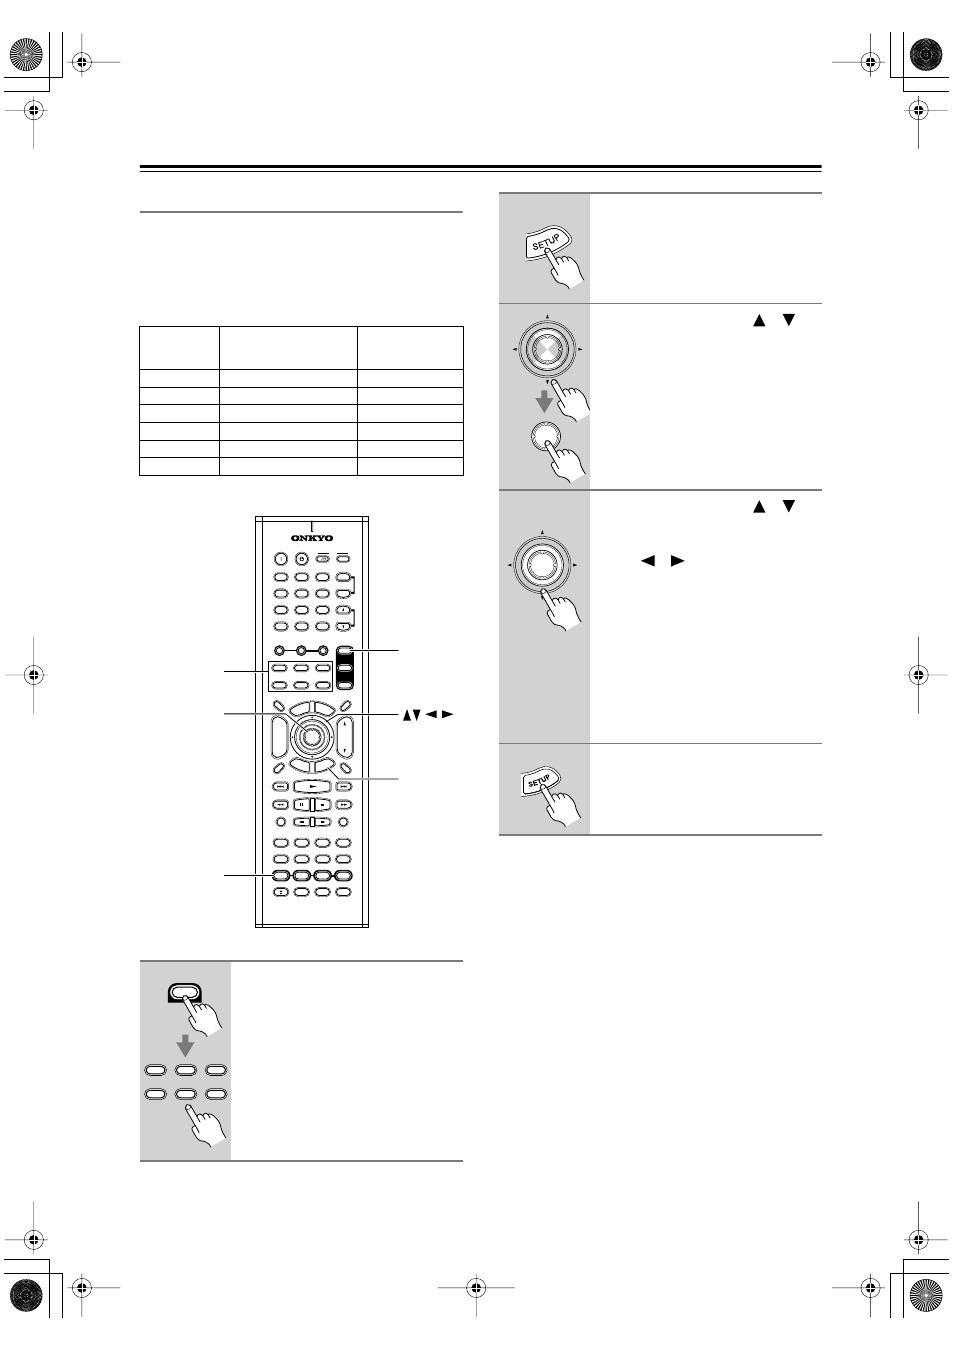
Component Video Input Setup
This section explains how to change the component
video input socket to input source assignments. You only
need to change them if you connect a video component
to a component video input other than the default assign-
ment listed in the following table. There are no other rea-
sons to change these assignments.
Notes:
When an input source that’s set to Last is selected, the
video source remains the same. For example, if you set
the VIDEO 1 input source to Last, then select the DVD
input source, then select the VIDEO 1 input source, you
can watch a DVD while listening to audio from the com-
ponent connected to the VIDEO 1 audio inputs.
Input source
Default component
video input assignment
Analog audio
input (cannot be
changed)
DVD
INPUT1
DVD
VIDEO 1
INPUT2
VIDEO 1
VIDEO 2
INPUT2
VIDEO 2
TV
Last TV
AUX
Last AUX
FM
Last —
1
Press the REMOTE MODE [AMP]
button followed by the [INPUT
SELECTOR] button for the input
source whose assignment you
want to change.
+10
0
CLEAR
1
2
3
4
5
6
7
8
9
--/---
INPUT
I
+
-
ENTER
SET
UP
RE
TURN
CINE FLTR
CH SEL
TEST TONE
P MEM
TUN
+
TUN
-
DSP
STEREO
SURR
DIRECT
L.NIGHT
TO
P M
ENU
MEN
U
VOL
+
-
DVD
TV
AMP
TV
AUX
TUN
DVD
V1
INPUT SELECTOR
V2
DISC
CH
TONE
REMOTE
MODE
TUNER
DISPLAY
TV
INPUT
PREV
CH
DIMMER
SLEEP
RANDOM
SP A
SP B
MUTING
EXIT
GUIDE
ANGLE
SEARCH
SUBTITLE
AUDIO
MEMORY
A-B
REPEAT
ON
STANDBY
T V
TV CH
T V VOL
RC-577S
LAST M
OPEN/CLOSE
TUN M
VIDEO OFF
LEVEL LEVEL
+
_
+
-
PLAY MODE
AMP
SETUP
TEST TONE
ENTER
INPUT
SELECTOR
AMP
TUNER
TV
AUX
TUN
DVD
V1
INPUT SELECTOR
V2
2
Press the [SETUP] button.
3
Use the Up and Down [
]/[
]
buttons to select “4. Input
Setup,” and then press [ENTER].
4
Use the Up and Down [
]/[
]
buttons to select “Component
Video,” and then use the Left and
Right [
]/[
] buttons to select:
Input1:
Select if the video compo-
nent is connected to COMPO-
NENT VIDEO INPUT 1.
Input2:
Select if the video compo-
nent is connected to COMPO-
NENT VIDEO INPUT 2.
Last:
Select if you want to watch
video from the previously
selected component.
5
Press the [SETUP] button.
The setup menu closes.
ENTER
ENTER
ENTER