Audio settings and video adjust menus —continued, Video adjust menu – Onkyo DV SP404 User Manual
Page 41
41
Audio Settings and Video Adjust menus
—Continued
From the Video Adjust screen you can adjust various set-
tings that affect how the picture is presented.
Notes:
• Depending on your TV, the picture may appear dis-
torted if the brightness is set too high. If this happens,
lower the brightness.
• These settings for progressive scan apply to only com-
ponent output.
Video Adjust menu
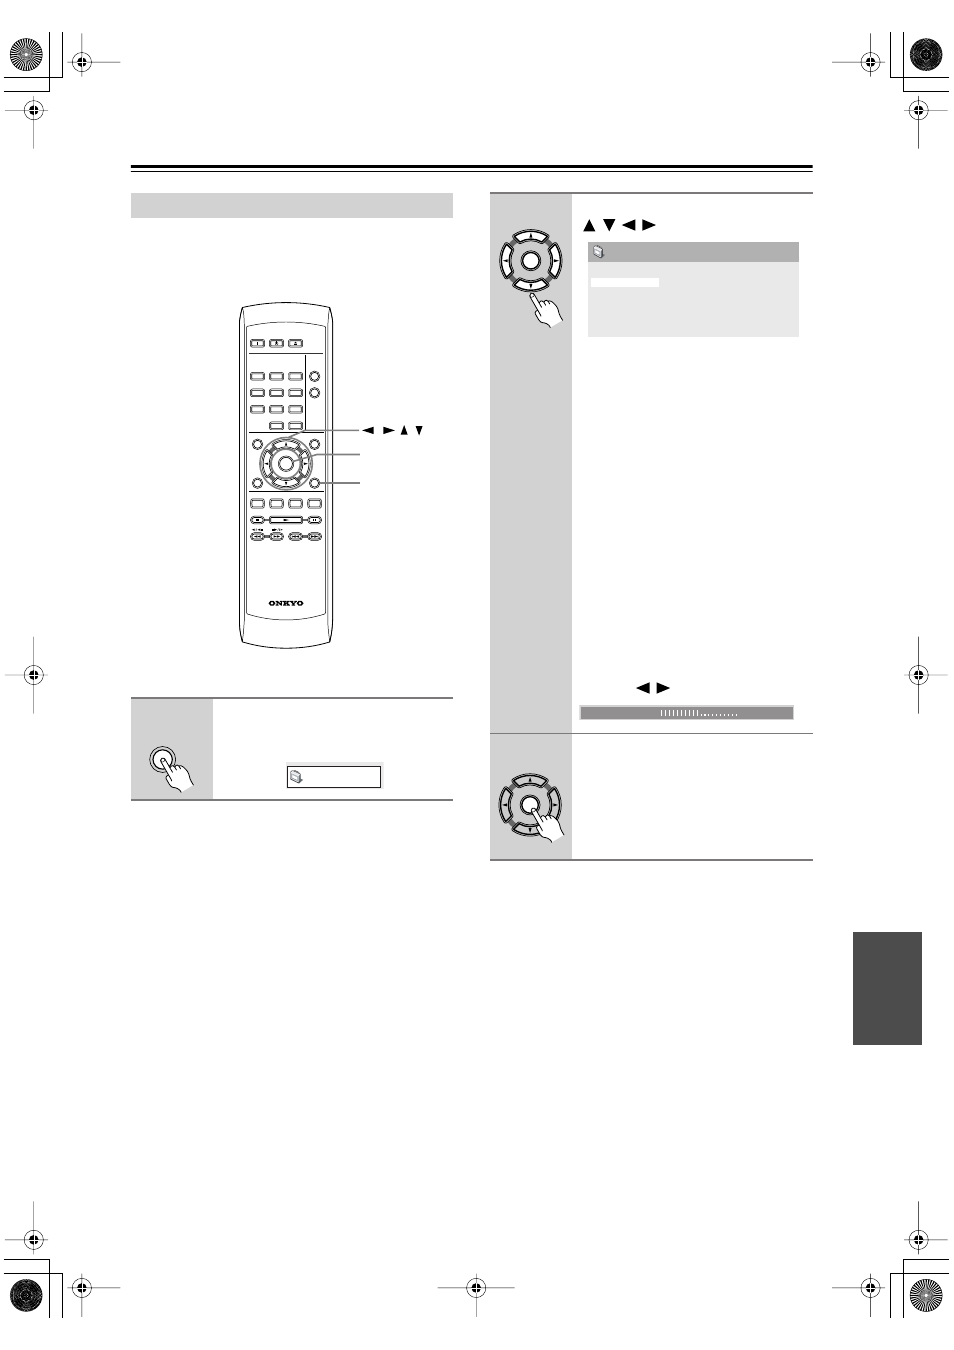
1
Press SETUP and select “Video
Adjust” from the on-screen dis-
play.
ON
STANDBY
PLAY
MODE
DISPLAY
MENU
SETUP
TOP MENU
RETURN
AUDIO
ANGLE SUBTITLE ZOOM
RC-616DV
CLEAR
OPEN/
CLOSE
ENTER
1
2
3
6
7
8
9
0
4
5
ENTER
SETUP
/
/ /
SETUP
Video Adjust
2
Make settings using the cursor
(
/
/
/
) buttons, and ENTER.
You can adjust the following picture
quality settings:
•
Sharpness
– Adjusts the sharpness
of edges in the picture (Fine, Stan-
dard, Soft).
•
Brightness
– Adjusts the overall
brightness (–20 to +20).
•
Contrast
– Adjusts the contrast
between light and dark (–16 to +16).
•
Gamma
– Adjusts the “warmth” of
the picture (High, Medium, Low,
Off).
•
Hue
– Adjusts the red/green balance
(green 9 to red 9).
•
Chroma Level
– Adjusts how satu-
rated colors appear (–9 to +9).
Adjust the Brightness, Contrast, Hue and
Chroma Level settings using the cursor
left/right (
/
) buttons.
3
Press ENTER to save your set-
tings and exit the Video Adjust
screen.
ENTER
Sharpness
Brightness
Contrast
Gamma
Hue
Chroma Level
Standard
0
0
Off
0
0
Video Adjust
Brightness
min
max
0
ENTER
DV-SP404.404E_En.book Page 41 Wednesday, June 7, 2006 1:50 PM