Installation, Powering on/off the projector, Powering on the projector – Optoma Digital Tuner Output Projector User Manual
Page 10: English, Power/ standby, Lens cap
10
English ...
12345678901234567890123456789012123456789012345678901
12345678901234567890123456789012123456789012345678901
12345678901234567890123456789012123456789012345678901
12345678901234567890123456789012123456789012345678901
12345678901234567890123456789012123456789012345678901
12345678901234567890123456789012123456789012345678901
12345678901234567890123456789012123456789012345678901
12345678901234567890123456789012123456789012345678901
12345678901234567890123456789012123456789012345678901
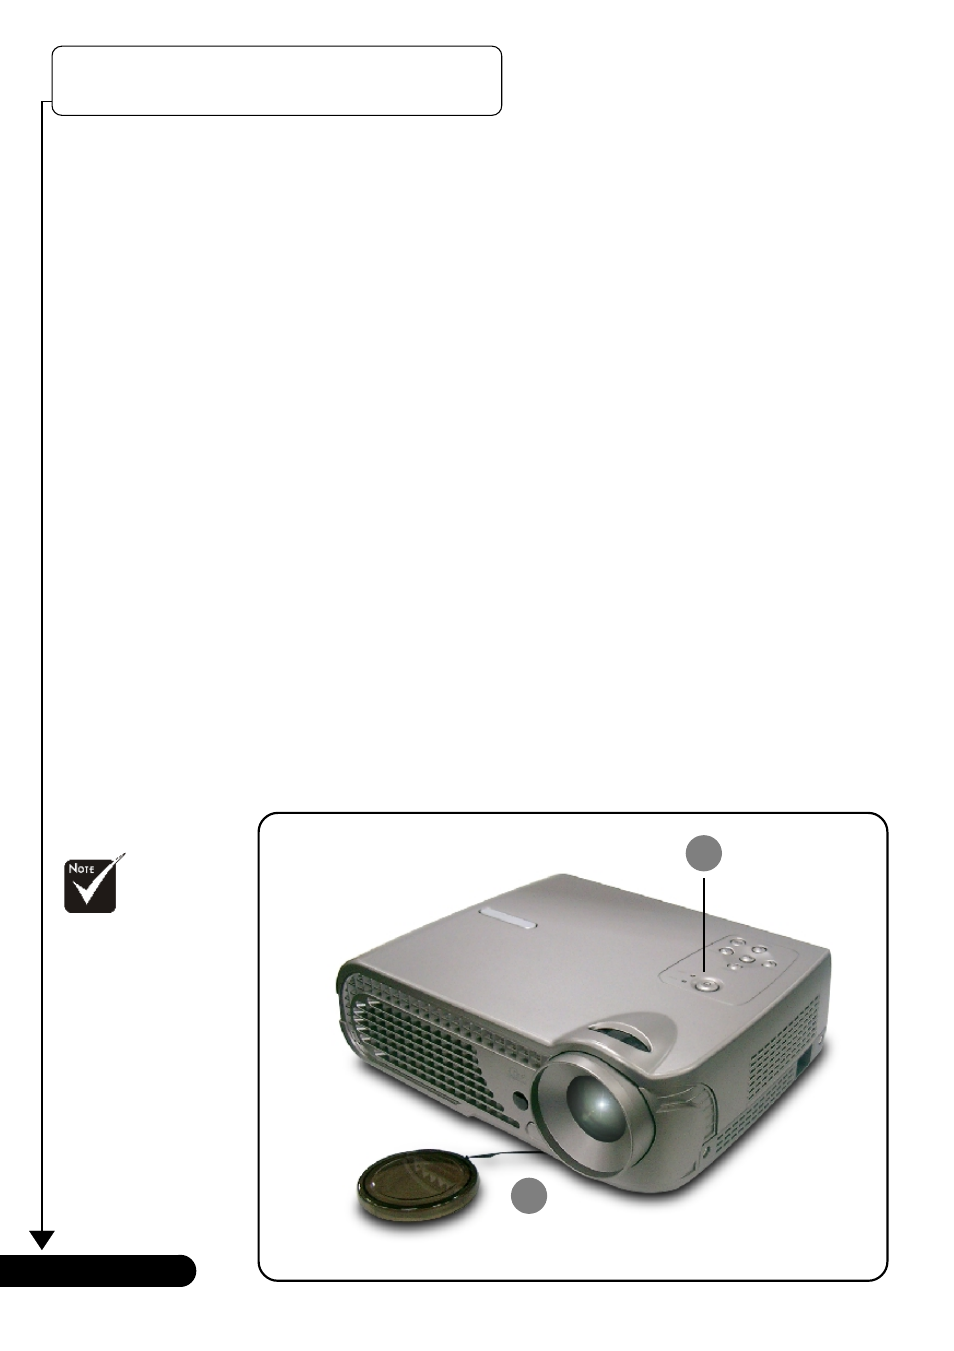
Installation
Power/
Standby
1
2
Powering On the Projector
1. Remove the lens cap.n
2. Ensure that the power cord and signal cable are securely
connected. The “Power/Standby” button will flash green.
3. Turn on the lamp by pressing “Power/Standby” button on
the control panel. And the “Power/Standby” button will turn
green.o
The startup screen will display for 30 seconds.
4. Turn on your source (computer, notebook, video player ,etc.).
The projector will detect your source automatically.
If the screen displays “No Signal”, please make sure the signal
cables are securely connected.
If you connect multiple sources at the same time, use the “Source”
button on the remote control or control panel to switch.
Powering On/Off the Projector
Turn on the
projector first and then
the signal sources.
Lens cap