Channel setting, 28 en 28 en, Auto channel scan – Sylvania H2160SL9 User Manual
Page 30
28
EN
28
EN
CHANNEL SETTING
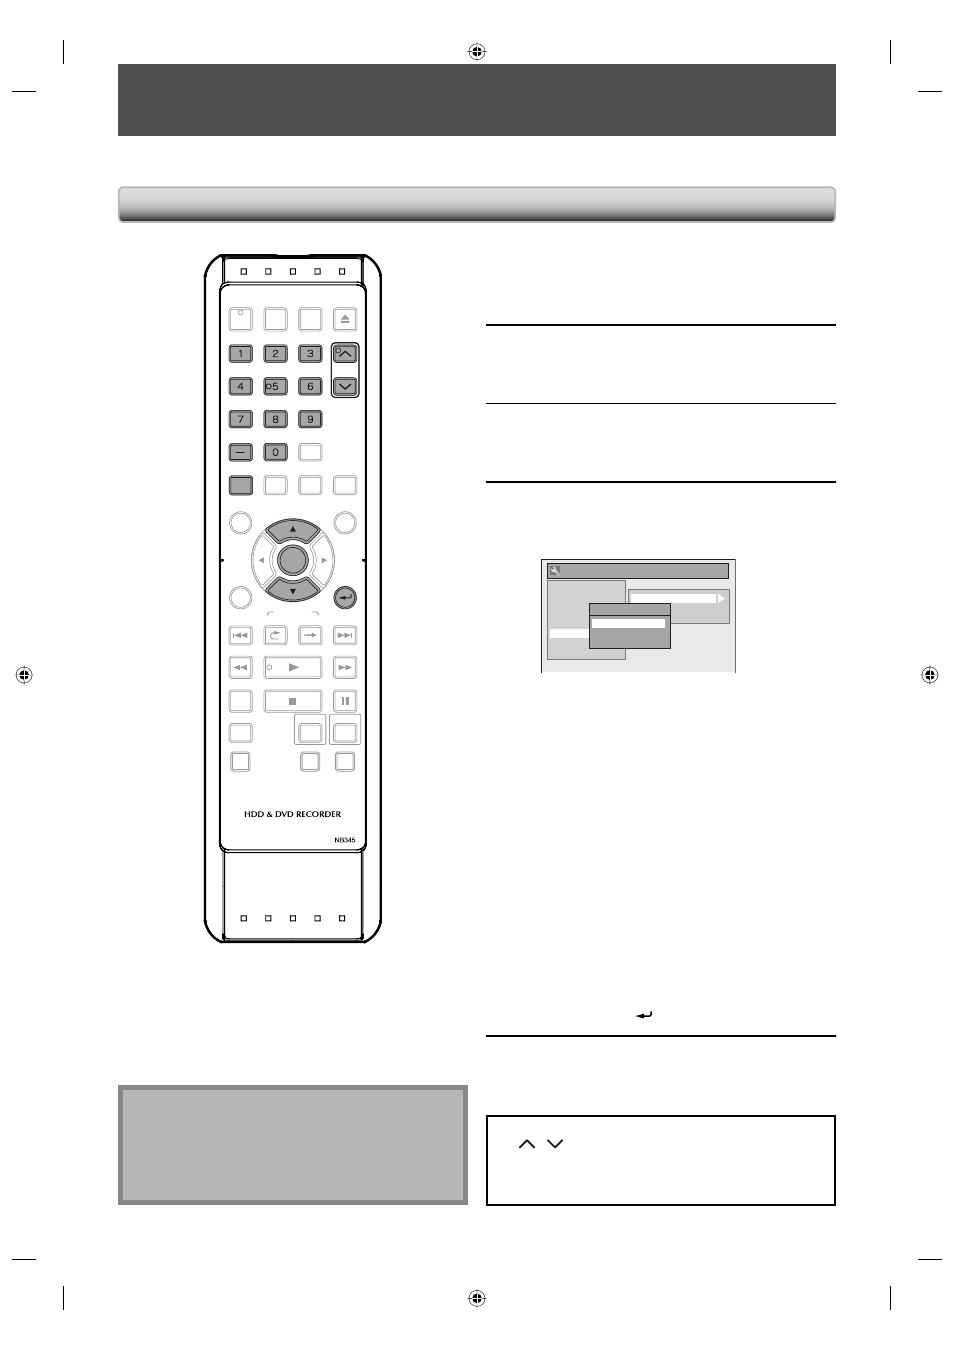
If you have changed antenna connection, we recommend that you program channels available in your area with the
following procedures.
1
Press [SETUP] and use [
K / L] to
select “General Setting”, then press
[ENTER].
2
Use [
K / L] to select “Channel”, then
press [ENTER].
“Channel” menu will appear.
3
Use [
K / L] to select “Auto Preset”,
then press [ENTER].
4
Use [
K / L] to select the type of
broadcasting signal, then press
[ENTER].
General Setting
Playback
Display
Video
Recording
Clock
Channel
HDMI
Reset All
Auto Preset
Manual Preset
TV Audio Select
Auto Preset
Air
Cable
Cable (Extended Scan)
The unit will start getting channels available in
your area.
Air:
(When using antenna)
The channels broadcasted in analog TV and
digital TV are automatically scanned and
memorized. Only the receivable channels in the
area will be memorized.
Cable:
(When using basic cable)
The channels broadcasted in analog CATV are
automatically scanned and memorized.
Cable (Extended Scan):
(When using basic cable)
The channels broadcasted in analog CATV and
digital CATV are automatically scanned and
memorized.
To cancel the auto channel preset during
scanning:
Press [RETURN
] or [SETUP] to cancel.
5
When scanning is over, press [SETUP]
to exit.
To cycle through only the memorized channels, use
[CH
/
].
To select a channel directly (including the ones not
memorized), use [the Number buttons] and [-] (for
digital TV channels).
Auto Channel Scan
Note
• If the auto channel preset is canceled during
presetting, some channels not yet preset may not be
received.
• The selection will depend on how you receive the TV
channels.
OPEN/
CLOSE
INPUT
SELECT
HDMI
.@/:
ABC
GHI
PQRS
TUV
SETUP
REPEAT
DISPLAY
AUDIO
MENU/LIST
RETURN
TOP MENU
WXYZ
CLEAR
JKL
MNO
DEF
ENTER
PLAY
DVD
HDD
DUBBING
SKIP
REPLAY
VARIABLE
SKIP
BX1.3/0.8
STOP
PAUSE
SKIP
REC/OTR
REC MODE
TIMER PROG.
DTV/TV
POWER
CH
CH
ENTER
GHI
PQRS
TUV
WXYZ
JKL
MNO
.@/:
ABC
DEF
RETURN
SETUP
E2M20UD_H2160SL9_EN.indd 28
E2M20UD_H2160SL9_EN.indd 28
2008/02/20 15:32:31
2008/02/20 15:32:31