Oregon Scientific Oregon Scientific User Manual
Page 5
5
EN
To completely disconnect from power, unplug adaptor
from the mains.
to insert batteries:
E
U
/U
K
. Slide open the battery door.
2. Insert the batteries, matching the polarities (+ / -).
3. Press RESEt after each battery change.
4. Close the battery door.
NotE Do not use rechargeable batteries. It is
recommended that you use alkaline batteries with this
product for longer performance.
NotE Batteries should not be exposed to excessive
heat such as sunshine or fire.
the battery icon indicator
may appear in the
following areas:
AREA
MEANING
Weather Forecast Area
Battery in the base station is
low.
will show when AC
adaptor is disconnected.
Temperature or
Humidity Area
The displayed channel
indicates the outdoor sensor
for which battery is low.
Wind Speed / Wind
Direction / Wind Chil
Area
Battery in the wind sensor
is low.
UVI / Barometer /
Rainfall Area
Battery in the UV / Rain
sensor is low.
VERIFY CoNNECtIoN
Before proceeding to install sensors outside, please
verify communication to the base station.
NotE Unit will search only for already registered
sensors or new sensors reset within last 30 minutes. To
register a new sensor, reset sensor prior to search.
WINd SENSoR
Press SELECt until the selected area icon is in the
top right display area.
• Wind speed: Gently rotate the wind vane and confirm a
numerical reading on the base station, e.g.,
.
• Wind direction indicator. Move the direction of the
wind indication and verify the icon moves in the same
direction
.
tEMPERAtURE / HUMIdItY SENSoR
. Press SELECt until the selected area icon is in the
bottom left display area.
2. Press UP / doWN to select channel
and verify
a numerical reading.
RAIN GAUGE
. Press SELECt until the selected area icon is in the
middle right display area.
2. Press ModE until
is displayed.
3. Tilt the tipping funnel on the rain gauge several times
and verify a numerical reading on the base station.
tIP If no reading is displayed for a sensor, press and
hold the SEARCH button on the base station to initiate a
wireless sensor search.
USB HUB
To ensure you are running the latest and most compatible
software for your unit, install Virtual Weather Station
software from the CD enclosed in this package. Follow
the software setup instructions.
NotE The software must be installed before data can
be uploaded.
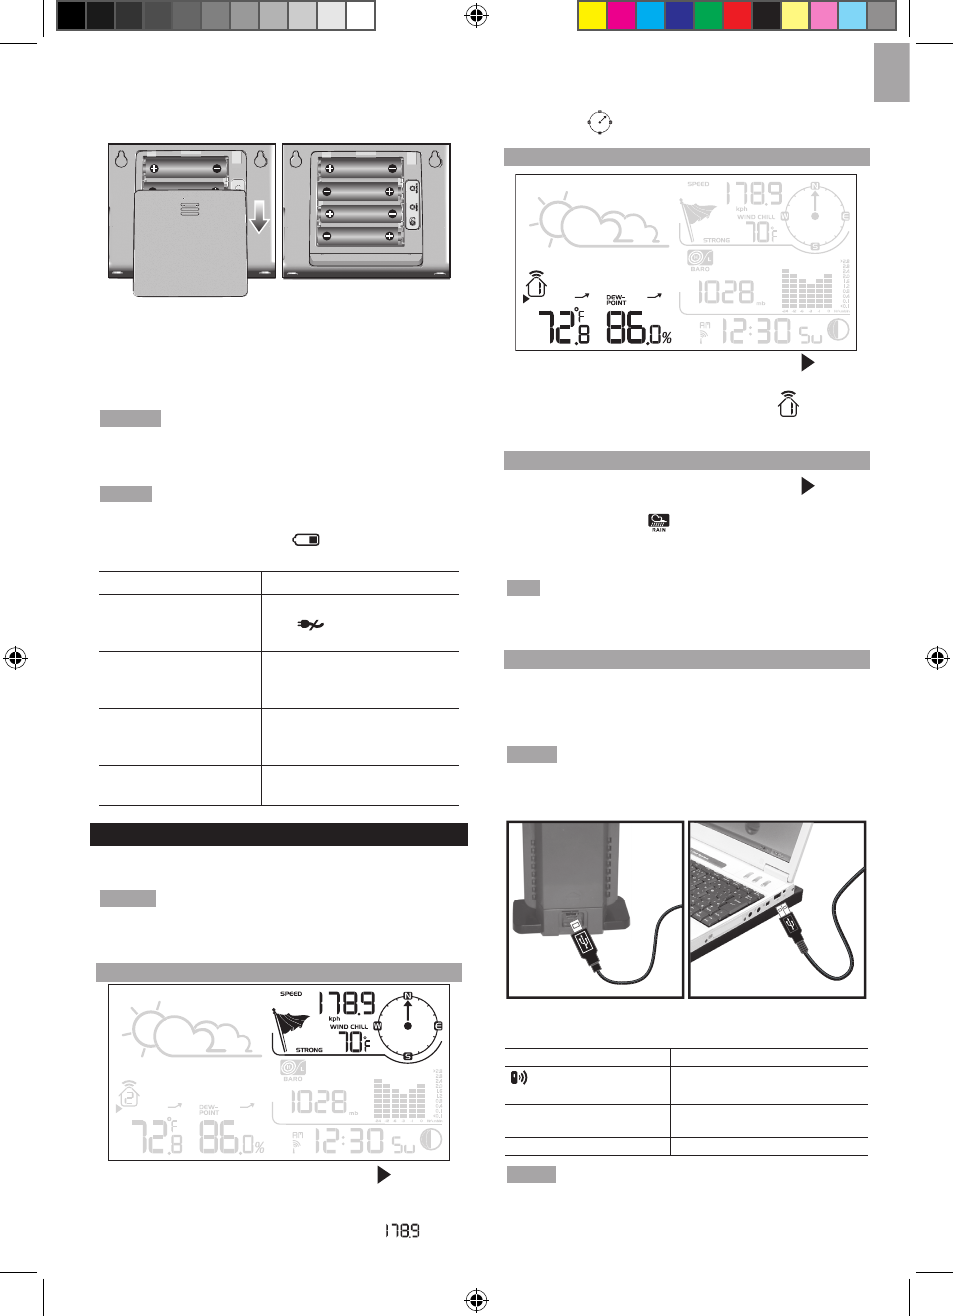
. Plug one end of the USB cable into the USB hub and
the other end into the PC’s USB port.
2. On the base station, press and hold UP and doWN
together. Then, press SEARCH on USB hub.
display / USB LEd light Meaning
on LCD screen
LED blinking rapidly
USB hub and base station are
being synchronized.
LED blinking slowly
Lost link. Connection could not
be made
LED continuously on
Connection successful.
NotE
• For continuous uploading of real time data, keep the
USB communications hub connected to the computer
using USB cable provided and ensure computer is on.
WMR180_UM_EN_R7.indd 5
2011/5/30 3:56:56 PM