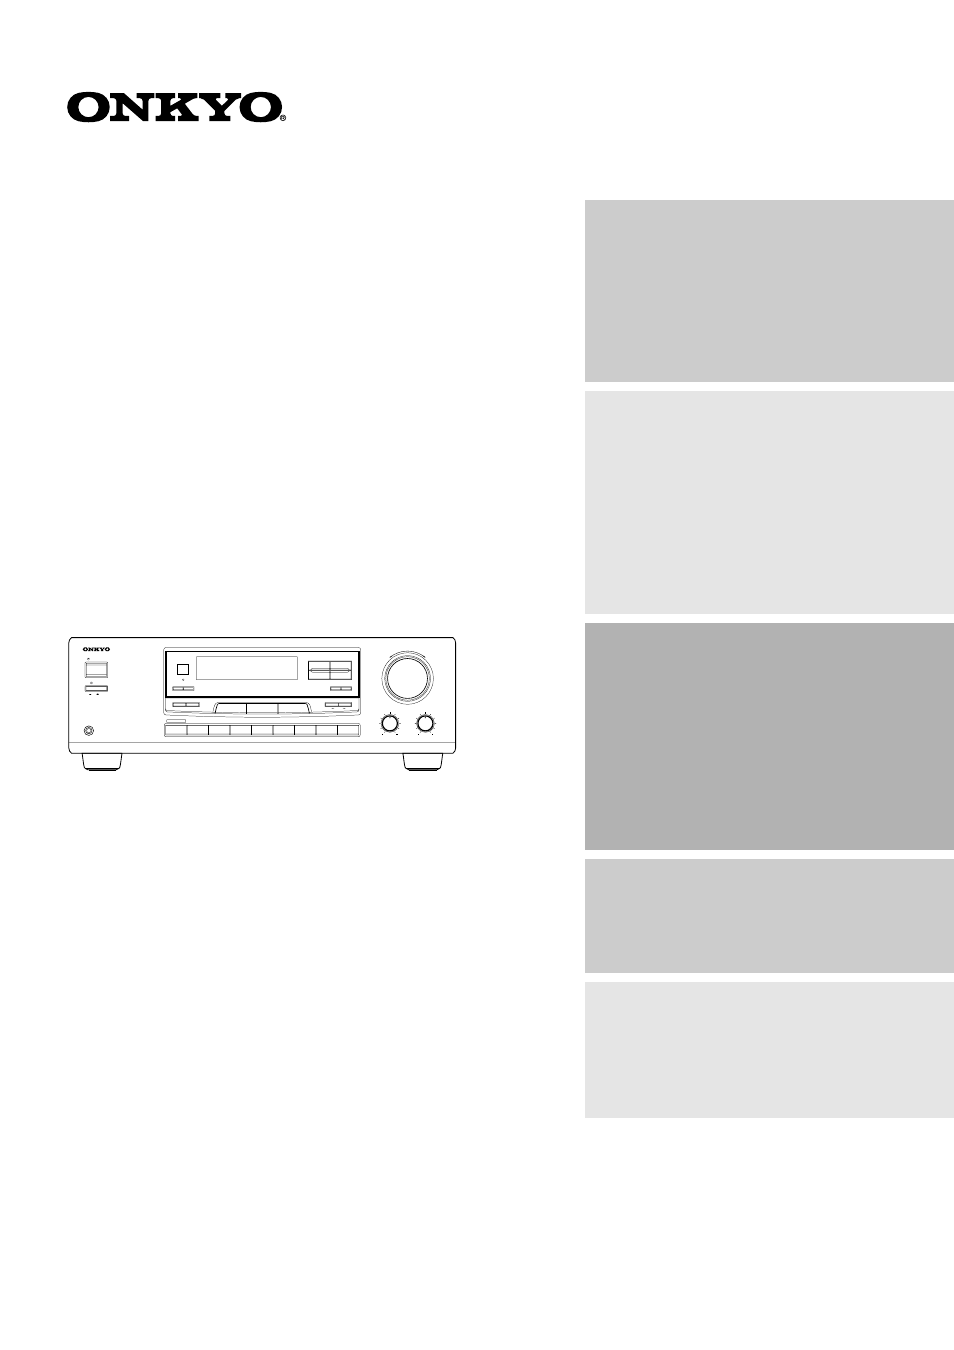
Onkyo TX-DS484 User Manual
Onkyo Receivers and Amplifiers
AV Receiver
TX-DS484
Instruction Manual
Thank you for purchasing the Onkyo AV Receiver.
Please read this manual thoroughly before making
connections and turning on the power.
Following the instructions in this manual will enable
you to obtain optimum performance and listening
enjoyment from your new AV Receiver.
Please retain this manual for future reference.
Contents
Before using
Important Safeguards........................ 2
Precautions ....................................... 3
Features............................................. 4
Supplied accessories......................... 4
Before operating this unit ................. 5
Preparation
Audio equipment connections .......... 6
Video equipment connections .......... 7
Connecting other devices ................. 8
Connecting speakers....................... 10
Positioning speakers ....................... 11
Connecting the power..................... 11
Making antenna connections .......... 12
Operation
Speaker setup.................................. 14
Selecting a sound source ................ 17
To enjoy Surround mode or Stereo
mode ............................................ 20
Tuning in a radio station................. 23
Using preset radio stations.............. 24
Recording a source ......................... 25
Appendix
Troubleshooting guide.................... 27
Specifications ................................. 28
Control guide
Control positions and names .......... 29
Remote controller RC-427S ........... 30
Using the remote controller ............ 31
Document Outline
- Contents
- Important Safeguards
- 1. Read Instructions – All the safety and operatin...
- 2. Retain Instructions – The safety and operating ...
- 3. Heed Warnings – All warnings on the appliance a...
- 4. Follow Instructions – All operating and use ins...
- 5. Cleaning – Unplug the appliance from the wall o...
- 6. Attachments – Do not use attachments not recomm...
- 7. Water and Moisture – Do not use the appliance n...
- 8. Accessories – Do not place the appliance on an ...
- 9. An appliance and cart combina9. tion should be ...
- 10. Ventilation – Slots and openings in the cabine...
- 11. Power Sources – The appliance should be operat...
- 12. Grounding or Polarization – The appliance may ...
- 13. Power-Cord Protection – Power-supply cords sho...
- 14. Outdoor Antenna Grounding – If an outside ante...
- 15. Lightning – For added protection for the appli...
- 16. Power Lines – An outside antenna system should...
- 17. Overloading – Do not overload wall outlets, ex...
- 18. Object and Liquid Entry – Never push objects o...
- 19. Servicing – Do not attempt to service the appl...
- 20. Damage Requiring Service – Unplug the applianc...
- A. When the power-supply cord or plug is damaged,
- B. If liquid has been spilled, or objects have fal...
- C. If the appliance has been exposed to rain or wa...
- D. If the appliance does not operate normally by f...
- E. If the appliance has been dropped or damaged in...
- F. When the appliance exhibits a distinct change i...
- Precautions
- Before operating this unit
- Audio equipment connections
- Video equipment connections
- Connecting other devices
- Connecting speakers
- Positioning speakers
- Connecting the power
- Making antenna connections
- 1. With your fingernail or a small screwdriver, pr...
- 2. Remove the transformer wire A from slit B and i...
- 3. Prepare the coaxial cable as shown in the diagr...
- 4. Re-install the cover.
- 1. Press down the lever.
- 2. Insert the wire into the hole.
- 3. Release the lever to replace it.
- Making antenna connections
- Features
- Supplied accessories
- Speaker setup
- Selecting a sound source
- Selecting a sound source
- 1. Press MULTI CH INPUT button on the remote contr...
- 2. Press the CH SEL button to select the desired s...
- 3. Use the LEVEL ¹/† button to change the volume l...
- 1. Use the VOLUME control to set the desired level...
- 2. Press the PARAMETER SELECTOR Ã or ® button 2. r...
- 3. Press the PARAMETER CONTROLLER Ã or ® button to...
- Selecting a sound source
- Selecting a sound source
- To enjoy Surround mode or Stereo mode
- Surround Modes
- DOLBY DIGITAL Surround, DTS (Digital Theater Syste...
- To enjoy Surround mode or Stereo mode
- DOLBY PRO LOGIC
- STEREO
- Notes on DTS
- 1. If you play a CD or LD that supports DTS when t...
- 2. If you play a CD or LD that supports DTS when t...
- 3. If you press the PAUSE or SKIP button on the pl...
- 4. The DTS indicator on the TX-DS484 lights up whi...
- 5. Some CD players and LD players may be unable to...
- 6. The Rec Out jacks of the TX-DS484 output analog...
- 1. Press an Input Selector button to select the de...
- 2. Press the SURROUND MODE button repeatedly until...
- 3. Play the selected sound source.
- To enjoy Surround mode or Stereo mode
- Tuning in a radio station
- Using preset radio stations
- 1. Select the frequency that you want to store in ...
- 2. Press the MEMORY button.
- 3. Select the desired memory number using PRESET Ã...
- 4. Press the MEMORY button.
- 1. Select the tuner as the source by pressing the ...
- 2. Enter the desired preset number using the PRESE...
- 1. Select the tuner as the source by pressing the ...
- 2. Press the PRESET (Ã or ®) button.
- 1. Select the preset station you wish to remove as...
- 2. Press the FM MODE button while holding down the...
- Recording a source
- 1. Insert a blank tape into the tape deck.
- 2. Press the input selector button for the source ...
- 3. Set the tape deck in recording mode. Start play...
- Recording a source
- 1. Load a disc in the video disc player or DVD pla...
- 2. Press the VIDEO 1 or DVD button.
- 3. Start playing the video disc player and recordi...
- 1. Insert the disc or tape that you want to record...
- 2. Insert a blank video tape in the VCR connected ...
- 3. Press the VIDEO 1 button.
- 4. Select the audio program source (FM, AM, PHONO,...
- 5. Start playing the video connected to the VIDEO ...
- Troubleshooting guide
- Specifications
- Control positions and names
- 1. STANDBY/ON button [9, 11]
- 2. POWER switch [9, 11]
- 3. SPEAKERS A/B button [17, 19]
- 4. STANDBY indicator [5, 11]
- 5. Remote control sensor [5]
- 6. TUNER operation buttons 6. PRESET Ã/® buttons [...
- 7. Display (Refer to the “Display” illustration.)
- 8. PARAMETER SELECTOR buttons [14~16]
- 9. PARAMETER CONTROLLER buttons [14~16]
- 10. MASTER VOLUME control knob [17, 18]
- 11. TREBLE control knob [17, 19]
- 12. BASS control knob [17, 19]
- 13. DIMMER button [17]
- 14. LATE NIGHT button [20, 22]
- 15. SURROUND MODE button [20, 21]
- 16. Input selector buttons [17, 20]
- 17. MULTI CH INPUT button [17, 18]
- 18. PHONES jack [19]
- a. Speakers A/B indicators
- b. Sleep indicator
- c. Surround Mode indicators
- d. Audio Mute indicator
- e. FM Stereo indicator
- f. Tuned indicators
- g. Memory indicator
- h. FM Mute On/Off indicator
- i. RDS station received indicator i. (European mod...
- j. Multi function display j. (Frequency and Preset...
- Remote controller RC-427S
- 1. Power button (POWER) [11]
- 2. Sleep button (SLEEP) [17, 19]
- 3. Input selector buttons [17]
- 4. CD operation buttons [31]
- 5. Tape operation buttons [31]
- 6. Level up/down button (LEVEL ¹/†) [14, 16, 18]
- 7. DIMMER button (DIMMER) [17]
- 8. Surround mode button (SUR MODE) [20, 21]
- 9. Multi channel input button [18]
- 10. Tuner operation buttons (TUNER) [24, 31]
- 11. DVD operation buttons [31]
- 12. Channel selector button (CH SEL) [14, 16, 18]
- 13. Test tone button (TEST TONE) [14, 16]
- 14. Volume buttons (VOLUME ¹/†) [17]
- 15. Audio muting button (MUTING) [17, 19]
- Using the remote controller