Menu setting method – Olympus DM-550 User Manual
Page 65
65
4
a
EN
M
e
n
u s
et
tin
g m
e
th
o
d
• Select the memory with an alarm
playback file using the + or – button
and press the OK or 9 button.
The recorder will move to the folder
settings with the file with alarm
playback.
• Select the folder using the + or
– buttons and press the OK or 9
button to move to file selection.Use
the + or – button to select the file in
the same way.
2 Press the OK or 9 button to exit
[Playback File] selection.
6
Completing the setting.
1 Pressing + or − button to select
[Finish].
2 Press the OK or 9 button to
complete the setup screen.
Programmed settings will be applied
and the screen will return to the preset
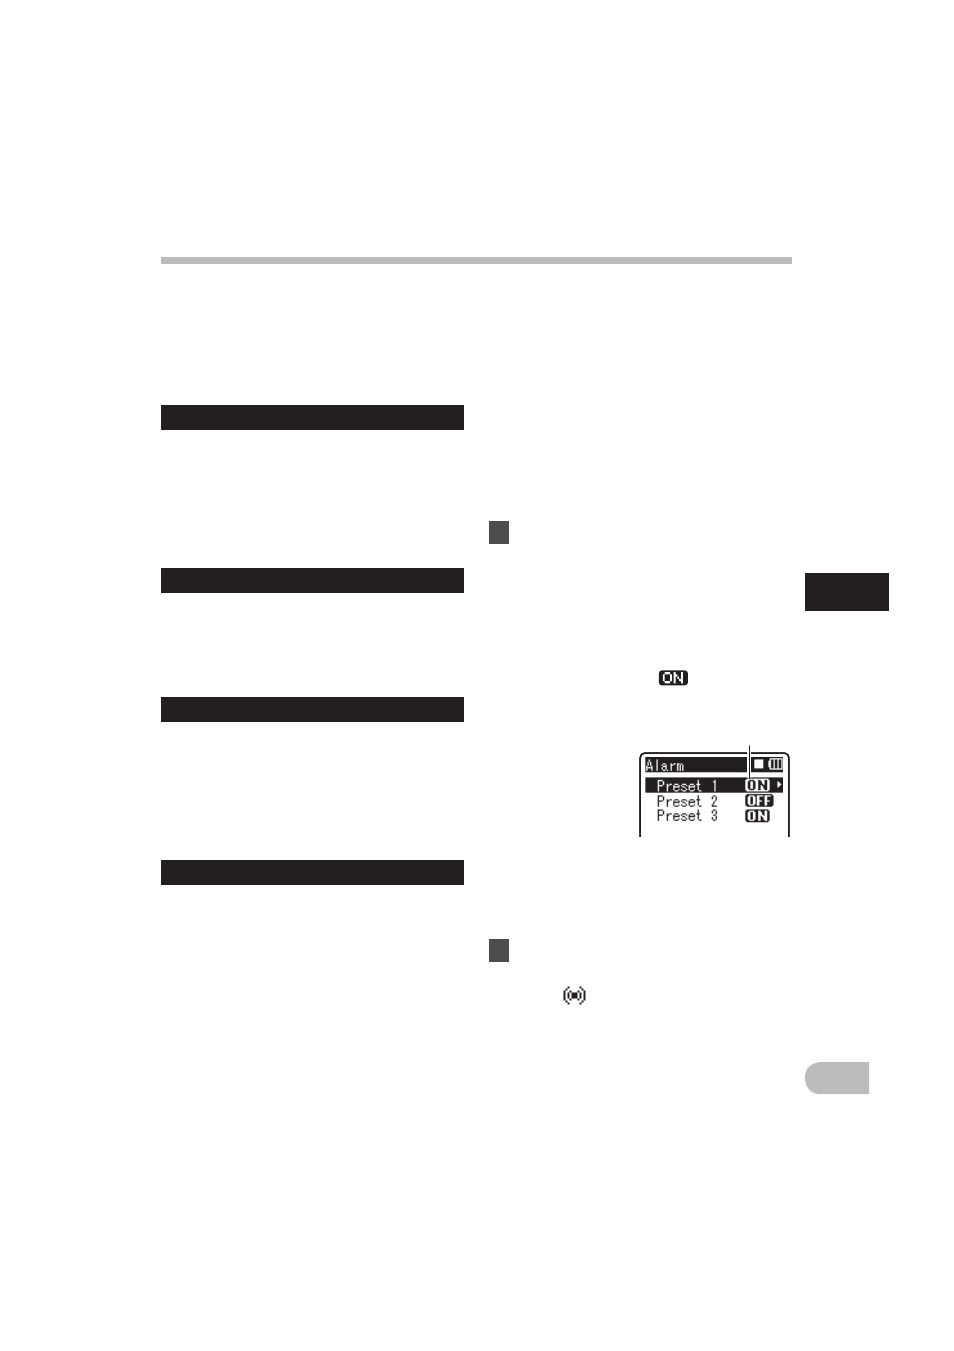
number selection menu. If the [On/Off]
setting is set to [On],
will appear on
the display.
a When setting to [On]
Menu setting method
Select [Every Week] and press the OK or
9 button to move to the selection of
[Day]. Press the + or – button to select a
day of the week.
2 Press the OK button to exit [Day]
selection.
[Start Time] setting:
1 Press the 9 or 0 button to
select "Hour"and "Minute" in the
[Start Time] and "Hour" and "Minute"
in the [Stop Time].
2 Press the + or – button to set.
3 Press the OK button to exit [Start
Time
] selection.
[Volume] setting:
1 Press the + or – button to adjust the
volume. Press the PLAY ` button to
check the volume.
2 Press the OK button to exit [Volume]
selection.
[Alarm Sound] setting:
1 Press the + or – button to select an
alarm sound from among [Alarm1],
[Alarm2] and [Alarm3]. Press the
PLAY `
button to check the alarm
sound.
2 Press the OK button to exit [Alarm
Sound
] selection.
[Playback File] setting:
1 Press the + or – button to select from
[No File Play], [File Select].
[No File Play]: Sounds alarm only.
[File Select]: Plays back a selected file
after the alarm.
• When [File Select] is selected and
the OK or 9 button is pressed, the
recorder will move to the [Memory
Select
] setting.
When setting other preset numbers,
repeat Steps 2 through 6.
When the 9 button is pressed in the
Select in Advance Menu, the settings
selected can be confirmed.
7
Press the F2 or STOP 4 button to
complete the setting.
• The
will appear on the display.