Using your telescope – Orion XT6 User Manual
Page 8
8
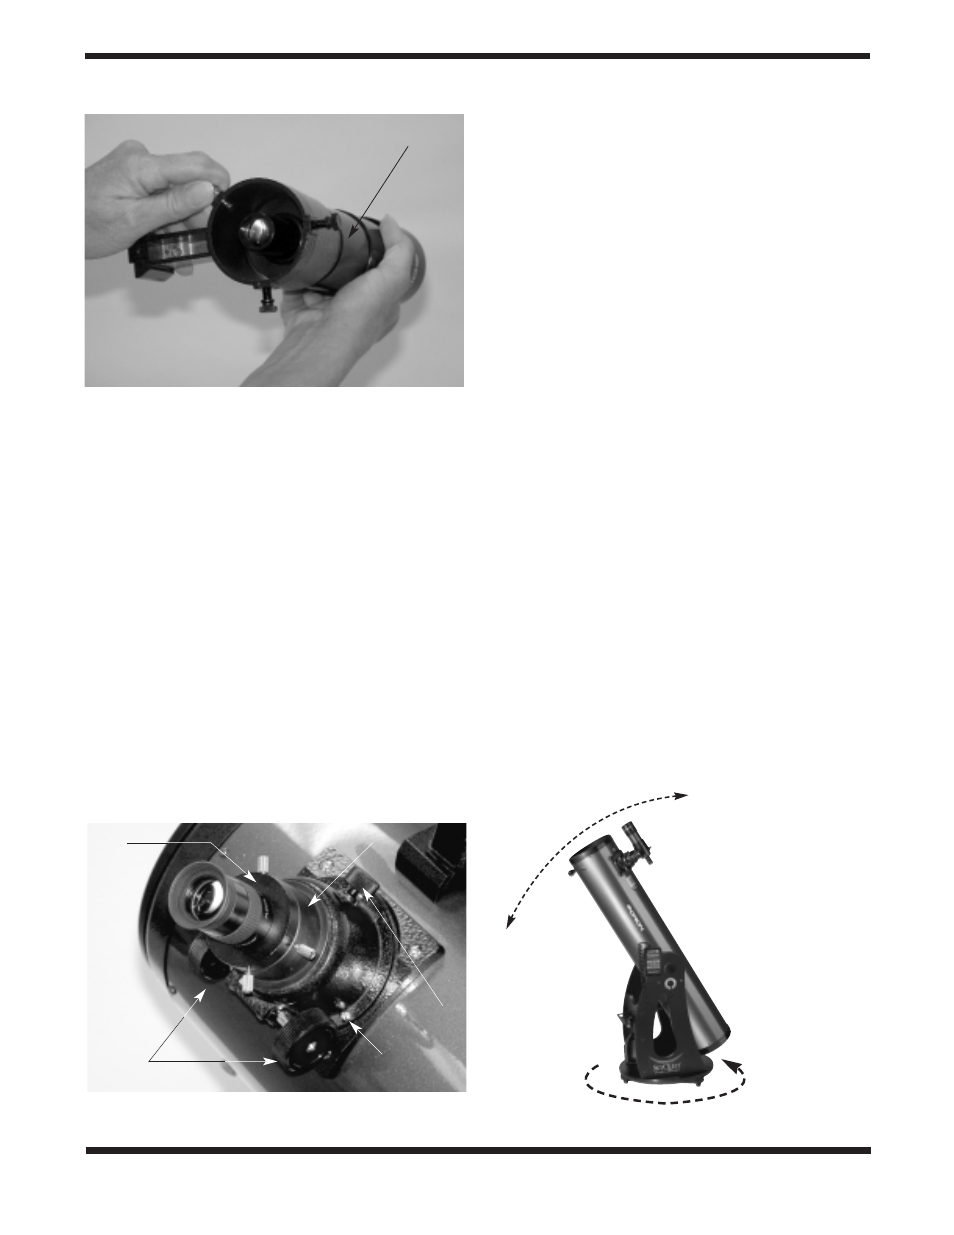
spring-loaded tensioner on the bracket with your fingers
(Figure 12b). Push the finder scope through the bracket until
the O-ring seats just inside the front opening of the bracket.
Now, release the tensioner and tighten the two black nylon
screws a couple of turns each to secure the finder scope in
place. Insert the base of the finder scope bracket into the
dovetail holder located adjacent to the focuser. Lock the
bracket into position by tightening the knurled thumbscrew on
the dovetail holder.
Inserting an Eyepiece
The final step in the assembly process is to insert an eye-
piece into the telescope’s focuser. First, take the cover cap off
the focuser drawtube.
For the XT8 and XT10: Loosen the thumbscrew on the 1.25"
eyepiece adapter (Figure 13). Do not loosen the two thumb-
screws on the 2" eyepiece adapter. Insert the supplied 25mm
Sirius Plössl eyepiece, then secure it by retightening the
thumbscrew on the 1.25" eyepiece adapter. The other eyepiece
can be placed in the eyepiece rack until it is needed.
For the XT6: Loosen the two thumbscrews on the eyepiece
holder and insert the 25mm Sirius Plössl eyepiece. Then
secure it in place with the thumbscrews. The other eyepiece
can be placed in the eyepiece rack until it is needed.
The basic assembly of your SkyQuest IntelliScope
Dobsonian is now complete. It should appear as shown in
Figure 1. The dust cap on the front of the telescope tube
should always remain in place when the telescope is not in
use. It is also a good idea to store eyepieces in an eyepiece
case and to replace the cover caps on the focuser and finder
scope when the telescope is idle.
3. Using Your Telescope
One of the great benefits of the SkyQuest XT IntelliScope
Dobsonian is its ability to point to more than 14,000 celestial
objects, when used with the optional IntelliScope
Computerized Object Locator (Controller). Use of the
Controller is completely optional, and your telescope will func-
tion perfectly well without it. However, the Controller will greatly
enhance your observing experience by enabling you to quick-
ly and precisely locate even very faint objects. For more about
IntelliScope Controller functionality, see Section 6.
Before using your SkyQuest telescope for the first time at
night, we recommend getting a feel for its basic functions dur-
ing daylight hours. Find a spot outdoors where you have a
clear view of some object or landmark that is at least 1/4-mile
away. It is not critical that the base be exactly level, but it
should be placed on somewhat flat ground or pavement to
ensure smooth movement of the telescope.
Remember, never point the telescope at or near the Sun with-
out using a proper solar filter over the front aperture!
Altitude and Azimuth Motion
The SkyQuest’s Dobsonian base permits smooth motion of
the telescope along two axes: altitude (up/down) and azimuth
Figure 13.
The 2" focuser of the SkyQuest IntelliScope XT8 and
XT10.
Focus lock
thumbscrew
Focus
knobs
1.25"
eyepiece
adapter
2" eyepiece adapter
Collimation
screw pair (3)
Altitude
Figure 14.
The SkyQuest
Intelliscope has two
axes of motion;
altitude (up/down)
and azimuth
(left/right).
Azimuth
Figure 12b.
Pull back on the tensioner and slide the finder
scope into its bracket until the O-ring is seated in the bracket ring.
O-ring