Niles Audio RCA-TT User Manual
Page 10
8
INSTALLATION
(CONTINUED)
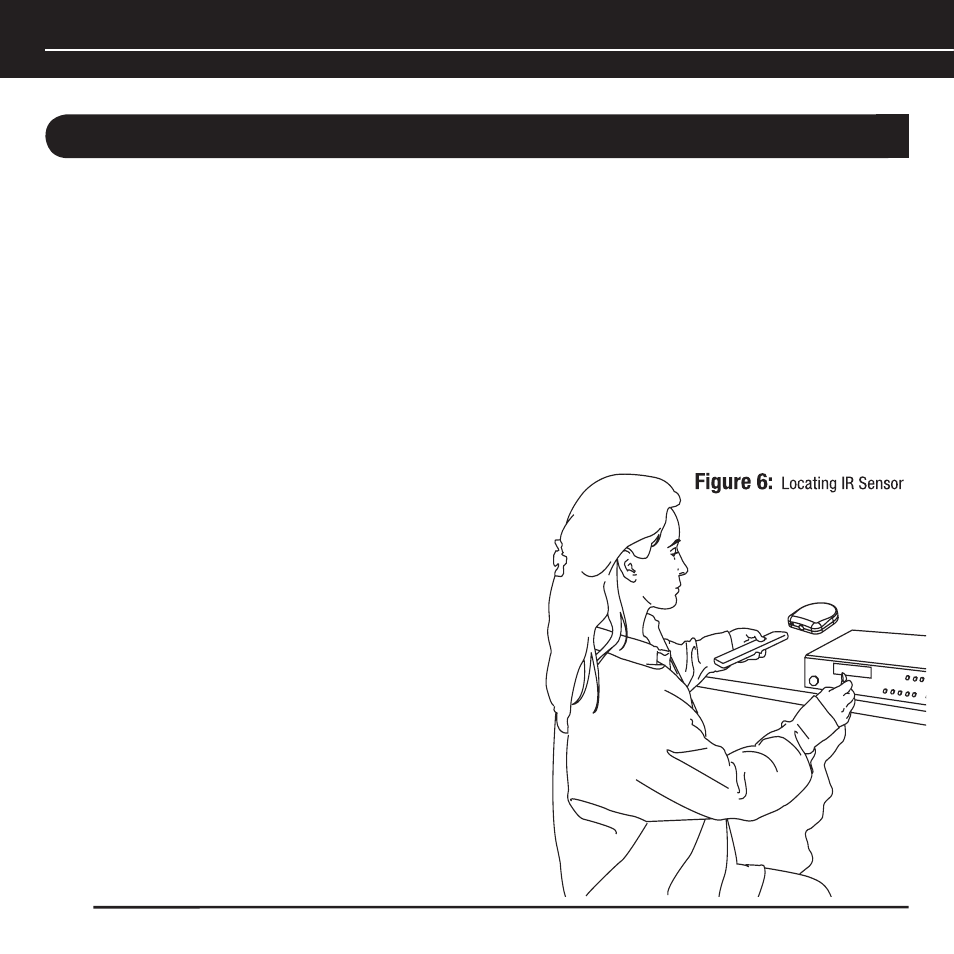
STEP 5 – MOUNTING A MICROFLASHER TO A/V COMPONENTS
Make sure all of your remote controls have batteries and that they are able to operate the A/V com-
ponents. Locate a place for the remote control that is within arm’s length of the A/V components,
yet cannot directly control them. Place the table-top sensor no closer than two feet in front of the
remote control (
Figure 6).
Hold the MicroFlasher four inches in front of the remote sensor window on the A/V component’s
front panel. Press buttons on the remote control while watching the front panel of the A/V
component. When the component responds repeatedly to the commands, peel off the protective
backing on the MicroFlasher and place the MicroFlasher in that location.
If the A/V component’s remote sensor is not clearly
marked, slowly move the MicroFlasher over the win-
dow of the A/V component while pushing buttons on
the remote control until you get a response (
Figure 7).
Repeat this procedure for each A/V component you
wish to control.
When the A/V component responds repeatedly, peel off
the protective backing on the MicroFlasher and place
the MicroFlasher in that location.