Nokia 2280 User Manual
Nokia 2280 user guide
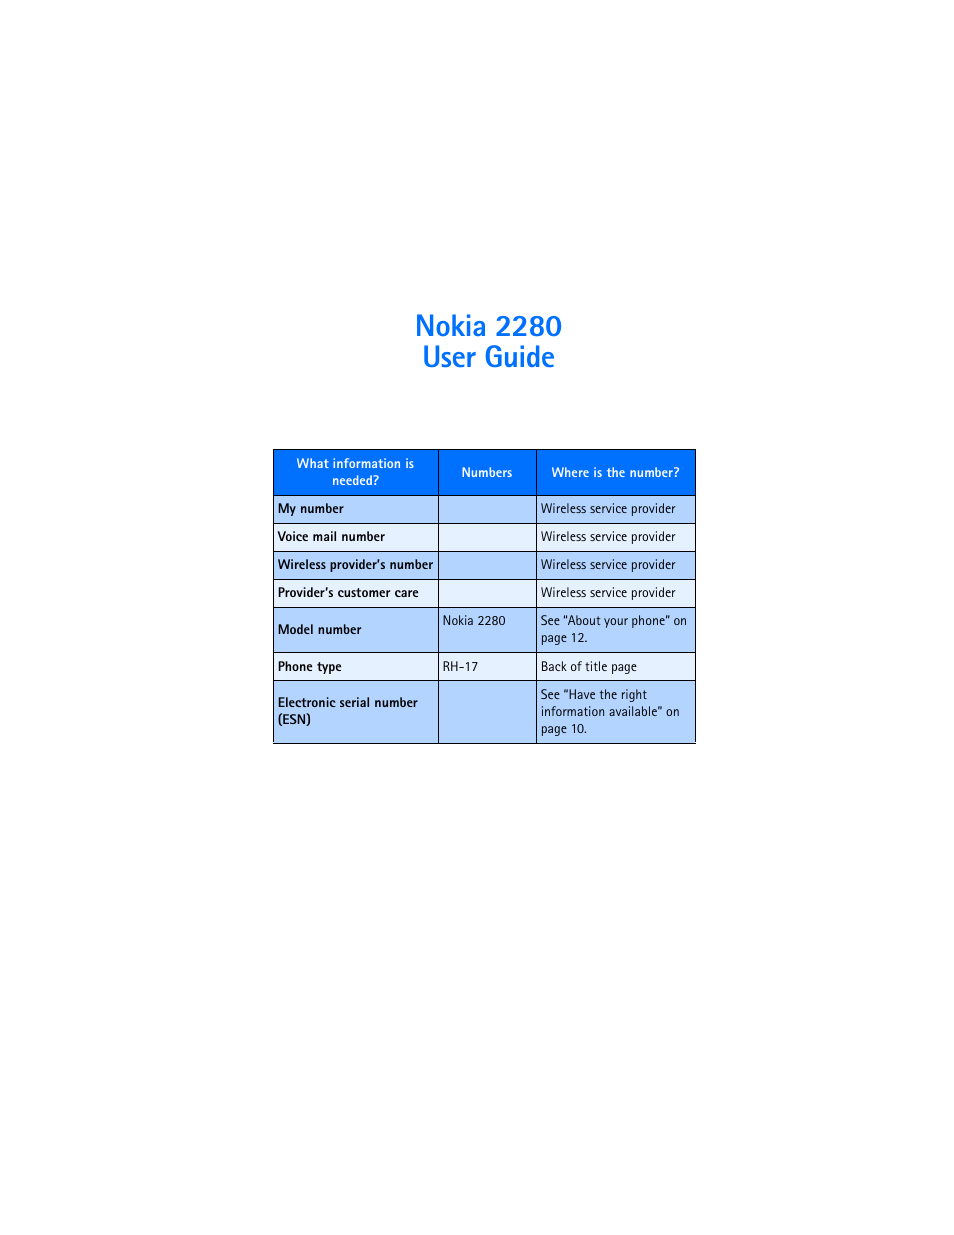
Table of contents
Document Outline
- Nokia 2280 User Guide
- Table of contents
- 1 For your safety
- SWITCH OFF WHERE PROHIBITED
- ROAD SAFETY COMES FIRST
- INTERFERENCE
- SWITCH OFF IN HOSPITALS
- SWITCH OFF IN AIRCRAFT
- SWITCH OFF WHEN REFUELING
- SWITCH OFF NEAR BLASTING
- USE SENSIBLY
- QUALIFIED SERVICE
- ENHANCEMENTS AND BATTERIES
- WATER-RESISTANCE
- BACKUP COPIES
- CONNECTING TO OTHER DEVICES
- CALLING
- EMERGENCY CALLS
- • Quick guide
- • Menu shortcuts
- 2 Welcome
- 3 About your phone
- • About the antennas
- • About the battery
- Install the battery
- 1 Remove the back cover of the phone by pressing and holding the release button while sliding the...
- 2 Place the battery in the compartment with the label side facing down and the metal contacts ali...
- 3 Snap the battery into place.
- 4 Replace the cover by placing it into the slots on the back of the phone, and sliding the cover ...
- Charge the battery
- Remove the battery
- RUIM card slot
- Important battery information
- Install the battery
- • Switch your phone on or off
- • Check the Start screen
- • Use the selection keys
- • use the scroll keys
- • Learn about the keys
- • Make and answer calls
- • Review phone symbols
- • Memory use
- • View your phone help system
- • Browse phone menus
- • Menu and menu shortcuts
- Messages 1
- Call log 2
- Profiles 3
- Settings 4
- Games 5
- Voice 6
- Minibrowser 7
- Organizer 8
- Applications 9
- Keyguard 10
- • Phone book menu
- 4 Phone setup
- 5 Text entry
- 6 Phone book
- • Saving contacts and numbers
- • Recall contacts and numbers
- • Use phone book menus
- • Edit a name or number
- • Add a number to a phone book entry
- • Delete stored and numbers
- • Add other information to a phone book entry
- 1 Recall the phone book entry you want to modify.
- 2 Press Details, then press Options again.
- 3 Scroll to Add detail, then press Select.
- 4 Scroll to the type of information you would like to add (E-mail, Street addr., etc.), then pres...
- 5 Enter the information, then press OK.
- 6 Press the End key to return to the Start screen.
- • Use caller groups
- • Check memory status
- 7 Call log
- Requirements
- • Check missed or received calls, or dialed numbers
- • Delete recent call lists
- • Use call timers
- • Turn on a current call timer
- • Clear call timers
- • Data timers (Data/fax and Minibrowser)
- 8 Voice mailbox
- 9 Text messages
- • Write a text message
- Create and send a text message
- 1 From the Start screen, press Menu, then press Select.
- 2 Select Text messages, then select Create message.
- 3 Select either Text (up to 160 characters) or Numeric page (message consists of phone number only).
- 4 Scroll to Add number, then press Select.
- 5 Enter the phone number of the recipient, then press OK. OR Press Search, highlight the desired ...
- 6 Press Options, scroll to Enter text, then press Select.
- 7 Enter your message.
- 8 To send the message, press Options, then select Send.
- Use other options
- View message options
- Create and send a text message
- • Use message templates
- 1 Create a new text message as described in steps 1-6 in the section, “Create and send a text mes...
- 2 Instead of entering your own message, press Options, scroll to Use template, then press Select.
- 3 Scroll to one of the available templates:
- 4 Press Select to enter the text into your new message.
- 5 Complete the process described earlier to send your message.
- 1 Press Menu 01-1-5 (Messages > Text messages > Templates).
- 2 Scroll to the desired template, then press Select.
- 3 Press Options, then select Edit to modify the message or Use number to select a recipient.
- 4 From the message options list, select Send to send your message.
- • Learn about e-mail text messages
- • Receive text messages
- • Respond to a text message
- • Reply to a message
- • Delete messages
- • Message settings
- • Organize text messages using folders
- • Write a text message
- 10 Personalization
- • Learn about profiles
- • Select a different profile
- • Customize a profile
- • Rename profiles
- • Download a ringing tone
- • Set the display language
- • Set the clock
- • Customize the Welcome screen
- • Learn about voice commands
- 11 Advanced features
- • View in-call options
- • Use call forwarding
- Learn about call forwarding feature codes
- Store a feature code
- 1 Press Menu 4-6-5 (Settings > Network services > Network feature setting).
- 2 Enter the feature code your service provider gave you (example *90 for activating Forward if bu...
- 3 Press Select when Call forwarding is displayed.
- 4 Scroll to the type of forwarding that matches the feature code you entered (for example: Forwar...
- 5 Select Activate.
- Activate/cancel call forwarding
- • Use call waiting
- • Make a conference call
- 1 Make a call to the first participant as usual.
- 2 When you’re ready to place a call to the next party, press Options, then press New call.
- 3 Enter the number and press the Send key.
- 4 Press the Send key again to connect both parties.
- 5 To end the call, press the End key.
- End calls
- Go from conference call to individual call
- Disconnect one party from the conference call
- • Send own caller ID when calling
- • Use automatic redial
- • Calling card
- Saving calling card information
- 1 Press Menu 4-1-6 (Settings > Call settings > Calling card).
- 2 Enter your security code, then press OK.
- 3 Scroll to one of the four memory locations, then press Options.
- 4 Scroll to Edit, then press OK.
- 5 Select Dialing sequence.
- 6 Scroll to one of the three sequence types as described in the following table, then press Select.
- 7 Enter the required information (access number or prefix and card number).
- 8 Press OK to confirm your entries.
- 9 Press OK to save your changes.
- 10 Scroll to Card name, then press Select.
- 11 Enter the card name, then press OK.
- Choosing a calling card to use
- Making calling card calls
- 1 Enter the phone number, including any prefix (such as 0 or 1) that your calling card may requir...
- 2 Press and hold the Send key for a few seconds until your phone displays Card call.
- 3 Your phone displays Wait for tone, then press OK.
- 4 When you hear the tone or system message, press OK.
- 5 Your phone displays Wait for tone, press OK again.
- 6 When you hear the tone or system message, press OK.
- Saving calling card information
- • Voice dialing
- Assign a voice tag to a phone number
- Add a voice tag to a phone book entry
- 1 At the Start screen, press up scroll or down scroll keys.
- 2 Scroll to the desired phone book entry, and press Details.
- 3 Scroll to the phone number you want to tag and press Options.
- 4 Scroll to Add voice tag and press Select.
- 5 Press Start and after the tone, speak the voice tag clearly into the microphone.
- Important notes about voice tags
- Add a voice tag to a phone book entry
- Dialing a number using voice dialing
- Work with voice tags
- Assign a voice tag to a phone number
- • 1-touch dialing
- • Learn about Caller Groups
- Add a number to a caller group
- 1 At the Start screen, press the up or down scroll keys.
- 2 Scroll to the desired phone book entry, and press Details.
- 3 Scroll to the phone number you want to use and press Options.
- 4 Scroll to Caller groups, and press Select.
- 5 Scroll to the desired caller group (for example, Friends), and press Select.
- Select a ringing tone and graphic for a caller group
- Add a number to a caller group
- • Use Touch tones
- • Link phone book entries
- Use linking options
- 1 Store the touch tone string into your phone book.
- 2 Assign the phone book entry with the touch tones to a 1-touch dialing location (for example, lo...
- 3 Edit the automated service’s phone number by adding +n to the end of the phone number (where n ...
- 4 Press OK to save your changes.
- 5 Dial the automated service’s number from your phone book. Your phone automatically sends the to...
- Use linking options
- • Learn about Voice Recorder
- 12 Security and System settings
- • Lock keypad (Keyguard)
- • Security code
- • Phone lock
- • Call restrictions
- Learn about restriction options
- Adding a call restriction
- 1 Press Menu 4-5-1 (Settings > Security settings > Call restrictions).
- 2 Enter the security code and press OK.
- 3 Select either Restrict outgoing calls or Restrict incoming calls.
- 4 Scroll to Add restriction and press Select.
- 5 Enter the number string you wish to restrict and press OK.
- 6 Enter a name to identify this restriction, or just press OK.
- Select call restrictions
- 1 Press Menu 4-5-1 (Settings > Security settings > Call restrictions).
- 2 Enter your security code and press OK.
- 3 Scroll to Restrict outgoing calls or Restrict incoming calls and press Select.
- 4 Scroll to Select and press Select.
- 5 Scroll to each restriction you wish to use and press Mark; press Unmark to deactivate existing ...
- 6 Press Done, then press Yes to save the changes you have made.
- Edit call restrictions
- 1 Press Menu 4-5-1 (Settings > Security settings > Call restrictions).
- 2 Enter your security code and press Select.
- 3 Scroll to Restrict outgoing calls or Restrict incoming calls and press Select.
- 4 Scroll to Edit and press Select.
- 5 Scroll to the restriction you wish to edit, then press OK.
- 6 Edit the number (as needed), then press OK.
- 7 Edit the name (as needed), then press OK.
- Erasing call restrictions
- 1 Press Menu 4-5-1 (Settings > Security settings > Call restrictions).
- 2 Enter your security code and press OK.
- 3 Scroll to Restrict outgoing calls or Restrict incoming calls and press Select.
- 4 Scroll to Delete and press Select.
- 5 Scroll to the restriction you wish to delete, then press OK.
- 6 Press OK again to delete restriction.
- • Automatic update of service
- • Learn about system selection
- 13 Organizer
- • Use the alarm clock
- • Calendar
- • Calculator
- Use the calculator
- 1 From the Organizer menu, scroll to Calculator, and press Select.
- 2 Enter the first number in the calculation (press # for decimal point).
- 3 To add, press */+ once (+ appears); to subtract, press */+ twice ( ); to multiply, press */+ ...
- 4 You can also press Options, scroll to Add, Subtract, Multiply, Divide, Square, or Square root, ...
- 5 Enter the second number.
- 6 For a total, press Options twice.
- 7 To start a new calculation, press and hold Clear for two seconds.
- Convert currency
- Set the exchange rate
- 1 Press Menu 7-1 (Menu > Tools > Calculator), and then press Options.
- 2 Use the up scroll or down scroll key to scroll to Exchange rate and press Select.
- 3 Select the exchange rate: Foreign units converted to home units or Home units converted to fore...
- 4 Press Select.
- 5 Enter the appropriate number and press OK.
- 6 Press OK.
- Calculate currency using the exchange rate
- Set the exchange rate
- Convert currency
- Set the exchange rate
- 1 Press Menu 8-4 (Menu > Organizer > Calculator), and then press Options.
- 2 Use up scroll key or down scroll key to scroll to Exchange rate and press Select.
- 3 Select the exchange rate: Visited units to a home unit or Home units to a visited units.
- 4 Press Select.
- 5 Enter the appropriate number and press OK.
- 6 Press OK.
- Calculate currency using the exchange rate
- Set the exchange rate
- Use the calculator
- • Stopwatch
- 14) Applications
- 15 Games
- 16 Your phone and other devices
- 17 Minibrowser
- 18 Reference information
- • Use enhancements safely
- • Important safety information
- • Certification information (SAR)
- • Care and maintenance
- • enhancements
- • Battery information
- • Chargers and other enhancements
- • Nokia Xpress-on™ color covers
- • Frequently Asked Questions (FAQ)
- • Glossary
- • Technical information
- • Troubleshooting
- 19 Nokia One Year Limited Warranty
- 1 The limited warranty for the Product extends for ONE (1) year beginning on the date of the purc...
- 2 The limited warranty extends only to the original purchaser (“Consumer”) of the Product and is ...
- 3 The limited warranty extends only to Consumers who purchase the Product in the United States of...
- 4 During the limited warranty period, Nokia will repair, or replace, at Nokia’s sole option, any ...
- 5 Upon request from Nokia, the Consumer must prove the date of the original purchase of the Produ...
- 6 The Consumer shall bear the cost of shipping the Product to Nokia in Melbourne, Florida. Nokia ...
- 7 The Consumer shall have no coverage or benefits under this limited warranty if any of the follo...
- a) The Product has been subjected to abnormal use, abnormal conditions, improper storage, exposur...
- b) The Product has been damaged from external causes such as collision with an object, or from fi...
- c) Nokia was not advised in writing by the Consumer of the alleged defect or malfunction of the P...
- d) The Product serial number plate or the enhancement data code has been removed, defaced or alte...
- e) The defect or damage was caused by the defective function of the cellular system or by inadequ...
- 8 Nokia does not warrant uninterrupted or error-free operation of the Product. If a problem devel...
- a) The Consumer shall return the Product to the place of purchase for repair or replacement proce...
- b) If “a” is not convenient because of distance (more than 50 miles) or for other good cause, the...
- c) The Consumer shall include a return address, daytime phone number and/or fax number, complete ...
- d) The Consumer will be billed for any parts or labor charges not covered by this limited warrant...
- e) Nokia will repair the Product under the limited warranty within 30 days after receipt of the P...
- f) If the Product is returned during the limited warranty period, but the problem with the Produc...
- 9 YOU (THE CONSUMER) UNDERSTAND THAT THE PRODUCT MAY CONSIST OF REFURBISHED EQUIPMENT THAT CONTAI...
- 10 ANY IMPLIED WARRANTY OF MERCHANTABILITY, OR FITNESS FOR A PARTICULAR PURPOSE OR USE, SHALL BE ...
- 11 Some states do not allow limitation of how long an implied warranty lasts, so the one year war...
- 12 Nokia neither assumes nor authorizes any authorized service center or any other person or enti...
- 13 This is the entire warranty between the Nokia and the Consumer, and supersedes all prior and c...
- 14 This limited warranty allocates the risk of failure of the Product between the Consumer and No...
- 15 Any action or lawsuit for breach of warranty must be commenced within eighteen (18) months fol...
- 16 Questions concerning this limited warranty may be directed to: Nokia Inc. Attn: Customer Servi...
- 17 The limited warranty period for Nokia supplied attachments and enhancements is specifically de...
- Appendix A Message from the CTIA (Cellular Telecommunications & Internet Association) to all user...
- A Guide to Safe and Responsible Wireless Phone Use
- 1 Get to know your wireless phone and its features such as speed dial and redial. Carefully read ...
- 2 When available, use a hands free device. A number of hands free wireless phone accessories are ...
- 3 Position your wireless phone within easy reach. Make sure you place your wireless phone within ...
- 4 Suspend conversations during hazardous driving conditions or situations. Let the person you are...
- 5 Do not take notes or look up phone numbers while driving. If you are reading an address book or...
- 6 Dial sensibly and assess the traffic; if possible, place calls when you are not moving or befor...
- 7 Do not engage in stressful or emotional conversations that may be distracting. Stressful or emo...
- 8 Use your wireless phone to call for help. Your wireless phone is one of the greatest tools you ...
- 9 Use your wireless phone to help others in emergencies. Your wireless phone provides you a perfe...
- 10 Call roadside assistance or a special wireless non-emergency assistance number when necessary....
- A Guide to Safe and Responsible Wireless Phone Use
- Appendix B Message from the FDA (U.S. Food and Drug Administration) to all users of mobile phones.
- 1 For your safety