Figure 2-1. removing protective screw caps – National Instruments PXI NI PXI-8105 User Manual
Page 16

Chapter 2
Installation and Configuration
2-2
ni.com
4.
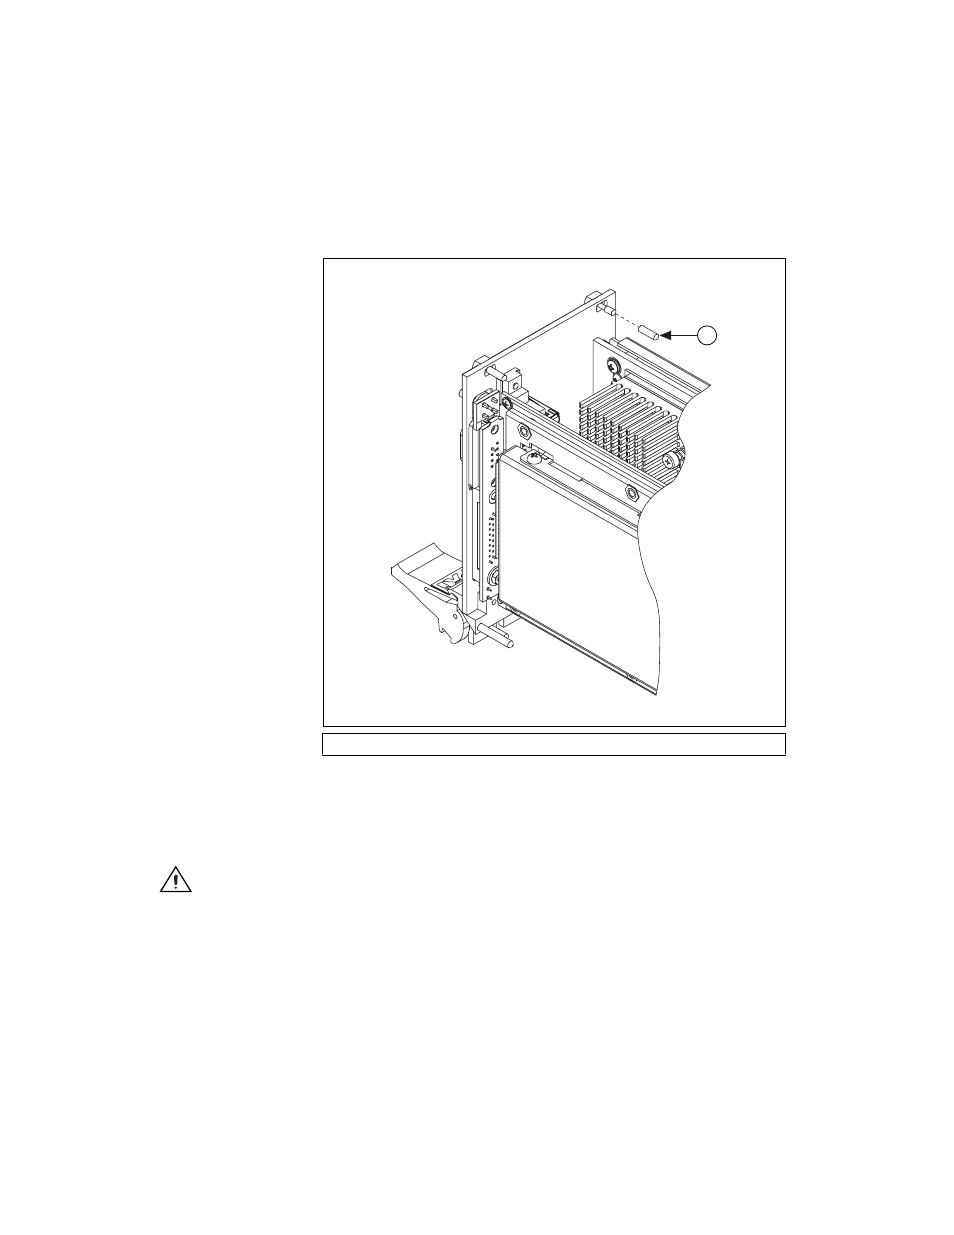
Remove the protective plastic covers from the four bracket-retaining
screws as shown in Figure 2-1.
Figure 2-1. Removing Protective Screw Caps
5.
Make sure the injector/ejector handle is in its downward position.
Align the NI PXI-8105 with the card guides on the top and bottom
of the system controller slot.
Caution
Do not raise the injector/ejector handle as you insert the NI PXI-8105.
The module will not insert properly unless the handle is in its downward position so that
it does not interfere with the injector rail on the chassis.
6.
Hold the handle as you slowly slide the module into the chassis until
the handle catches on the injector/ejector rail.
1
Protective Screw Cap (4X)
1
See also other documents in the category National Instruments Computer Accessories:
- R Series Intelligent DAQ PXI-784xR (14 pages)
- 7344 (66 pages)
- Relay Module SCC-RLY01 (9 pages)
- Compact FieldPoint Mounting Accessories cFP-21xx (10 pages)
- PCI-4451 (115 pages)
- NI 6239 (172 pages)
- SCXI-1190 (54 pages)
- SCXI-1190/1191 (45 pages)
- NI 785xR (74 pages)
- DIO 6533 (125 pages)
- Multisystem eXtension Interface NI PCIe-836x (37 pages)
- GPIB-BUF (40 pages)
- 6527 (47 pages)
- PCI-8336 (43 pages)
- 6025E (136 pages)
- NI 78xxR (12 pages)
- PCI-6110E/6111E (113 pages)
- NI 6115/6120 (127 pages)
- 1128 (97 pages)
- 800 Series (104 pages)
- NI 6115 (127 pages)
- NI 784xR (74 pages)
- GPIB-100A (43 pages)
- VXI-MIO Series (151 pages)
- Low-Cost Multifunction I/O Board for ISA Lab-PC+ (211 pages)
- PC-DIO-24/PnP (107 pages)
- PC-LPM-16/PnP (125 pages)
- NI 7831R (71 pages)
- 653X (147 pages)
- VXI/VME 600 (61 pages)
- PXI NI PXI-1052 (70 pages)
- PC-DIO-96 (105 pages)
- NI UES-3880 (14 pages)
- GPIB-COM (56 pages)
- Switch Executive (8 pages)
- AT-MIO-16X (330 pages)
- 7340 PCI (67 pages)
- NI 783xR (73 pages)
- NI CVS-1450 Series (91 pages)
- SCXI-1321 (16 pages)