Delete a tv channel, Setting the language, Setting the time and date – Philips 21PV320/05 User Manual
Page 10: Automatic time and date setting (smart clock)
Delete a TV Channel
a
Press the
MENU
button. The main menu appears.
b
Select the line ’
Installation
’ with the
B
or
A
button and confirm with the
C
button .
c
Select the line ’
Sort channels
’ with the
B
or
A
button and confirm with the
C
button.
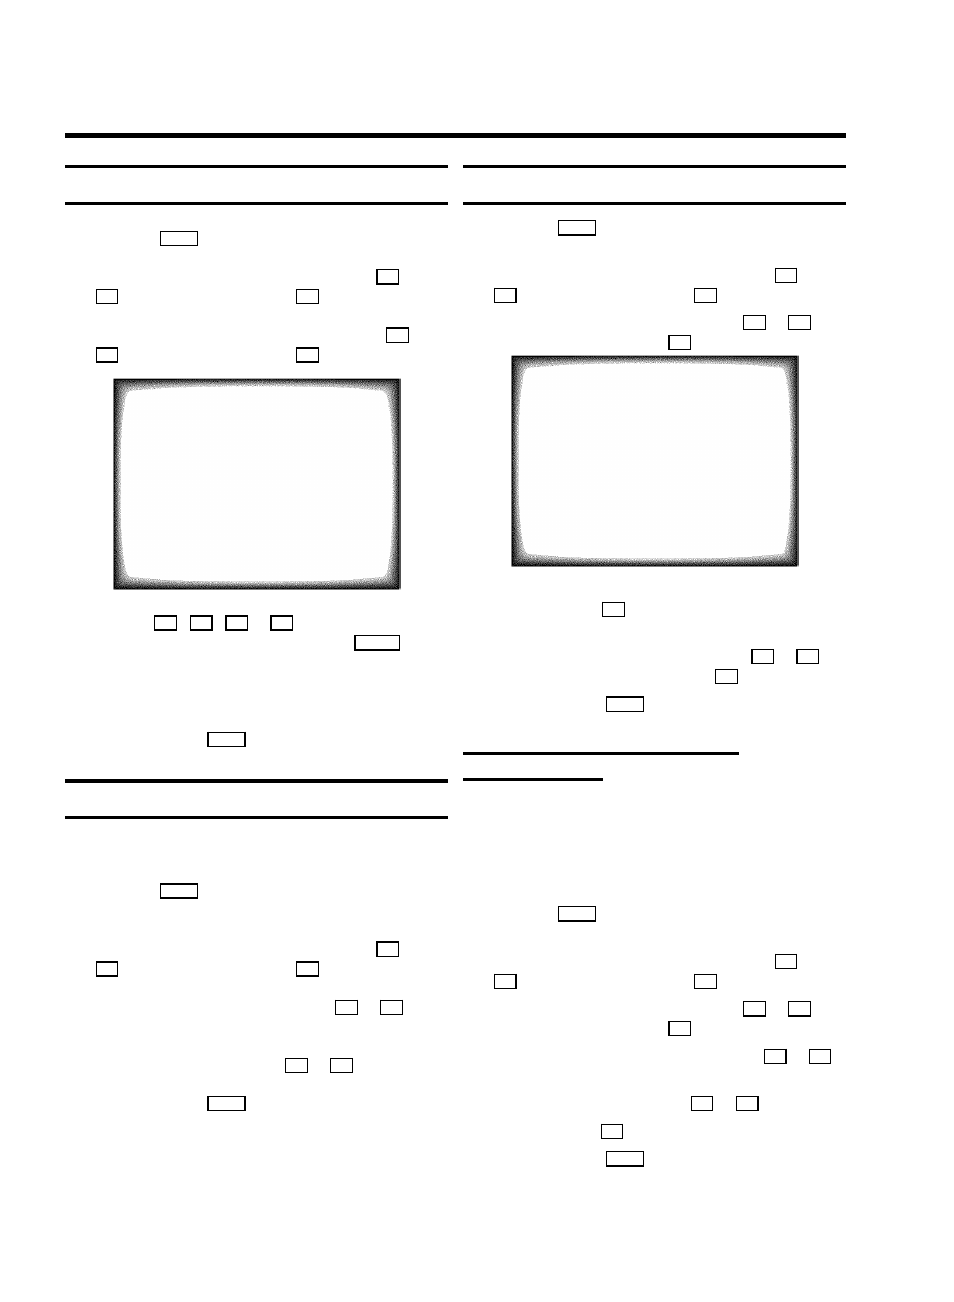
SORT CHANNELS
01 xxx
02 yyy
03 zzz
04 aaa
05 bbb
06 ccc
ã Exit:
To move:
« press MENU
press OK
d
With the
B
,
A
,
D
or
C
button, select the TV
channel you want to delete and press the
CLEAR
button.
e
Repeat step
d
, until you have deleted all the required
TV channels.
f
To end, press the
MENU
button.
Setting the language
You can select the language for the on-screen display (OSD).
a
Press the
MENU
button on the remote control. The main
menu will appear.
b
Select the line ’
Installation
’ with the
B
or
A
button and confirm with the
C
button.
c
Select the line ’
Language
’ with the
B
or
A
button.
d
Select your language with the
D
or
C
button.
e
To end, press the
MENU
button.
Setting the time and date
a
Press the
MENU
button on the remote control. The main
menu will appear.
b
Select the line ’
Installation
’ with the
B
or
A
button and confirm with the
C
button.
c
Select the line ’
Set clock
’ with the
B
or
A
button and confirm with the
C
button.
SET CLOCK
Time
15:36
Year
1999
Month
06
Date
08
Smart clock
ON
ã Exit:
« press MENU
d
Check the time in line ’
Time
’. If required, please change
the time with the
0-9
buttons on the remote control.
e
Check ’
Year
’, ’
Month
’ and ’
Date
’ in the same way.
You can switch between entry fields with
B
or
A
button. Confirm each entry with the
OK
button.
f
To end, press the
MENU
button.
Automatic time and date setting
(SMART CLOCK)
D If a television programme, which transmits TELETEXT, is
stored with programme number ’
P01
’, time and date will
be set automatically.
D Time will automatically be adjusted to winter time and
summer time.
a
Press the
MENU
button on the remote control. The main
menu will appear.
b
Select the line ’
Installation
’ with the
B
or
A
button and confirm with the
C
button.
c
Select the line ’
Set clock
’ with the
B
or
A
button and confirm with the
C
button.
d
Select the line ’
Smart clock
’ with the
B
or
A
button.
e
Switch the function on with the
D
or
C
button.
f
Confirm with the
OK
button.
g
To end, press the
MENU
button.
8