Setting the time/date on the video recorder, Basic settings – Philips TL24A5T User Manual
Page 8
8
Setting the time/date on the video recorder
1
Press button
MENU
. Select ’CLOCK SETTINGS’ in the
main menu. Now press button
OK
.
2
Set the current time (TIME).
When you enter minutes, seconds will automatically be
set to ’0’.
3
Now press button
OK
again.
Set the current date (DATE).
4
Now press button
OK
again.
Now set the current month (MONTH).
5
Now press button
OK
again.
Now set the current year (YEAR).
6
Press button
OK
again, followed by
MENU
. You
have now finished setting the time and date.
7
Press button
MENU
to exit from the main menu.
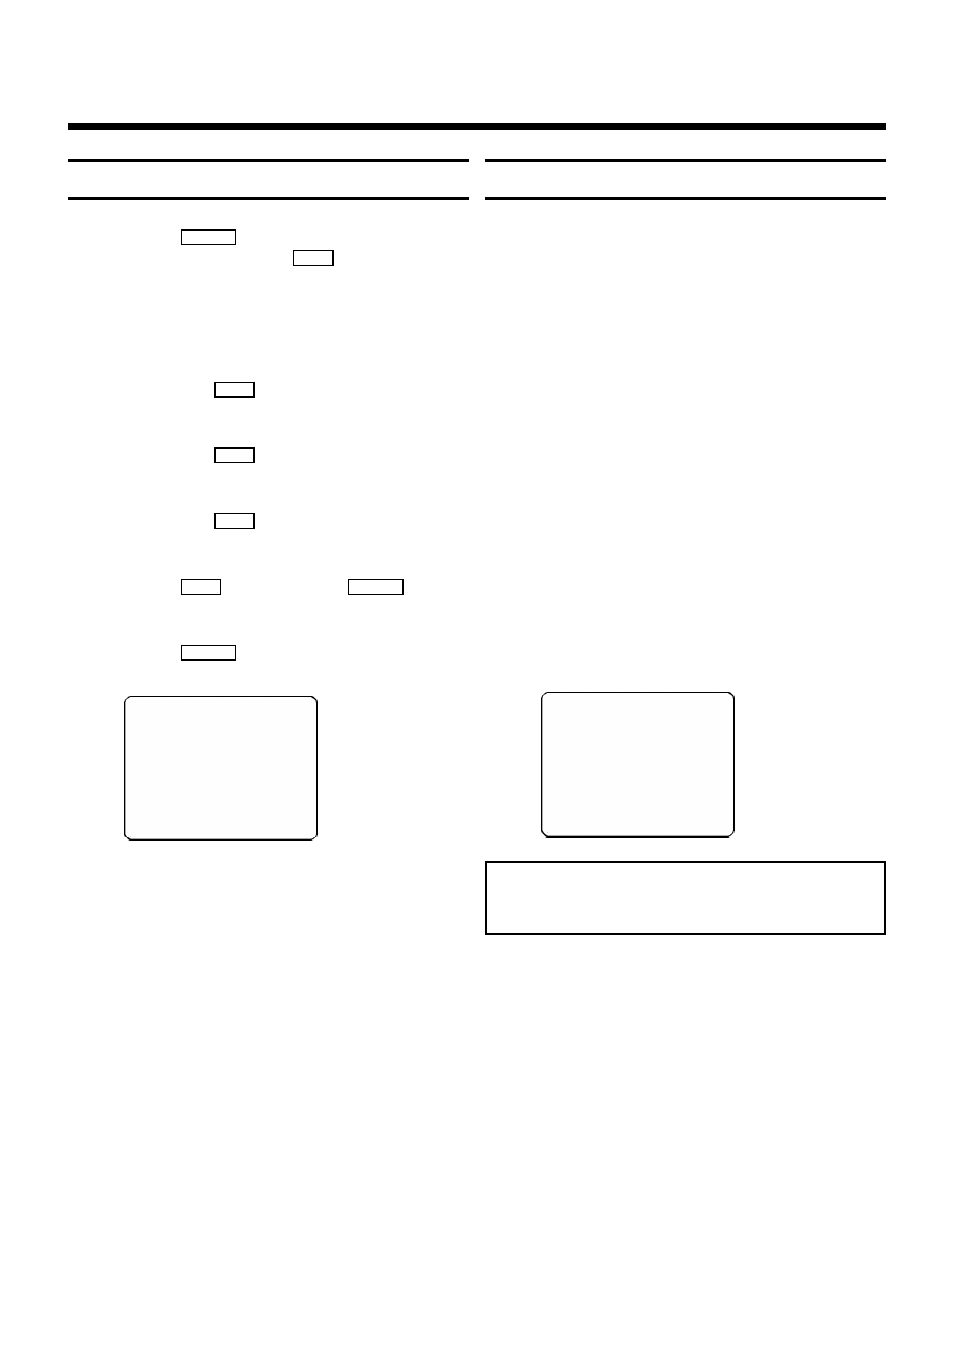
TIME :
13:45
DATE :
28
MONTH:
02
YEAR :
98
------------------------
S/J
OK/MENU
Basic settings
Define the basic settings on your appliance: recording speed,
input via SCART or BNC socket, position of OSD, camera
synchronisation and locking function.
1
In the main menu, select the ’BASIC SETTINGS’ line.
2
Select the ’SCART’ or ’BNC’ socket as the recording
source (REC SOURCE).
If no recording source has been connected or if the
recording source has been incorrectly selected in the
basic settings, ’NO VIDEO’ appears in the display.
3
Select the position of the OSD (OSD POS): bottom left
(L-BOTTOM), bottom right (R-BOTTOM), top left (L-UP-
PER), top right (R-UPPER), OFF.
4
Select ’artificial synchronisation’ (V SYNC) INT or EXT.
5
Select the lock function (SEC CODE) with (ON) or (OFF).
See the chapter ’Special Features’ for more information.
BASIC SETTINGS
REC SOURCE
BNC
OSD
R-BOTTOM
V SYNC
INT
PLAY MODE
A24H
SEC CODE
OFF
------------------------
S/J
OK/MENU
Note:
* Always leave the video recorder connected to the
mains so as not to lose the basic settings.