Auto install radio stations, Set clock, Connect power – Philips DCM276/37 User Manual
Page 12
12
Auto install radio stations
When you connect power and no radio
stations are stored, the unit automatically begins
to store radio stations.
1
Connect the unit to the power supply.
[AUTO INSTALL - PRESS PLAY
»
KEY] (auto install - press play key) is
displayed.
2
Press
on the main unit to start
installation.
The unit automatically stores radio
»
VWDWLRQVZLWKVXIÀFLHQWVLJQDOVWUHQJWK
When all the available radio stations
»
DUHVWRUHGWKHÀUVWSUHVHWUDGLRVWDWLRQ
is broadcast automatically.
Set clock
Note
You can set the clock in the standby mode
only.
1
Press PROG/CLOCK SET to enter the
clock setting mode.
[SET CLOCK] (set clock) scrolls on
»
the screen.
2
Press
/
repeatedly to select 12 hour
or 24 hour format.
3
Press PROG/CLOCK SET
WRFRQÀUP
The hour digits are displayed and begin
»
to blink.
4
Press
/
to set the hour.
5
Press PROG/CLOCK SET
WRFRQÀUP
The minute digits are displayed and
»
begin to blink.
6
Press
/
to set the minute.
7
Press PROG/CLOCK SET
WRFRQÀUPWKH
clock setting.
1
Open the battery compartment.
2
Insert 2 AAA batteries with correct
polarity (+/-) as indicated.
3
Close the battery compartment.
Note
If you are not going to use the remote control
for a long time, remove the batteries.
Do not use old and new or different types of
batteries in combination.
Batteries contain chemical substances, so they
should be disposed of properly.
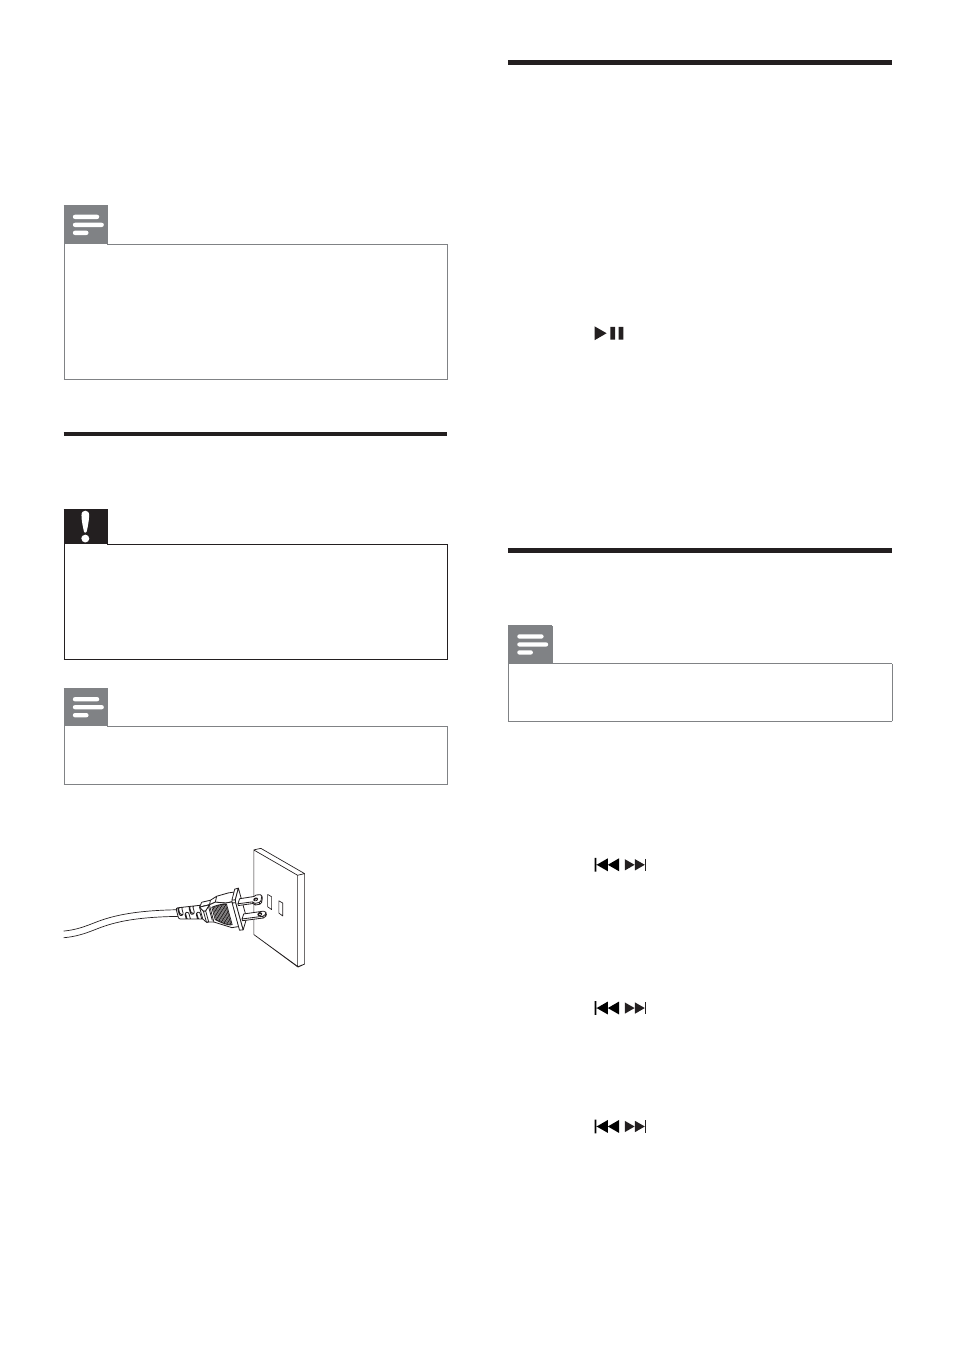
Connect power
Caution
Risk of product damage! Ensure that the
power supply voltage corresponds to the
voltage printed on the bottom of the unit.
Before connecting the AC cord, ensure you
have completed all other connections.
Note
The type plate is located on the rear of the
main unit.
1
Connect the AC cord to the AC outlet.
EN