Taking pictures in custom mode, 5 press to select [yes] and then press [menu/set, 6 press [menu/set] to close the menu – Panasonic DMC-FZ50 User Manual
Page 63: 2 press [menu/set] to enter the settings
Advanced
63
VQT0X92
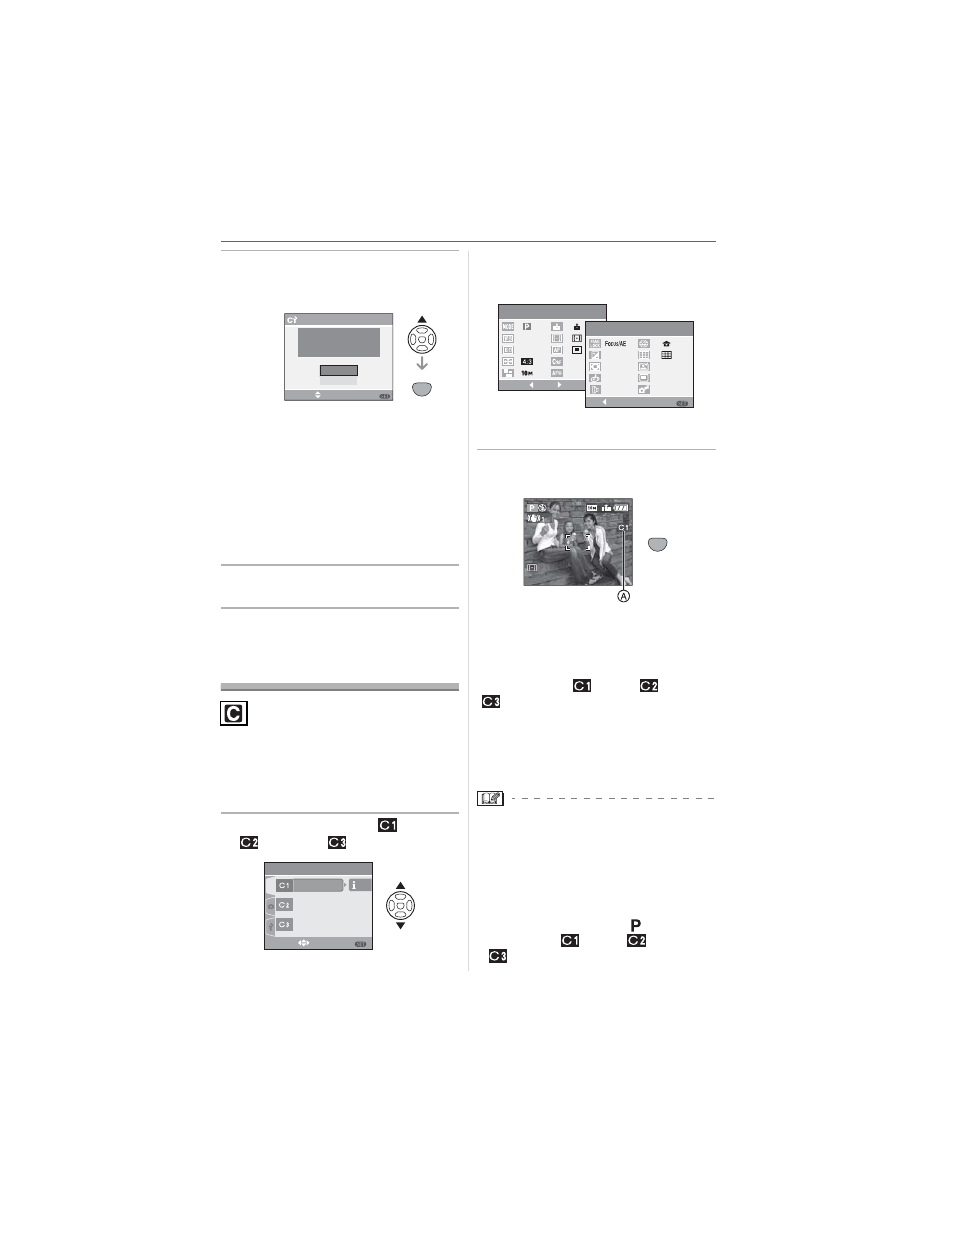
5 Press to select [YES] and then
press [MENU/SET].
• When [YES] is selected, the settings
that were previously stored are
overwritten.
• You cannot save the following menu
items because they affect all the
recording modes.
- [CLOCK SET]
- [RESET]
- [NO.RESET].
6 Press [MENU/SET] to close the
menu.
Taking pictures in
Custom mode
You can select one of your own custom
settings to suit the picture-taking conditions
and other factors from among the
registered patterns you have saved as
custom settings ahead of time.
1 Press /to select [
SET1],
[
SET2] or [
SET3].
• Press
to display the settings for each
menu item. (Press
to return to the
selection screen.)
• Only the main menu items are
displayed.
2 Press [MENU/SET] to enter the
settings.
: Saving of the selected custom settings
is displayed on the screen.
w When changing the menu settings
Even if the menu settings are changed
temporarily with [
SET1], [
SET2] or
[
SET3] selected, what has been
registered will remain unchanged. To
change what has been registered,
overwrite the registered data using [CUST.
SET MEM.] (P62) on the setup menu.
• Even if the birthday setting for [BABY1]/
[BABY2] (P69) in scene mode, or the
[TRAVEL DATE] (P71) is changed, it will not
be registered. To register the setting that has
been changed, use [CUST. SET MEM.] on
the setup menu to register the new setting.
• At the time of purchase, the initial settings
for the program AE mode [
] are
registered in [
SET1], [
SET2] or
[
SET3].
CUST.SET MEM.
SELECT
SET
NO
MENU
YES
OVER WRITE CURRENT
CAMERA STATUS AS
CUSTOM SET 1?
SET
MENU
SET
MENU
SELECT
SET3
SET2
CUSTOM
SET1
C
CUSTOM SET1
MENU
AUTO
OFF
ON
1
/
2
2
/
2
CANCEL
SET
AUTO
AUTO
MENU
OFF
OFF
OFF
OFF
OFF
1 SEC.
5 MIN.
CUSTOM SET1
2
/
2
1
/
2
SET
3
SET
MENU