Philips SBC VL1400 User Manual
Page 3
6
7
6
7
STANDBY
CO
STANDBY
STANDBY
STANDBY
STANDBY
6
7
6
7
ENGLISH
1
2
3
4
1
2
3
4
5
1
2
3
4
5
6
1
2
3
4
5
6
7
Using the wireless link with TV2
Watching and controlling video sources on TV2
Switch on TV2.
It is not necessary to switch on TV1 to enjoy video programmes on TV2.
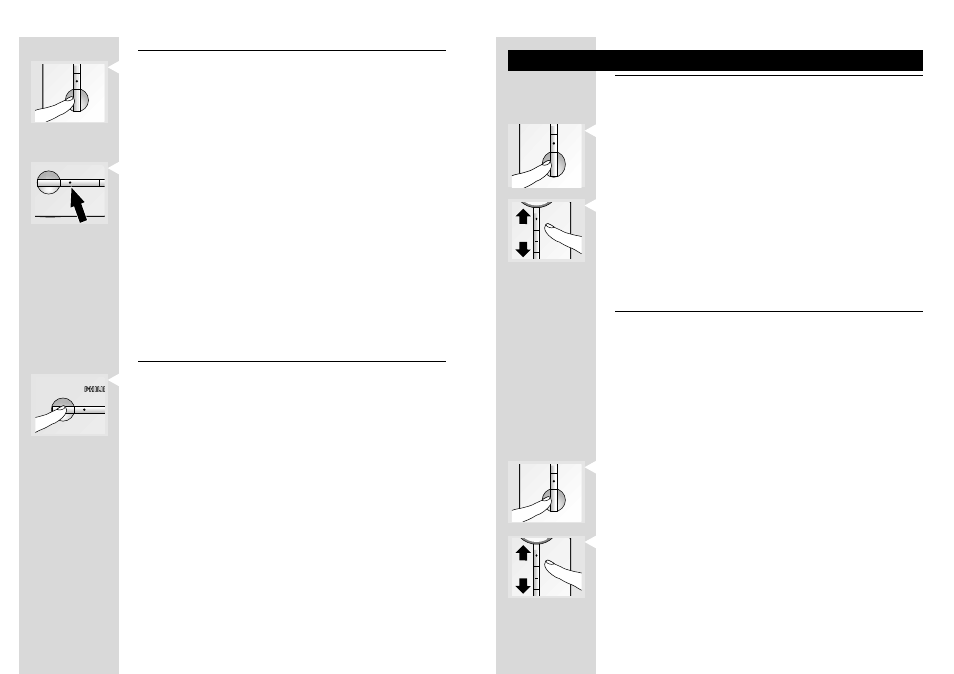
Press the power button (B-19) to switch on the receiver unit (or use the
universal remote control unit*).
When the receiver unit is turned on, the transmitter unit switches on automatically
and TV2 displays the signal on its SCART input.
Press the – or + buttons (B-22) on the receiver unit to select the video source
to be displayed (or use the universal remote control unit*).
The selection cycle is SCART input 1> 2 > 3 > 4
Aim the remote control at the receiver unit to control the video source.
Use either video source’s remote control or, even better, the universal remote
control after selecting the correct mode*.
Watching cable programmes on TV2
Switch on the VCR (or DVD+RW).
The VCR (or DVD+RW) must be connected to the cable TV network and to the
transmitter unit of the Wireless TV Link.
Some VCRs need to be switched to tuner mode to remain on (refer to their
instructions for use).
Simultaneously recording a cable programme on the VCR and wirelessly watching
cable programmes on TV2 is not possible.
Switch on TV2.
It is not necessary to switch on TV1 to enjoy cables programmes on TV2.
Press the power button (B-19) to switch on the receiver unit (or use the
universal remote control unit*).
When the receiver unit is turned on, the transmitter unit switches on automatically
and TV2 displays the signal on its SCART input.
Press the – or + buttons (B-22) on the receiver unit to select the VCR (or
DVD+RW) as the video source (or use the universal remote control unit*).
Aim the remote control at the receiver unit and press a numbered (or up/down)
button to select the cable programme on the VCR (or DVD+RW).
Use either video source’s remote control or, even better, the universal remote
control after selecting the correct mode*.
* Refer to the universal remote control’s instructions for use.
Checking the remote control operation
Switch on TV2 and the receiver unit.
Make sure your transmitter is also turned on.
Point the video source’s remote control unit at the receiver unit and switch
between play and stop.
The power light (B-19) on the receiver unit flashes to show that it has received the
remote control command.
Have a second person check that the power light (A-1) on the transmitter unit
flashes.
This indicates that it is receiving the remote control signal from the receiver unit.
If the power light (A-1) does not flash, reposition the remote control antenna at
the rear of either unit (A-18 or B-28).
The power light on the transmitter unit should now flash when a remote control
command is given at the receiver side.
If the video source does not respond to the remote command, try realigning the
front of the transmitter unit with the front of the video source until you get a
response.
If the video source still fails to respond install the remote control blaster cord
as described below.
Installing the remote control blaster cord
Switch off the transmitter unit.
Plug the blaster cord (A-15) into the IR socket (A-11) at the back of the
transmitter unit.
Switch on both transmitter and receiver units.
Ask another person to press and hold a key of the video source’s remote
control while pointing it at the receiver unit.
While the other person is doing this, slowly move an IR light (a black block)
along the front panel of the video source.
Do not let the distance between the IR light and the front panel exceed 1 cm.
When the video source reacts to the command from the remote control, the
correct position has been found. (Alternatively, locate the IR sensor by referring to
the video source’s instructions for use.)
Remove the adhesive tape from the back of the IR light and stick it onto the IR
sensor window of the video source.
If necessary, repeat this procedure for the other video sources.
ENGLISH