Reconfiguring the nic, Reconfiguring the nic 4-5, Een is displayed, as shown in – PictureTel III ISA User Manual
Page 59: Figure 4-2
Reconfiguring the NIC
4-5
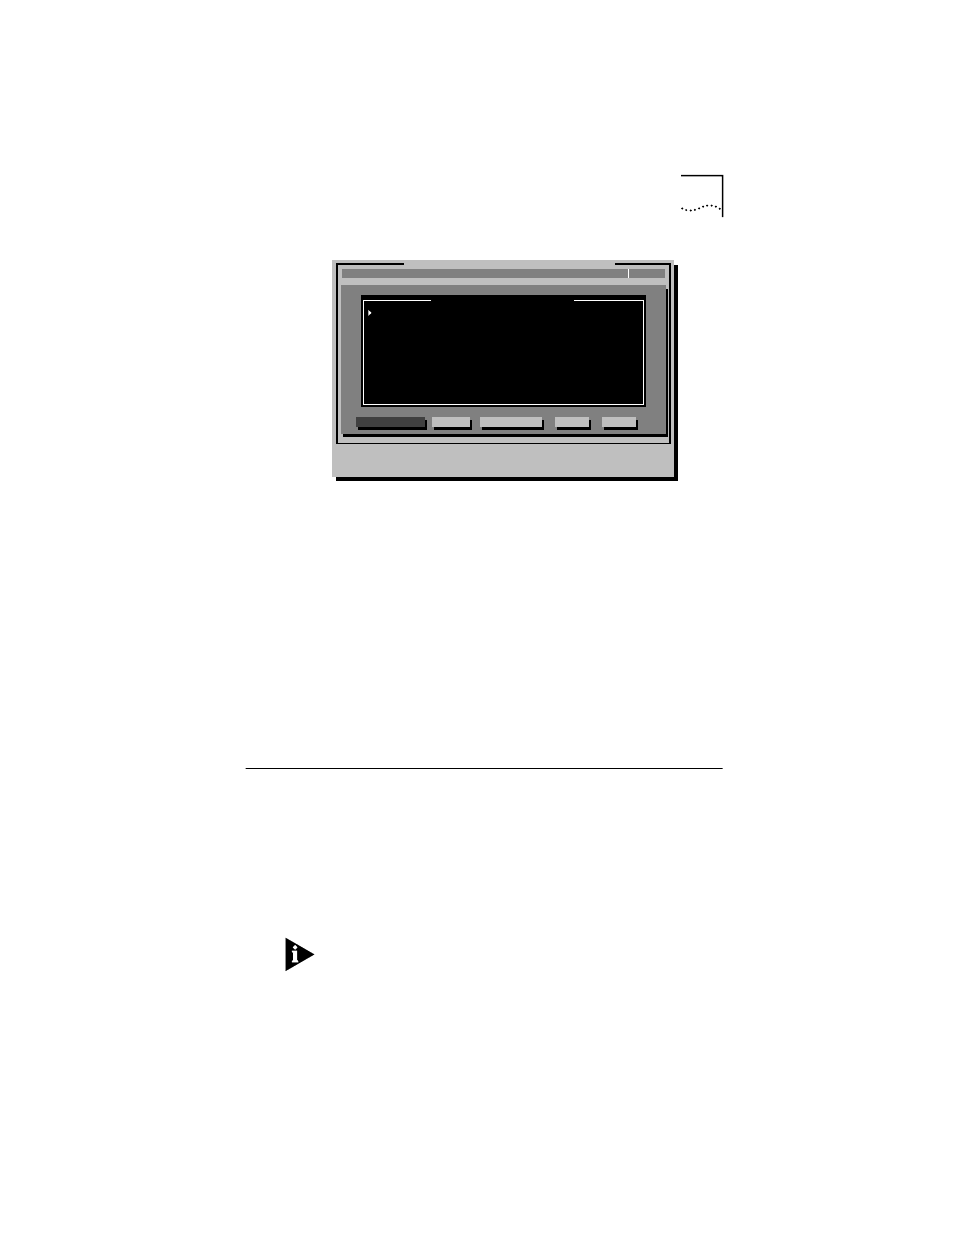
Figure 4-2 NIC Configuration Screen
7
Select Auto Configure and press Enter.
The I/O base address, interrupt request level, and transceiver type
are automatically configured to settings that do not conflict with
other devices in your PC.
To change settings, follow the steps in “Changing Configuration
Settings” later in this chapter.
If you encounter a problem with the Auto Configure option, press
F1 for help.
The OK button is selected when configuration is completed.
8
Press Enter to accept the configuration parameters.
The NIC is now configured.
Reconfiguring the NIC
EISA PCs come with an automatic configuration program that
allocates resources to each installed hardware device in the PC.
Changing an ISA NIC to EISA mode enables the NIC to be
configured by the EISA configuration program for correct EISA
PC settings.
You can configure an ISA NIC for EISA mode only if the NIC is
installed in an EISA slot.
If you have configured an ISA NIC for an EISA PC, the PROTOCOL.INI
file looks for the parameter SLOT=number rather than the I/O base
address. The SLOT number is required only if you have multiple
NICs installed.
Configuration and Diagnostic Program Version 3.2
Install
Quit
View
Select
NIC Configuration
F1=Help
[ENTER]=
[Alt]+
[TAB]=Next Field [SHIFT+TAB]=Previous Field [F1]=Help [ESC]=Cancel
Test
C
ancel
O
K
Auto Configure
M
odify
F
ile Options
EtherLink III
N
IC Configuration
I/O Base Address
Interrupt Request Level
Boot PROM
Transceiver Type
Network Driver Optimization
Maximum Modem Speed
Plug and Play Compatibility
Full Duplex
300h
10
N/A
On-board TP (RJ-45)
Windows or OS/2 Client
9600 Baud
Enabled
Disabled