Pride Mobility JET2 User Manual
Page 37
Jet 2/Rev F/Feb03
www.pridemobility.com
37
X . C A R E A N D M A I N T E N A N C E
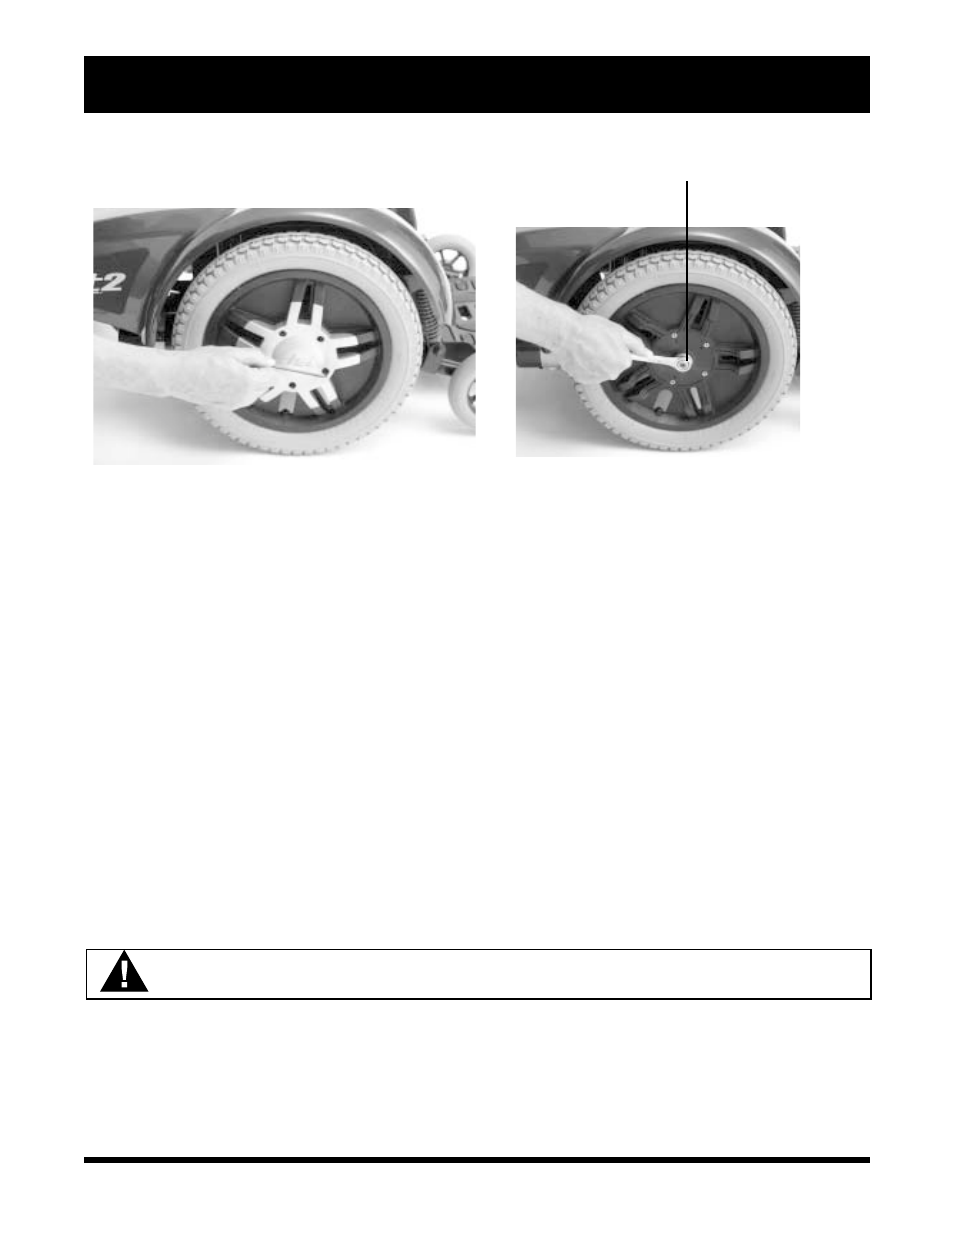
Figure 25. Drive Wheel Hub Cap Removal
DRIVE WHEEL NUT
Figure 26. Drive Wheel Nut Removal
BATTERY REPLACEMENT
Refer to the battery diagram that is printed on a label located on the Jet 2 frame near the battery tray.
To replace the batteries:
1. Turn the power off.
2. Unplug the 9-pin controller harness and the charger harness. See figure 9 and 10.
3. Remove the seat.
4. Remove the body shroud.
5. Loosen and remove the nuts on the positive battery terminals first.
6. Remove the wires.
7. Loosen and remove the nuts on the negative battery terminals.
8. Remove the wires.
9. Remove the old batteries.
10. Install the new batteries into your Jet 2 with the terminal sides of the batteries facing inward, toward
each other.
11. Connect the wire marked (+) to the closest positive (red) battery terminal.
12. Connect the wire marked (-) to the closest negative (black) battery terminal on the other battery.
13. Connect one circuit breaker harness to the empty positive terminal of one battery, and connect the other circuit
breaker harness to the empty negative terminal of the other battery.
WARNING! Make sure you tighten the fasteners so that the connections are secure.
14. Retighten all nuts.
15. Replace the shroud and seat.