Placement guidelines for your a 21 – Parasound A 21 User Manual
Page 4
PLACEMENT GUIDELINES FOR YOUR A 21
Power amplifiers are usually heavier and generate more heat than other components. To avoid
damage to the A 21 or other equipment and to reduce risk of fire, you must follow these
guidelines:
• Place the A 21 on a separate shelf that will adequately support its weight.
• Keep it away from heat sources such as air ducts or radiators.
• Avoid placing it on carpeting or another material that might obstruct airflow into the openings
in the chassis bottom.
• Leave at least 3” of space around both sides and 6” of space above the top. The bottom
clearance can be a little less.
• Do not block the front of the A 21 behind closed cabinet doors during use.
• Do not stack the A 21 with other components inside a cabinet unless you use a fan to circulate
and exhaust the warm air that builds up between them.
Rack Mounting Your Parasound A 21
To mount the A 21 into a 19” wide equipment rack, you must first attach its rack mount brackets
(provided). With its four feet removed, the A 21 chassis and front panel height occupies four rack
spaces (7” or 176 mm). When mounting equipment below the A 21, you will also need to allow
about 1/8” below the unit for the bottom chassis screws. A single standard rack space allows
1-3/4” vertical height in a 19" wide equipment rack. This measurement standard was developed
by the EIA (Electronic Industries Association) so manufacturers of electronic components and
equipment racks could build products in standardized heights that would fit in a uniform space.
Please call your Parasound dealer or Parasound Technical Services if you need additional advice
about rack mounting the A 21.
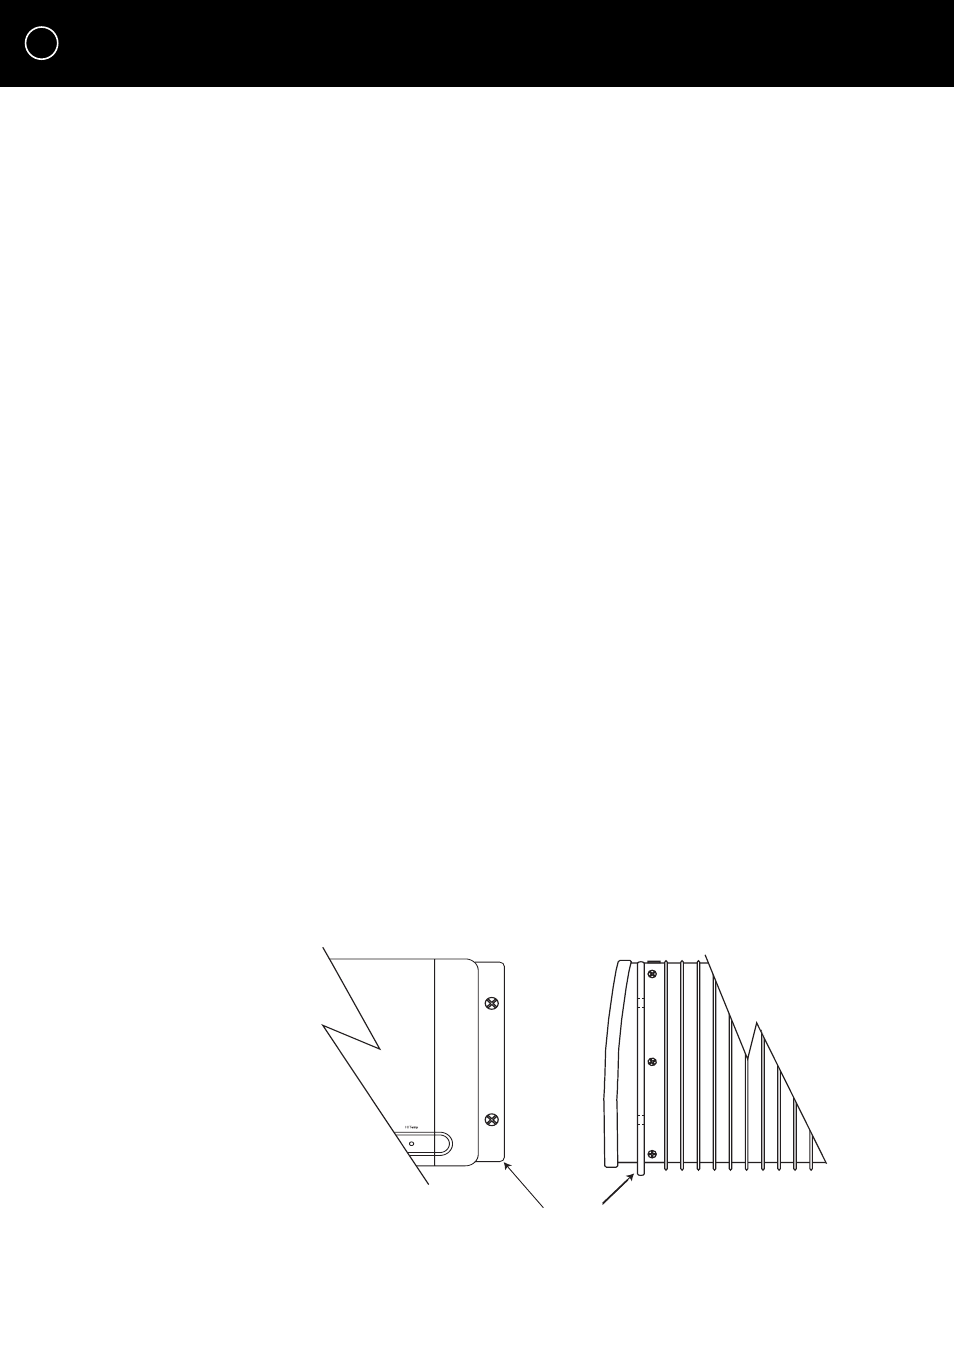
To attach the rack mount brackets:
• Remove the three screws from each side of the A 21. These are arranged vertically, behind its
front panel and in front of its first heatsink fin.
• Line up the three holes on each bracket with the three holes on the A 21 and reinsert
the screws.
• Make sure the screws are tight because they will support the entire weight of the A 21 in the
equipment rack
1
HRA-4 Rack Adapter Mounted on JC 1
Rack Mount Brackets Attached to A 21