Electronic zoom (el-zoom), Auto image stabilizer (stabilizer) – Panasonic WV-CW484F User Manual
Page 40
40
5. Select
→PUSH SW for SCALE and press SET.
→ Zone scale adjustment becomes available.
6. Adjust the zone scale using the [LEFT], [RIGHT], [UP], or [DOWN] button.
7. To apply the settings, move the cursor to SET and press SET.
→ The screen returns to the ZONE NUMBER selection menu.
To delete the settings, select DEL and press SET.
13. Electronic Zoom (EL-ZOOM)
1. Move the cursor to EL-ZOOM.
2. Select ON or OFF by pressing L or R.
The factory default setting is OFF.
ON: x2 electronic zoom is available with the
ZOOM switch on the controller.
OFF: The electronic zoom function is dis-
abled.
3. While the cursor is on EL-ZOOM, press S.
The EL-ZOOM setting menu appears.
4. Move the cursor to PUSH SET for ZOOM and
press S to display the ZOOM setting menu.
5. Press U or D to zoom in or out the image.
6. Move the cursor to PUSH SET for PAN/TILT
and press the [SET] button. The PAN/TILT
setting menu appears.
7. Press [LEFT], [RIGHT], [UP], or [DOWN] but-
ton to change the angular field of view.
8. To return to the EL-ZOOM setting menu,
press the [SET] button.
14. Camera Picture Upside Down Positioning (UPSIDE-DOWN)
1. Move the cursor to UPSIDE-DOWN.
2. Select ON when you want to turn the picture upside down.
15. Auto Image Stabilizer (STABILIZER)
This function electronically compensates for an unstable camera image due to movement of a
mounting pole or bracket. The default setting is OFF.
ON: Automatically compensates for an unstable image.
OFF: Image stabilizer will not operate.
Notes:
• When set to ON, some effective pixels on the edge of the CCD are used by the stabilization
function. This may result in a small reduction in resolution and a narrower angle of view.
After activating the image stabilizer function, check that the field of view is correct.
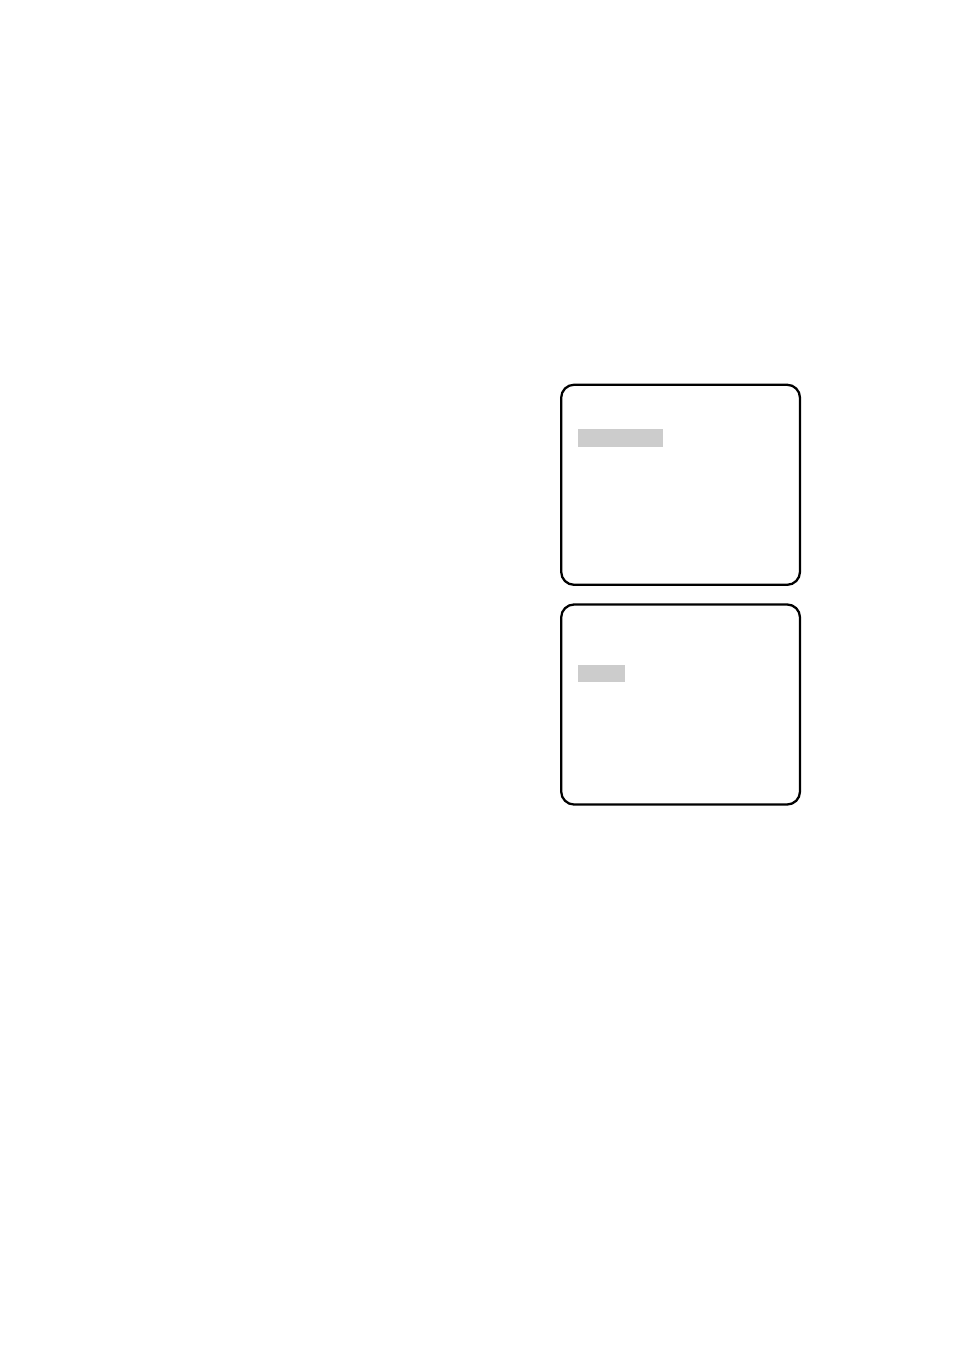
** EL-ZOOM **
PAN/TILT
→PUSH SET
ZOOM
→PUSH SET
U TILT D/L PAN R
RET END
** EL-ZOOM **
PAN/TILT
→PUSH SET
ZOOM
→PUSH SET
U ZOOM D
RET END