Configuration, Data backup – Linksys NSLU2 User Manual
Page 13
Chapter 3
Configuration
9
Network Storage Link for USB 2.0 Disk Drives
Data Backup
Data files can be backed up from the Storage Link to
another network device, or from another network device
to the Storage Link. The Backup Jobs field displays any
backup jobs you have defined. If you have not defined
any jobs, the field will be empty. For each job defined, the
following data is shown.
Name
This shows the name you assigned to this backup
job.
Source & Destination
The name of the source and
destination devices are shown in the form Source =>
Destination.
Date/Time
The date and time of the last backup are
shown.
Click Backup Now to run the selected backup job
immediately. Click Modify to change the settings of the
selected backup job. Click Delete to delete the selected
backup job. Click Add New Job to open the Define Backup
Job screen, where you can define a new backup job. Click
View Log to view the log of completed backup jobs. Click
Help to get more information about this screen.
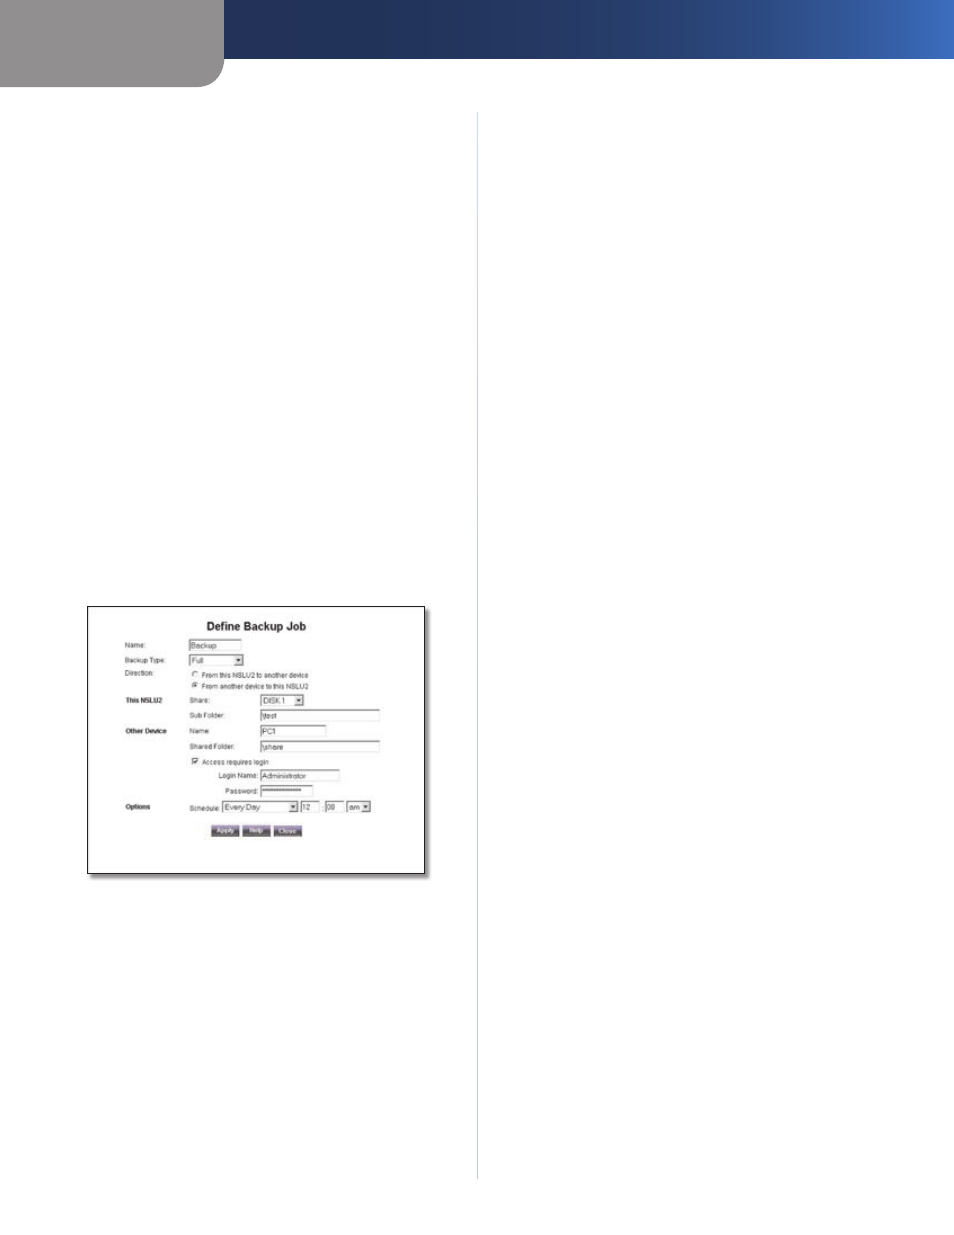
Define Backup Job
Define Backup Job
From this screen, you can add new backup jobs, which
will be displayed on the Administration > Backup screen.
Follow the guidelines below when adding jobs.
Name
The backup job’s name must be composed of
alphanumeric symbols not exceeding 15 characters in
length.
Backup Type
Select the desired backup type. Selecting
Full will back up all files. The Incremental option will only
back up files as they are changed. Selecting Synchonize
will back up all files to start, then any files on the destination
which do not exist on the source are deleted.
Direction
Select the desired direction where backing up
will occur:
From this NSLU2 to another device
•
Data on the
Storage Link is backed up to a remote device.
From another device to this NSLU2
•
Data on a remote
device is backed up to the Storage Link.
This NSLU2
Share
Select the applicable share. If backing up from
the Storage Link, select the share you wish to back up.
If backing up to the Storage Link, select the share where
you want the backed-up data to be stored. When the Sub-
Folder field appears, enter the location of the sub-folder
where the share will be stored.
Other Device
Enter the details of the remote device where data will be
backed up.
Name
The backup job’s name must be composed of
alphanumeric symbols not exceeding 15 characters in
length.
Shared Folder
Enter the name of the shared folder.
Depending on the direction of the backup, this is either
the share to be backed up, or the destination for the
backed-up data.
Access requires login
If the share is password-protected,
check this box and enter the Login Name and Password
required to gain access to the share.
Options
Schedule
This shows the scheduling options for when
the backup will occur.
Never
•
Select this to disable backup.
Every Day
•
Select this to have the backup job
performed each day, at the specified time.
Every Monday, Every Tuesday, ...
•
Select this to have
the backup performed once per week, on the specified
day.
The time fields ( hour, minute, am/pm ) allow you to specify
at what time the backup job should be performed.