Administration tab > advanced, Administration tab > groups, Configuration – Linksys NSLU2 User Manual
Page 11: E-mail alerts, New group, Existing groups
Chapter 3
Configuration
7
Network Storage Link for USB 2.0 Disk Drives
Click
•
Restart Now to restart (reboot) the Storage Link.
This will break all existing connections. The Storage
Link will immediately restart, and will not be available
again until after the restart is complete. None of your
data will be saved.
•Click
•
View Log to view the log file in a separate window.
The log file is a record of the Storage Link’s activity,
which can help in management and troubleshooting.
Click Refresh to refresh the screen. Click Clear Log to
clear all of the log’s data.
Shutdown
Use these fields to set up a shutdown
schedule, if desired. The available options are:
Never
•
This means that scheduled shutdowns will not
be performed.
Every Day
•
Select this to shutdown each day, at the
specified time.
Every Monday, Every Tuesday, ...
•
Select this to
shutdown once per week, on the specified day.
Use the time fields (hour, minute, am/pm) to specify when
the shutdown should be performed.
Restart
Use these fields to set up a restart schedule, if
desired. The options for Restart are the same as those for
Shutdown.
Disk 1/Disk 2
This displays the types of drives connected
as well as how much space remains.
E-Mail Alerts
Check the box next to Send E-Mail alerts... to enable the
Storage Link to send alerts via e-Mail. Alerts will be sent
when there is some problem requiring the Administrator’s
attention. Enter the Administrator’s e-mail address(es)
in the E-Mail Address field(s). In the Subject field, you can
enter the text you wish to appear in the Subject field of
e-Mail generated by e-mail alerts.
Click Save to save any changes. Click Cancel to clear
anything that you entered. Click Refresh to update the
data shown on the screen. Click Details to open a new
window that displays further status details, including a list
of all PCs and other devices that have been allocated an
IP address by the DHCP Server function (if enabled). Click
Help to get more information about this screen.
Administration Tab > Advanced
When you click the Advanced tab on the Administration
tab, several other tabs will appear: Groups, Shares, Backup,
Disk, Upgrade, and Setup. These are intended for advanced
users and are described below.
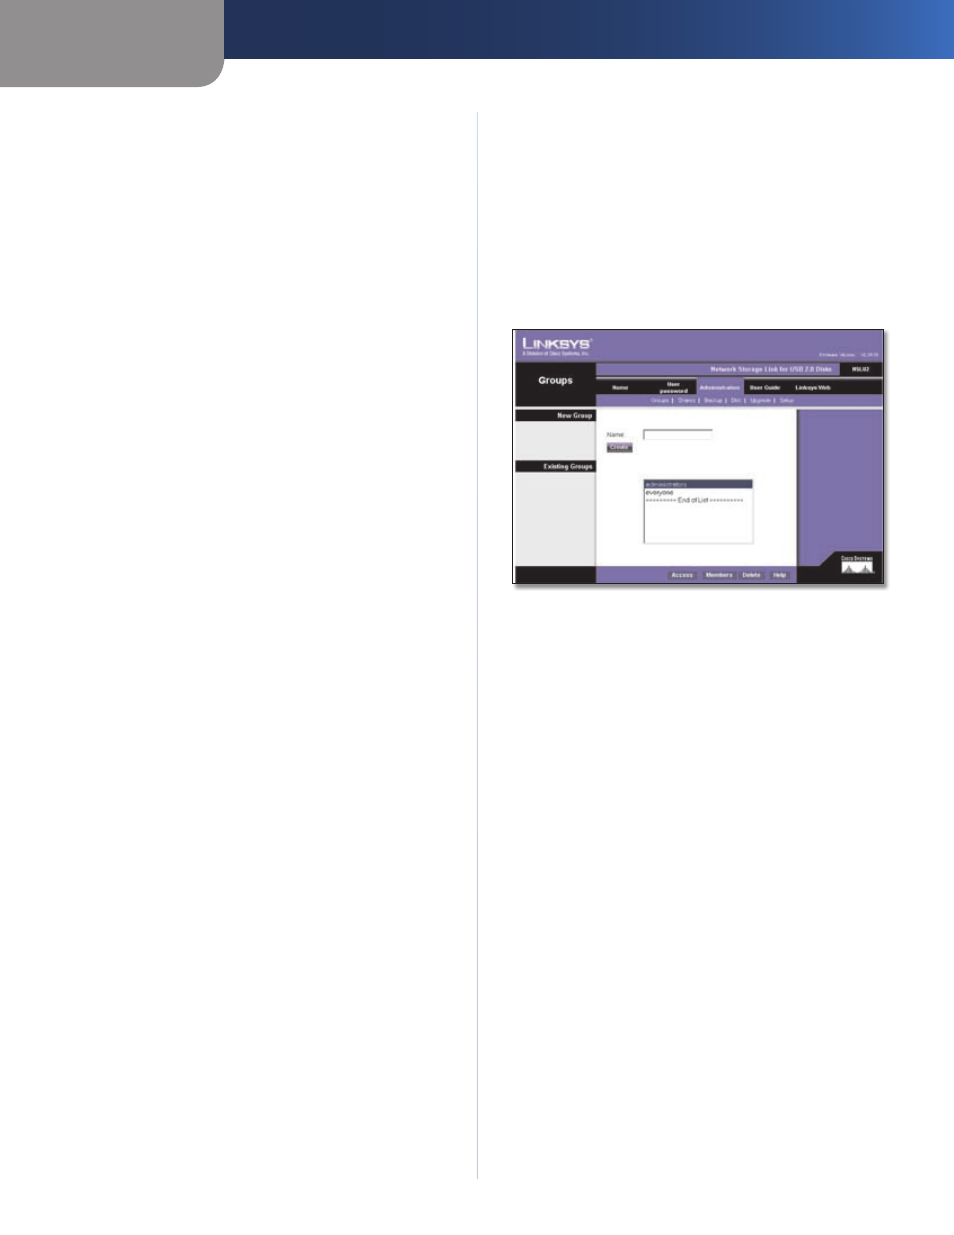
Administration Tab > Groups
The Administration > Groups screen allows you to manage
the User Groups assigned on the Storage Link.
Administration > Groups
New Group
Use this area to create a new group. Enter the desired name
for the new group in the Name field and click Create.
Existing Groups
This shows the list of all Groups. Two groups, administrators
and everyone, refer to those who are administrators and
the group of all users, respectively. These always exist and
cannot be deleted.
Click Access to display the shares that the members of
the current Group are able to access. You can then assign,
remove, or modify the access rights for this group. Click
Members to display the users who are members of the
selected Group. You can then add or delete members. The
everyone Group contains all users, but you cannot add
or remove members. Click Delete to delete a selected
Group. The administrators and everyone Groups cannot
be deleted. Click Help to get more information about this
screen.