Administration > shares, Administration > backup, Administration > shares administration > backup – Linksys NSLU2 User Manual
Page 12: Configuration, Existing shares, Properties, Config backup, Drive backup
Chapter 3
Configuration
8
Network Storage Link for USB 2.0 Disk Drives
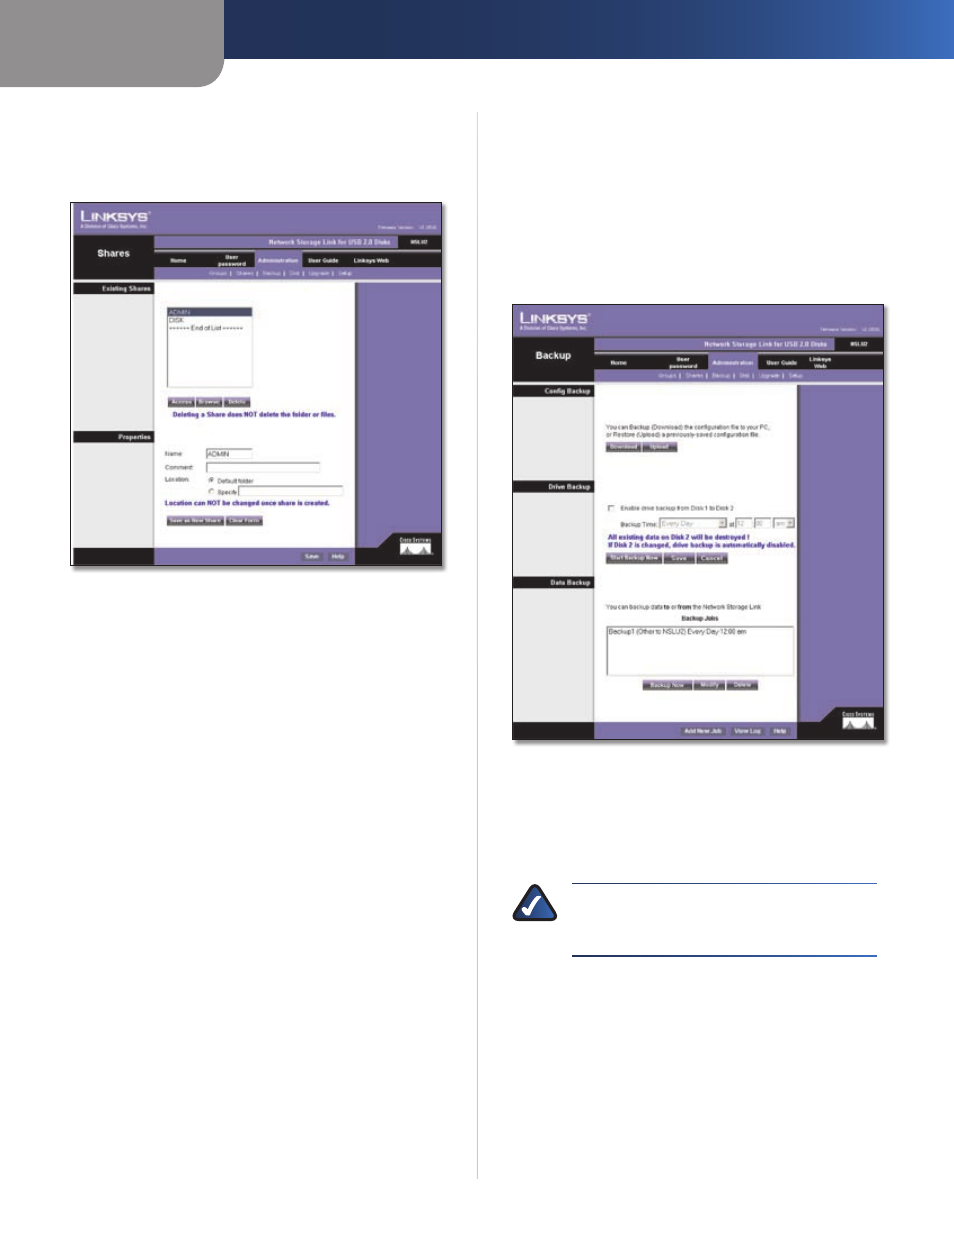
Administration > Shares
The Administration > Shares screen allows you to create
and manage shares.
Administration > Shares
Existing Shares
Click Access to view and configure the users who are
allowed to access the selected share. Click Browse to view
the contents of the selected share. Click Delete to delete
the share.
Properties
Fill in the Name, Comment, Location and Specify fields, as
specified below, to add a new share. Click Save as New
Share to save your new share. Click Clear Form to clear
the fields in Properties.
Name
The share’s name must be composed of
alphanumeric symbols not exceeding 15 characters in
length.
Comment
Any comment about the share must be
composed of alphanumeric symbols not exceeding 32
characters in length.
Location
This specifies the location of the share. Choose
the radio button beside Default folder or Specify to specify
a different folder.
Click Save to save any changes. Click Help to get more
information about this screen.
Administration > Backup
The Administration > Backup screen allows you to back up
the Storage Link’s configuration file to your PC and restore
that configuration file to the Storage Link.
The configuration file contains all network information,
as well as the User, Group, and Share information. It does
NOT include any information about the files stored on the
Storage Link.
Administration > Backup
Config Backup
Click Download to back up the configuration file to your
PC. Click Upload to restore that file as the Storage Link’s
configuration.
NOTE:
Uploading/Restoring the configuration
file will overwrite and destroy any existing
configuration.
Drive Backup
This section allows you to schedule backups of Disk 1 onto
Disk 2. Simply click the radio button and use the pull-down
menus to select the day and time. You can also click Start
Backup Now to back up data immediately. Click Save to
save your settings or Cancel to clear the settings.