Lindy 25021 User Manual
Page 4
4
2
PRODUCT INTRODUCTION
2.1
Models
The Switch is a multi-speed, versatile network device combining both standard and "Big-Pipe" ports under the same hood.
The Switch is a twenty-four (24) 100/10Mbps RJ-45 UTP/STP ports switch.
2.2
Key Features
ƍ
Twenty-four (24) 100/10Mbps Switch ports.
ƍ
Store-and-Forward technology.
ƍ
Auto-Negotiation support for each TP port.
ƍ
IEEE 802.3x Flow-Control support for Full-Duplex operation.
ƍ
Back-Pressure support for Half-Duplex operation.
ƍ
Bridging capability for 100Mbps and 10Mbps segments.
ƍ
All ports support Auto-MDIX function.
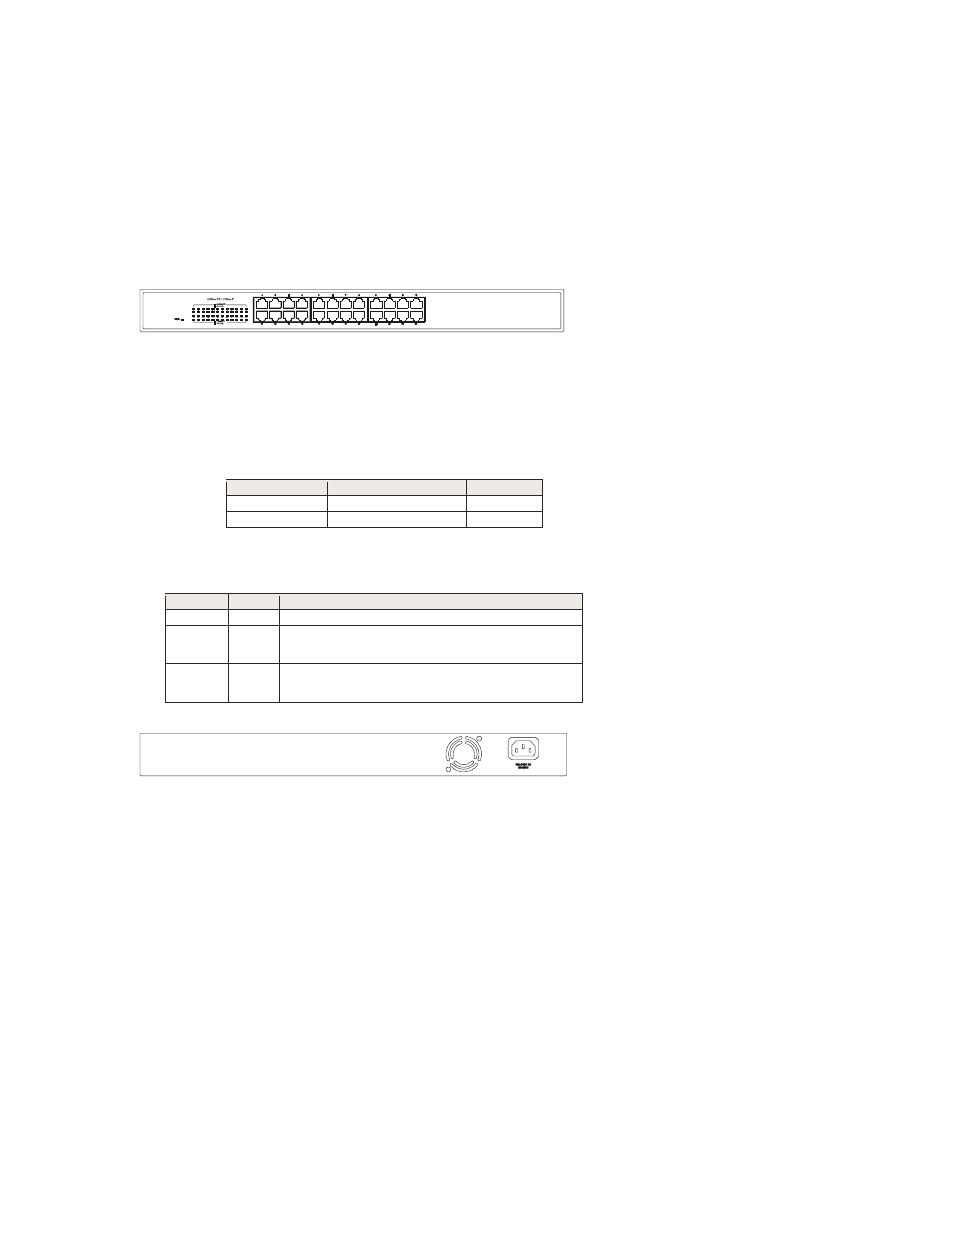
2.3
Front Panel
For 19 inches case
2.3.1 100/10Mbps TP Ports
Each 100/10Mbps TP port provides an Auto-Negotiation function that senses for the attached device's maximum operating
speed and automatically sets the Switch to operate at that speed.
Users only need to connect a network device into any TP
port.
2.3.2 Cabling
10Mbps - When transmitting at 10Mbps Category 3, 4 or 5 TP cabling with RJ-45 sockets can be used.
100Mbps -To transmit at 100Mbps requires Category 5 TP cabling.
Port Type
Cable Type
Connector
10BASE-T
Category 3, 4 or 5 TP
RJ-45
100BASE-TX
Cat.5 TP
RJ-45
Note: Category 5 TP cable is recommended whenever installing new cabling.
2.3.3 Status LEDs
The Switches come with a complete range of LEDs. The table below lists each LEDs name, color and a brief description of its
function.
Name
Color
Function
Pwr
Green
Lit: Power "On"
LINK/ACT
Green
Lit: When the port has a valid physical connection with
another device.
Blinks: When the port is sending or receiving data (Activity).
FD/COL
Amber
Lit: When port is set to Full-Duplex mode.
Blinks: When a collision is detected, when the port is in
Half-Duplex mode.
2.4
Rear Panel
For 19 inches case
2.4.1 Power Socket
The Power Socket is designed to be used with the power cord included in the product package.
ƍ
Attach the female end of the cord to the power connector on the back panel.
ƍ
Attach the male end of the cord to a grounded power outlet.
2.4.2 Fan
Note: Please keep the fan area clear, so that the cooling function is not impaired.