Advanced configuration, No wi-fi protected setup – Linksys WUSB600N (EU) User Manual
Page 10
Chapter 3
Advanced Configuration
7
Dual-Band Wireless-N USB Network Adapter
Security
This is the security method used by the
network.
Wi-Fi Protected Setup
Click the
Wi-Fi Protected Setup
button
to connect to a router that supports Wi-Fi
Protected Setup. Refer to the “Wi-Fi Protected Setup”
instructions in the “Status” section at the beginning of
this chapter.
Refresh
Click
Refresh to perform a new search for
wireless devices.
Connect
To connect to one of the networks on the list,
select the wireless network, and click
Connect.
If the router does not support Wi-Fi Protected Setup,
proceed to the section, “No Wi-Fi Protected Setup”. If the
router supports Wi-Fi Protected Setup , proceed to the
section, “Wi-Fi Protected Setup”.
No Wi-Fi Protected Setup
If the router does not use Wi-Fi Protected Setup, proceed
to the appropriate section, “Wireless Security Disabled” or
“Wireless Security Enabled”.
Wireless Security Disabled
If you connect to a network whose wireless security is
disabled, then you will view this screen:
Click Connect Anyway
Click
1.
Connect Anyway.
Click
2.
Finish.
Congratulations
Congratulations! The Adapter is connected to
the network.
Wireless Security Enabled
If you connect to a network whose wireless security is
enabled, then you will view one of three screens.
Proceed to the appropriate instructions.
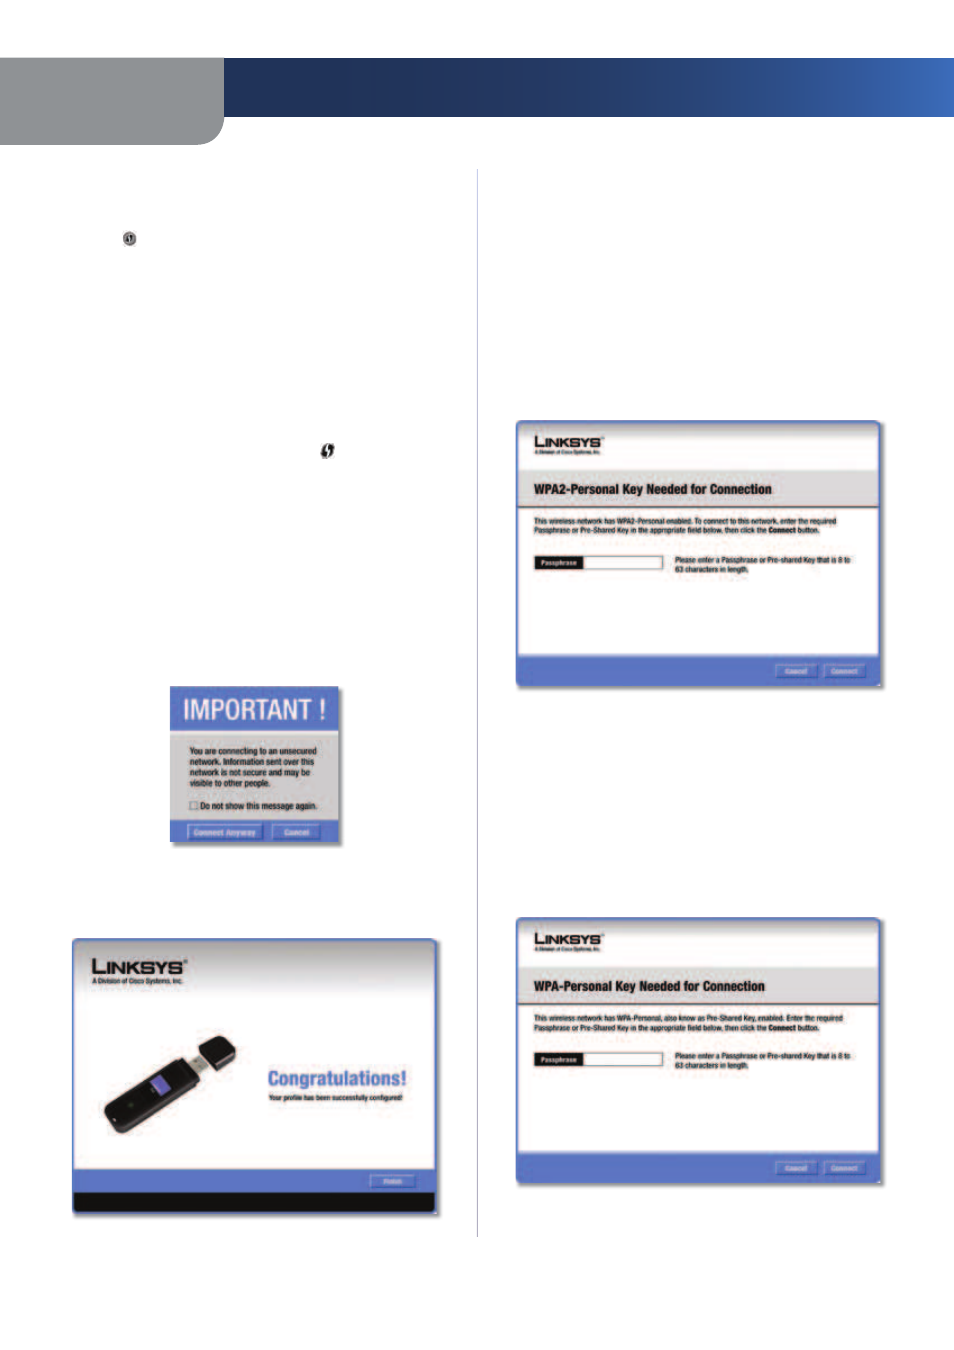
1.
WPA2 (Wi-Fi Protected Access 2)
If the network uses WPA2 Personal security, then
the WPA2-Personal Key Needed for Connection screen
appears.
WPA2-Personal Security
Passphrase
Enter the network’s Passphrase (also
called a pre-shared key) of 8-63 characters.
To connect to the network, click
Connect. To cancel
the connection, click
Cancel.
WPA (Wi-Fi Protected Access)
If the network uses WPA Personal security, then
the WPA-Personal Key Needed for Connection screen
appears.
WPA-Personal Security