Linksys WAP11 User Manual
Page 6
Instant Wireless
TM
Series
Connecting and Setting Up the
Wireless Network Access Point
1. Locate an optimum location for the Wireless Network Access Point. The
best place for your Wireless Network Access Point is usually at the center of
your wireless network, with line of sight to all of your mobile stations.
2. Fix the direction of the antenna. Try to place it in a position which can best
cover your wireless network. Normally, the higher you place the antenna, the
better the performance will be. The antenna’s position enhances the receiv-
ing sensitivity.
3. Connect an RJ-45 connector to the Wireless Network Access Point. Then,
connect the other end of the Ethernet cable to a switch or hub. The Wireless
Network Access Point will then be connected to your 10/100 Network.
4. Connect the AC Power Adapter to the Wireless Network Access Point’s
Power Socket. Only use the power adapter supplied with the Wireless
Network Access Point. Use of a different adapter may result in product dam-
age.
5. Connect the appropriate end of the USB Cable to the Wireless Network
Access Point’s Configuration Port. Connect the other end to the USB port
on your PC. If your USB port is working properly, your system should
immediately recognize the Access Point and attempt to install drivers for it.
Continue on to the next section for instructions on how to install the drivers.
Now that the hardware installation is complete, proceed to Installing the USB
Drivers for the Wireless Network Access Point and The USB Configuration
Utility for configuring the Access Point through your PC’s USB port. To con-
figure the Access Point through an Ethernet or Wireless connection, proceed to
The Access Point’s SNMP Configuration Utility.
The Hardware Installation is complete.
7
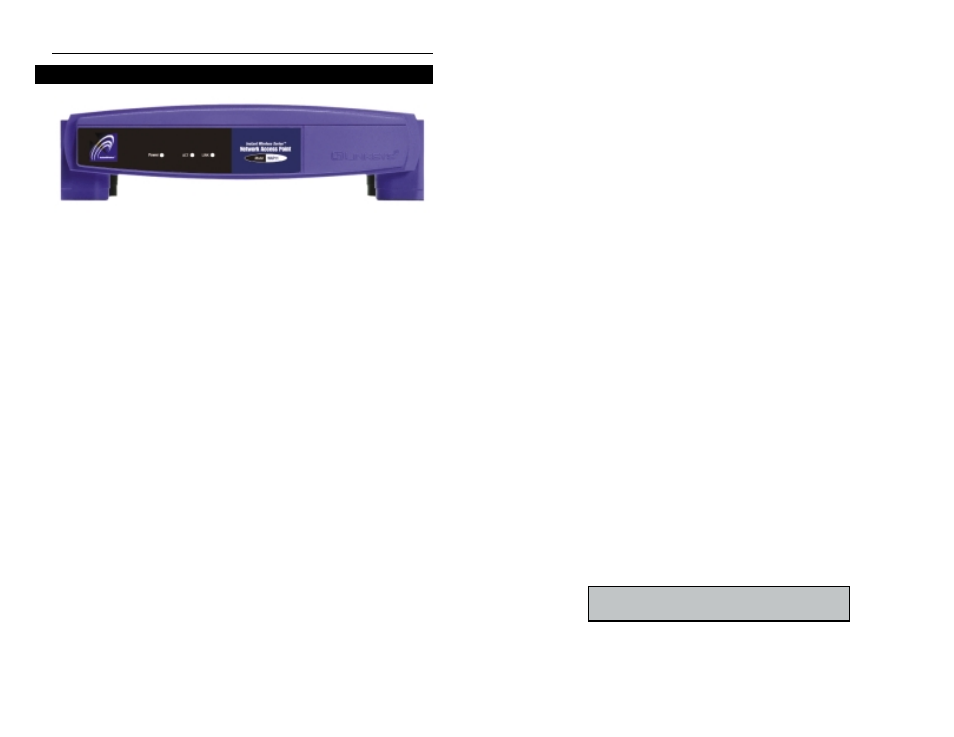
Wireless Network Access Point
T
he ADSL Modem + Router’s LEDs
The LAN Indicators
Power
Red. The Power LED lights up when the Access Point is
powered on.
Link
Amber. The Link LED serves two purposes. If the LED is
continuously lit up, the Access Point is successfully connect-
ed to a device through the LAN port. If the LED is flicker-
ing, it is an indication of any network activity.
Act
Green. The Act LED is lit to show that other wireless devices
are accessing the Access Point. If the LED is flickering, the
Access Point is actively sending or receiving data to or from
one of the wireless devices on the network.
The Wireless Access Point’s Front Panel
Note: Once your Access Point is installed and con-
figured, the USB cable may be removed.
6