Installation – Kenwood DPX503 User Manual
Page 34
34
|
DPX503/DPX303
Installation
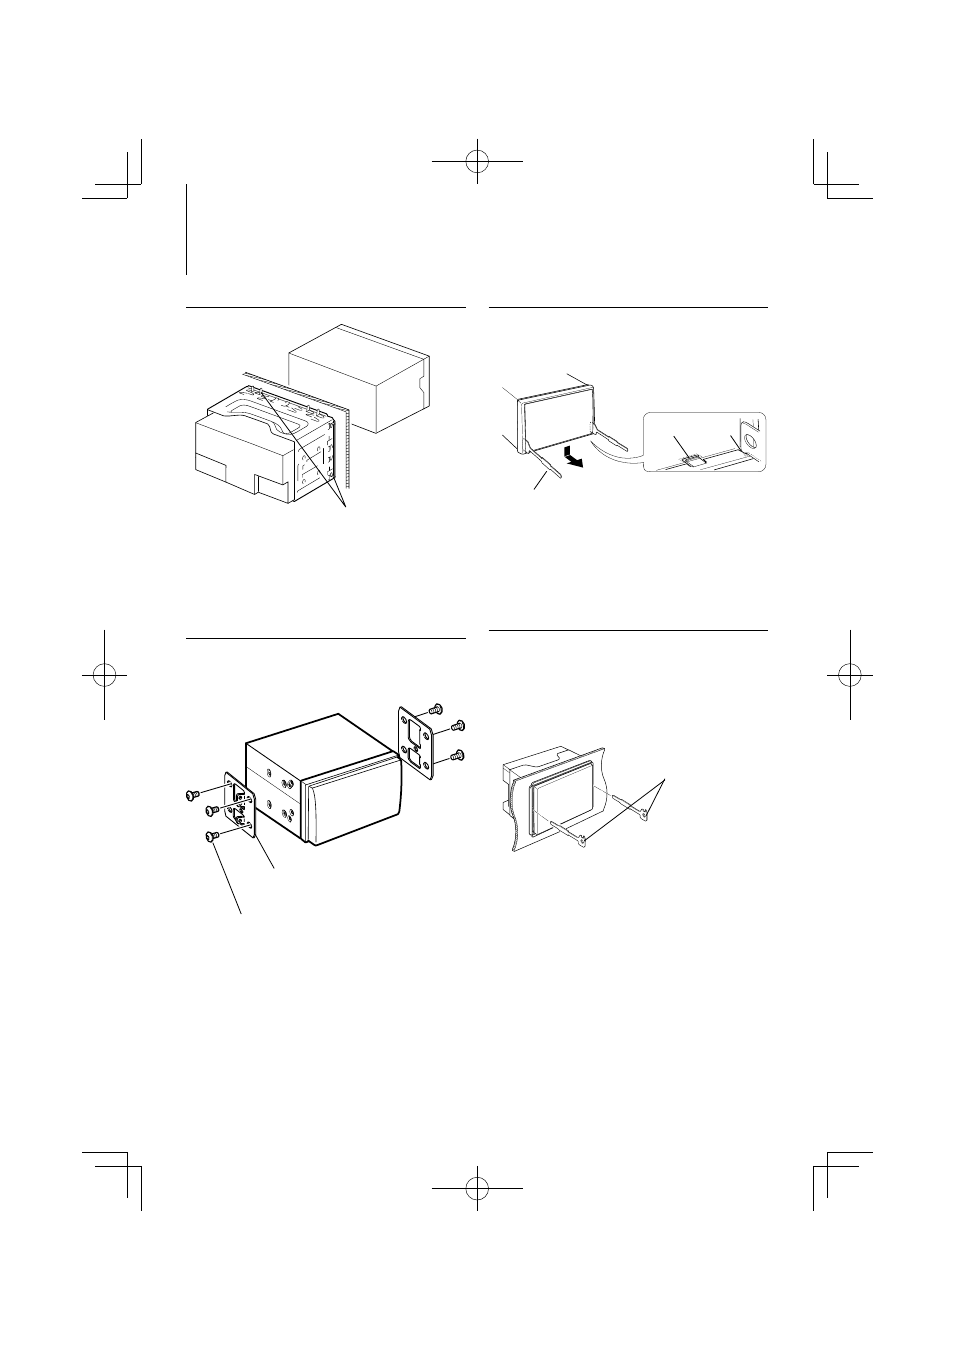
Installing the Unit
Accessory5 (M5 × 7 mm)
or Accessory6(M5 × 6 mm)
Installing in Japanese-Made Cars and
General Motors Cars
Install onto the car bracket using the supplied screws
(M5 × 6 mm, M5 × 7 mm).
The holes of the car bracket to use will differ
depending on the car model.
Car Bracket
Removing the hard rubber frame
1
Engage the catch pins on the removal tool and
remove the two locks on the upper level.
Upper the frame and pull it forward as shown in
the figure.
Accessory4
Lock
Catch
2
When the upper level is removed, remove the
lower two locations.
⁄
• The frame can be removed from the bottom side in the
same manner.
Removing the Unit
1
Refer to the section frame> and then remove the hard rubber frame. 2 Insert the two removal tools deeply into the slots on each side, as shown. 3 Lower the removal tool toward the bottom, and pull out the unit halfway while pressing towards Accessory4 ¤ • Be careful to avoid injury from the catch pins on the removal tool. 4 Pull the unit all the way out with your hands, being careful not to drop it. Bend the tabs of the mounting sleeve with
the inside.
a screwdriver or similar utensil and attach it
in place.