1-5 formatting a disc, 2 recording, 2-1 basic procedures – Sony Ericsson PDW-530P User Manual
Page 49
Chapt
er
3
Re
c
o
rdin
g and Pl
a
y
b
a
c
k
49
3-2 Recording
You need not return the screw to its original position after
taking out the disc. Turning on the power makes the disc
compartment mechanism operable again.
3-1-5 Formatting a Disc
Using a new disc
An unused disc requires no formatting operation. The disc
is automatically formatted so that it is ready to use when
loaded into this unit.
Using a disc on which material is recorded
You can use a disc containing recorded material as is, but
if necessary you can delete individual clips or the whole
content.
For details, see 3-2-2 “Deleting Clips” on page 51.
Note
It is not possible to mix different recording formats on a
single disc. Either select the same format as the existing
recording, or use a different disc.
For details of the recording format settings, see 5-1-1
“Setting the Video Recording Format” on page 59 and see
5-1-2 “Setting the Audio Recording Format” on page 60.
3-2 Recording
3-2-1 Basic Procedures
This section describes the basic procedures for shooting
and recording.
Before a shooting session, ensure that the camcorder is
functioning properly.
For details, see 9-1 “Testing the Camcorder Before
Shooting” on page 129.
Recording format settings (PDW-530/530P
only)
With the PDW-530/530P you can select the recording
formats for each of video and audio.
Note that it is not possible to use different recording
formats on a single disc.
Set the recording format before beginning recording.
For details of the setting operations, see 5-1-1 “Setting the
Video Recording Format” on page 59 and see 5-1-2
“Setting the Audio Recording Format” on page 60.
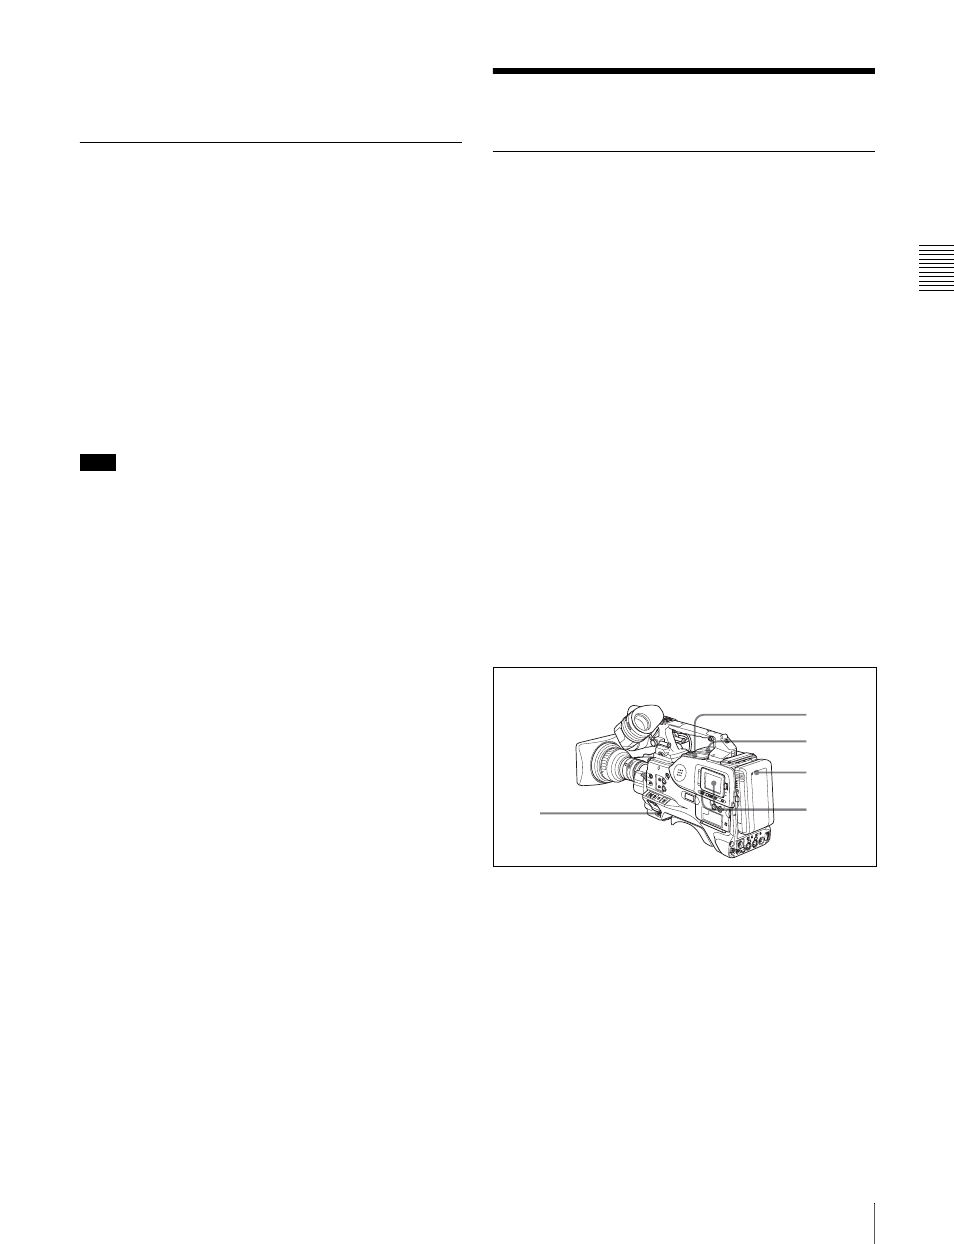
Basic procedure for shooting: from turning
on the camcorder to loading a disc
Proceed as follows.
Basic procedure for shooting: from power supply to disc loading
1
Attach a fully charged battery pack.
For details, see 8-1 “Power Supply” on page 113.
2
Turn on the POWER switch.
3
Set the DISP SEL switch to STATUS, and check on
the color LCD that the following conditions are met.
• The HUMID indicator is not showing.
If it is, wait until it disappears.
2
4
5
1
3