Carrier setup, System setup, Osd setup – Sharp Aquos LC 32GD9E User Manual
Page 28: Dtv menu operations
26
DTV menu operations
Carrier Setup
This is provided for you to rename (label), erase, or
re-scan carriers. “Carrier” in this context refers to a
service station that provides a set of individual
services.
1
Press c/d to select “Installation”.
2
Press a/b to select “Carrier Setup”, and then
press
OK
.
If you have already set the PIN, enter it here. If
not, enter the factory preset PIN “1234”.
Carrier Setup
S.No
Carrier Name
001
Frequency
TV
Radio
BBC
538000
05
03
002
BBC
546000
06
08
003
Canal+
554000
04
00
004
Digital5
592500
06
02
Select
OK
END
DTV MENU
Label
Erase
Rescan
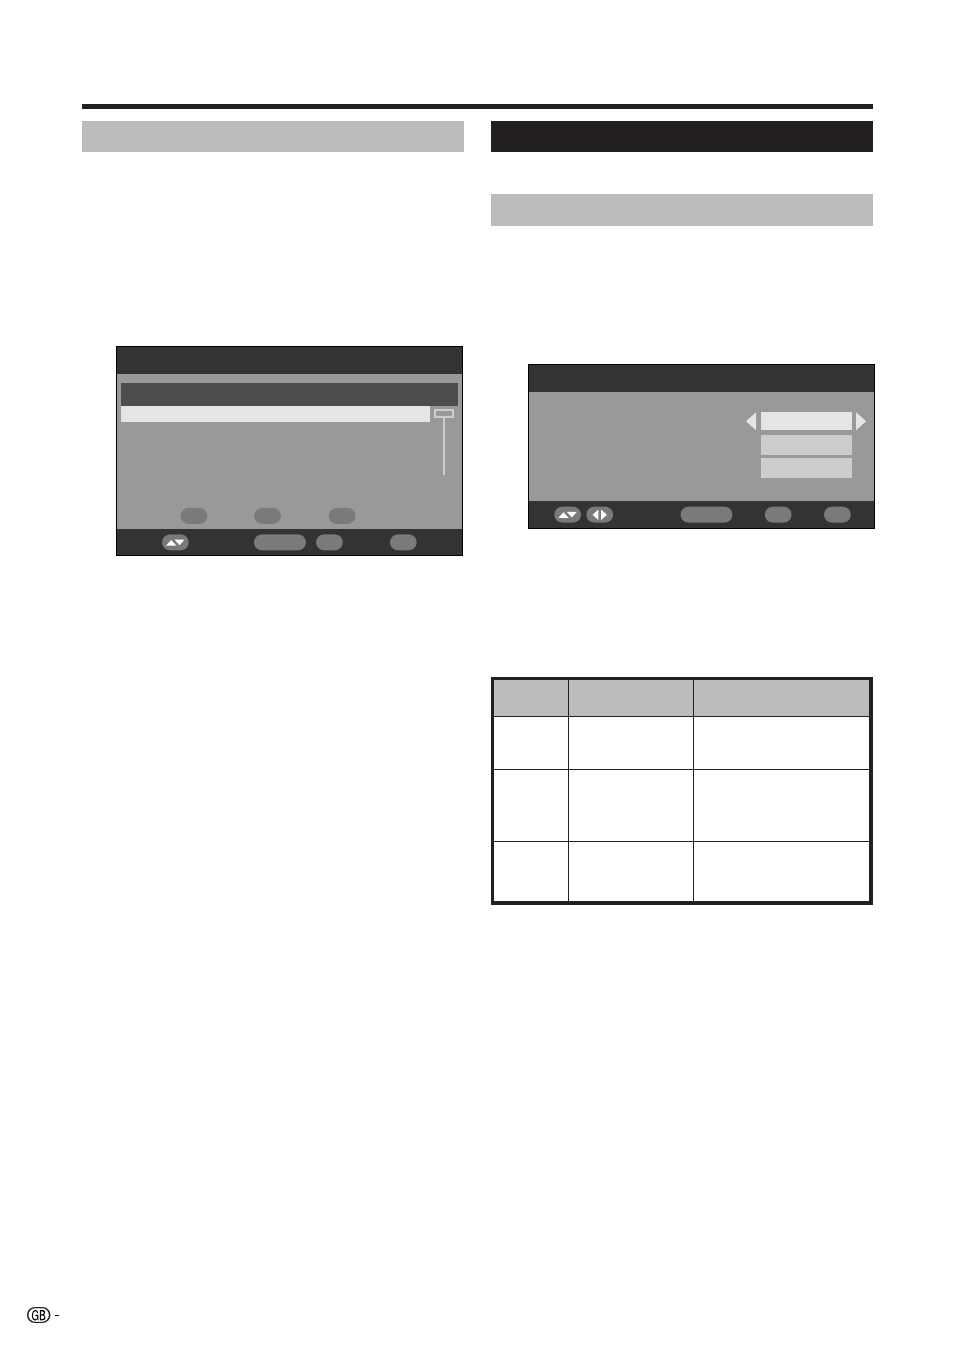
System Setup
Configure On-Screen Display and Child Lock settings.
OSD Setup
The On-Screen Display appearance and the position/
duration of the service banner information can be
customised.
1
Press c/d to select “System Setup”.
2
Press
OK
.
OSD Setup
Select
OK
END
DTV MENU
4 Secs
Bottom
20%
Banner timeout
Banner position
Transparency
Selectable items
1 Sec/2 Secs/
... 7 Secs/None
Top/Bottom
None/10%/20%/
...50%
OSD Setup
items
Banner
timeout
Banner
position
Transparency
Description
Select how long the service
banner information
appears on screen.
Select whether the service
banner information
appears on top or bottom
of the screen.
Select the desired level of
On-Screen Display
transparency.
1
To rename the selected carrier:
Select the carrier, and then press
RED
(Label).
The character set screen displays.
Enter a new name for the carrier. See page 23 for
details on using the character set screen.
2
To erase the selected carrier:
Select the carrier, and then press
GREEN
(Erase).
An icon displays indicating the carrier to be erased.
Pressing
GREEN
will turn the erase icon on and off.
Press
OK
.
A confirmation message displays.
Press c/d to select “Yes”, and then press
OK
.
3
To re-scan the selected carrier:
Select the carrier, and then press
BLUE
(Rescan).
Re-scanning starts.
A confirmation message displays.
Press c/d to select “Yes”, and then press
OK
.
NOTE
• After re-scanning the selected carrier, the order stored
by using the “Move” function will revert to the default order.
3
Press a/b to select the desired item.
4
Press c/d to select the desired parameter, and
then press
OK
.
5
A confirmation message displays. Press c/d to
select “Yes”, and then press
OK
to save the
change.