Step 6: easy setup, Y) (25), Enter (25) – Sony RDR-HX780 User Manual
Page 25
25
H
ook
up
s and
Se
tti
n
gs
Step 6: Easy Setup
Make the basic adjustments by following the
on-screen instructions in “Easy Setup.”
Be careful not to disconnect the cables or
exit the “Easy Setup” function during this
procedure.
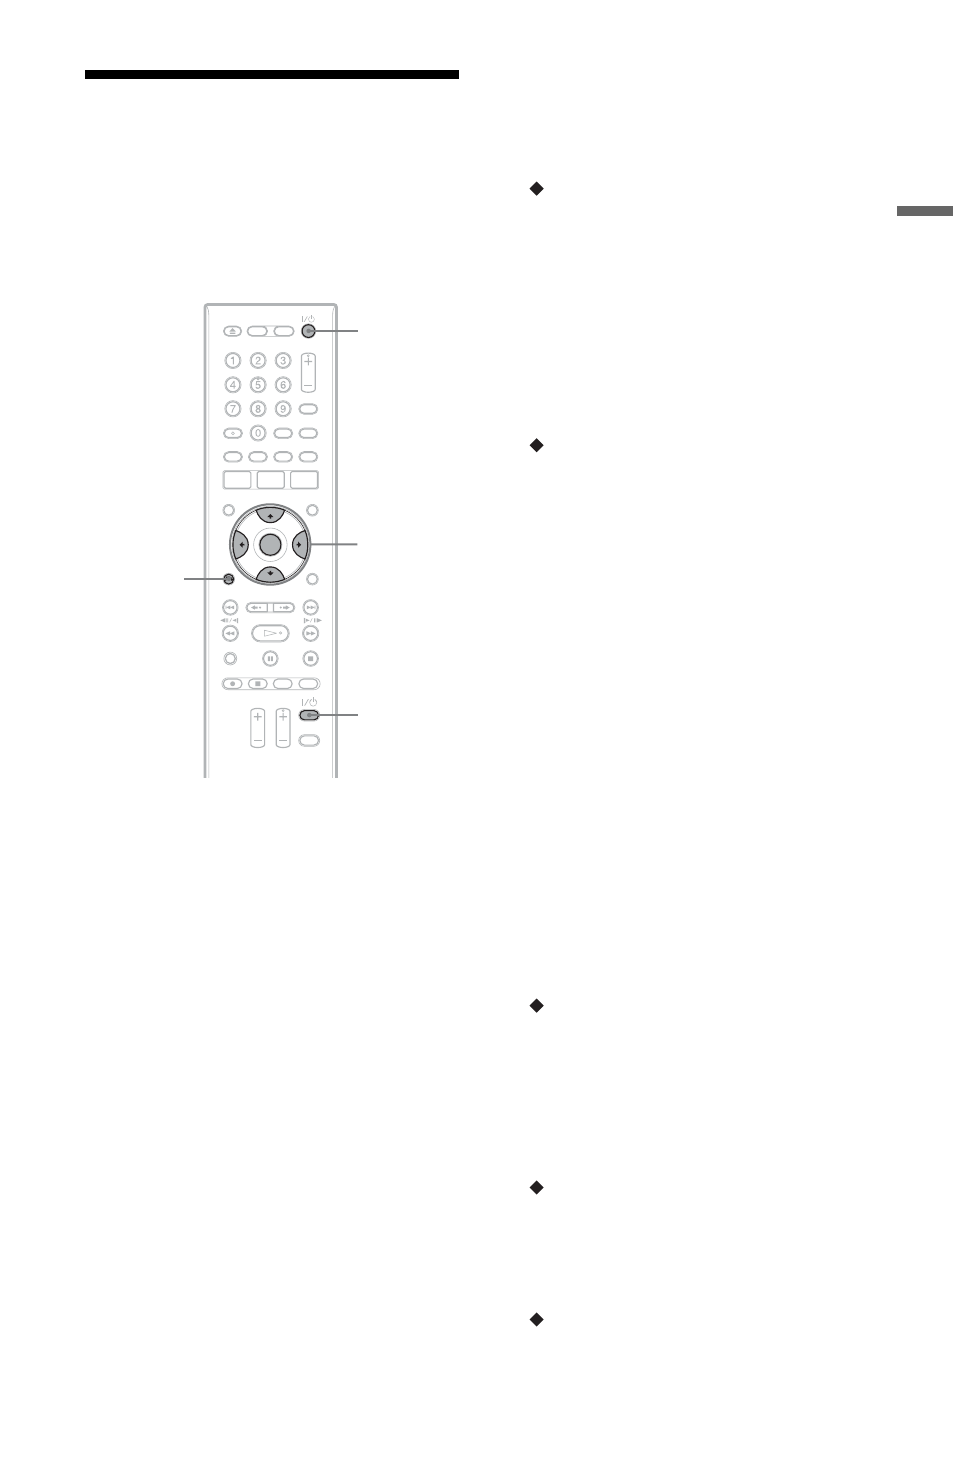
1
Turn on the recorder and your TV.
Then switch the input selector on your
TV so that the signal from the
recorder appears on your TV screen.
The “Language” display appears.
• If the “Language” display does not
appear, select “Easy Setup” in the
“Basic” setup from “Initial Setup” in
the System Menu (page 99).
2
Select a language for the on-screen
displays using </M/m/,, and
press ENTER.
The initial settings message appears.
3
Select “Start” using M/m, and press
ENTER.
Follow the on-screen instructions to
make the following settings.
Auto Channel Setting
• Select whether or not you have a cable
connection (“Cable” or “Antenna”).
Auto channel setting automatically
searches for all of the receivable
channels and presets them.
• To skip this setting, select “Do not
set.”
To set the channels manually, see
page 100.
Clock Setting
• Select “Auto” when you use antenna
hookup C (page 17). The “Auto Clock
Setting” display appears.
Select a channel that carries a time
signal and then “Start” using
m, and press ENTER.
If a clock signal cannot be found, press
O RETURN, and set the clock
manually.
• Select “Manual” to set the clock
manually. The “Manual Clock
Setting” display appears.
1
Select the time zone for your area
using
2
Select “On” using
are now on D.S.T (Daylight
Saving Time), and press ENTER.
3
Set the month, day, year, hour and
minutes using
press ENTER to start the clock.
TV Type (page 106)
• If you have a wide-screen TV, select
“Wide (16:9).”
• If you have a standard TV, select
“Standard (4:3).” This will determine
how “wide-screen” images are
displayed on your TV.
Progressive
When you connect a progressive format
TV to this recorder using the
COMPONENT VIDEO OUT jacks,
select “Compatible.”
HDD caution messages
Read the HDD caution messages, and
press ENTER.
[/1
ENTER
O RETURN
TV [/1
,continued