Custom install mode – Sony STR-DA3200ES User Manual
Page 96
96
GB
Notes
• Sound adjustments do not affect the signal output
from the TAPE/CD-R OUT or MD/DAT OUT
jacks.
• The audio signals input to the MULTI CHANNEL
INPUT jacks are output only from the front left/
right channels.
To record digital sound
Connect a component for playback to the
digital audio input (OPTICAL IN) jack, and
connect the recording component to the
OPTICAL MD/DAT OUT jack.
1
Press the input button of the
playback component.
You can also use INPUT SELECTOR on
the receiver.
2
Prepare the component for
playing.
For example, insert the video tape you
want to copy into the VCR.
3
Prepare the recording
component.
Insert a blank video tape, etc. into the
recording component (VIDEO 1 or
VIDEO 2) for recording.
4
Start recording on the
recording component, then
start playback on the playback
component.
Notes
• Some sources contain copy guards to prevent
recording. In this case, you may not be able to
record from the sources.
• The audio signals input to the MULTI CHANNEL
INPUT jacks are output only from the front left/
right channels.
Custom install mode
This receiver features the custom install modes
described below. Depending on how you
intend to use these features, use of these modes
may require additional equipment (available
separately) or modification of your listening
environment.
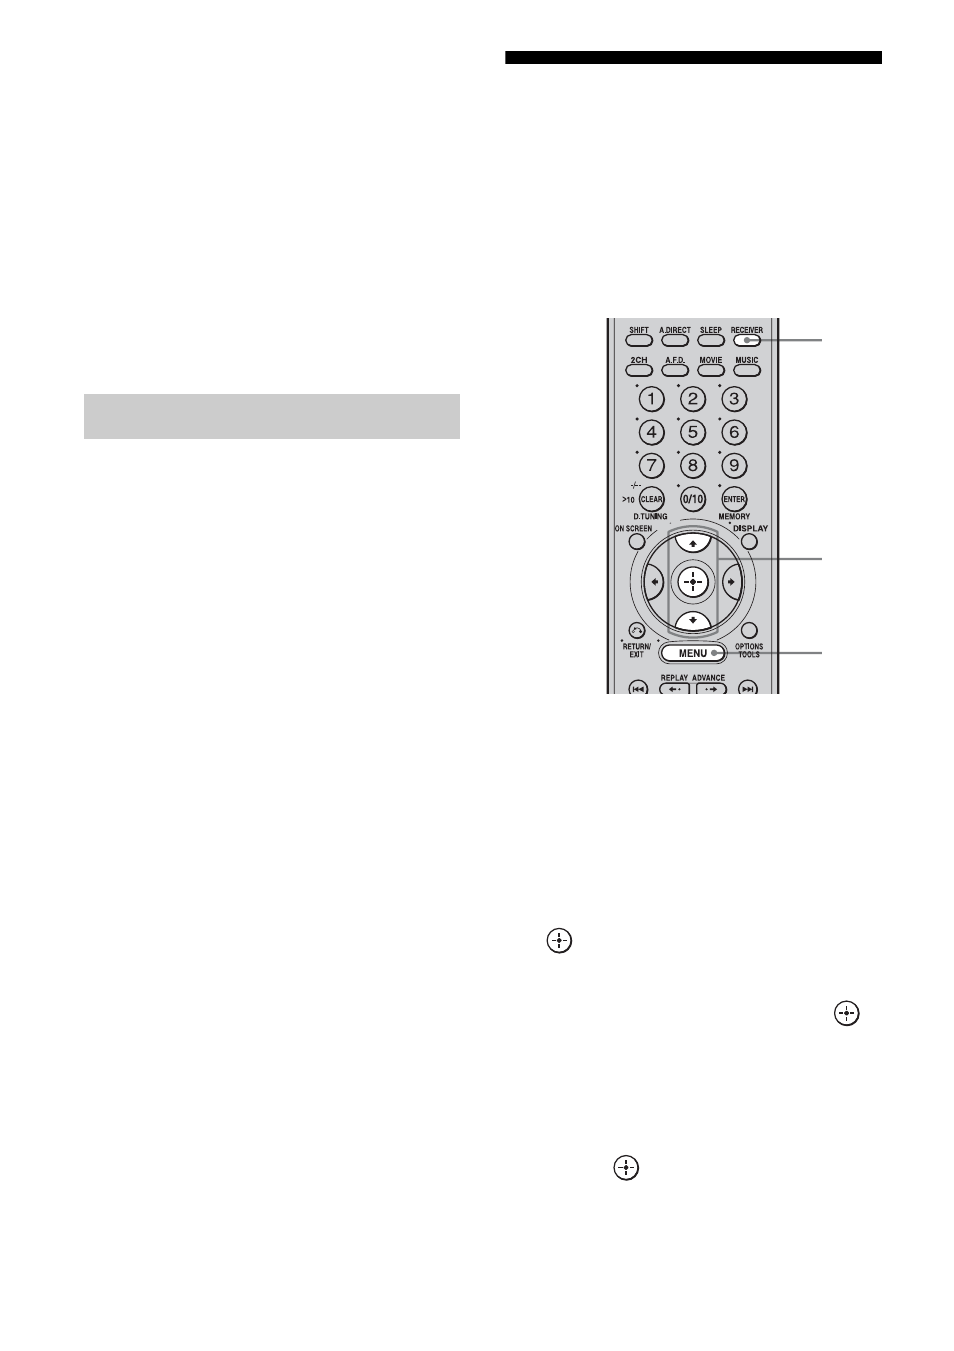
1
Press RECEIVER.
Receiver operation is enabled.
2
Press MENU.
The list of setting menus appears.
3
Press
V/v repeatedly to select
“System Settings,” then press
.
4
Press
V/v repeatedly to select
the menu item, then press
.
For details, see “System Settings menu
parameters” (page 72).
5
Press
V/v repeatedly to select
the parameter you want, then
press
to
enter.
6
Repeat steps 4 and 5 to adjust
other items.
Recording onto recording media
1
3-5
2