Software installation, Using discs and caddies, Audio out l gnd r 0 1 2 – Sony CDU948S User Manual
Page 8: Loading a disc into a standard caddy, Step 9: installation review, Step 10: closing the computer
Software Installation
Please refer to CD-R formatting software manual for instruction on
software installation. CD-R formatting software must first be properly
installed in order to write CD’s with the CDU948S drive.
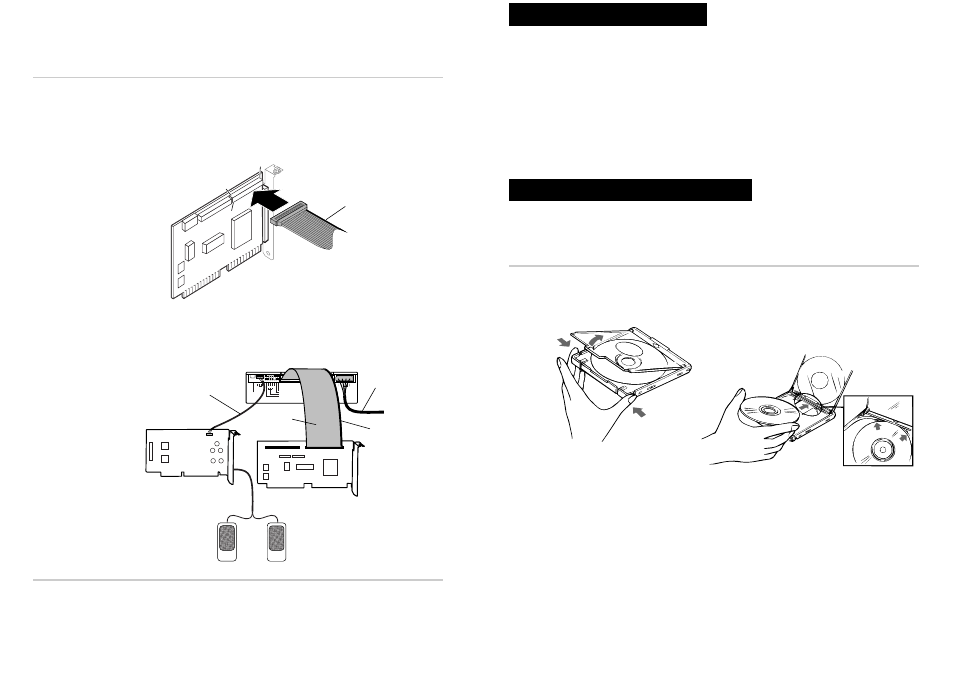
Using Discs and Caddies
Loading a Disc into a Standard Caddy
1
Press both tabs at opposite end to shutter to open caddy lid.
2
Place a disc, label up, into the caddy.
Note:
CD-R disc’s recording surface must be clean, please do not touch it.
Data cannot be recorded is CD’s recording surface is contaminated.
Software Installation/Using Discs and Caddies 15
Step 9: Installation Review
Now review the hardware installation process, assuring that:
●
All connectors are properly connected.
●
Each SCSI device has its own unique SCSI ID number.
●
The last physical SCSI device on the bus is properly terminated.
Notes
●
Red edge of 50 pin flat SCSI cable must be on pin 1 of host adapter.
●
The following is a sample configuration of CDU948S installation.
Step 10: Closing the Computer
Carefully replace computer cover and reinstall screws, per Owner’s
Manual. Now hardware installation is complete.
14 Hardware Installation
1
49
50
Red Edge
F.GND
AUDIO OUT
L GND R
0 1 2
INTERFACE CONNECTOR
DC INPUT
5V
±
5% GND 12V
±
10%
TEST MODE
PREVENT/ALLOW
ID SELECT
DEVICE TYPE
1
2
49
50
CDU948S Drive
Power
Supply
Cable
Red Edge
SCSI Card
(Not included)
Speakers
(Not included)
Sound Card
(Not included)
Audio Cable
(supplied)
SCSI
Cable
(Not included)