Setting a panorama image, Panorama, Selecting the aspect ratio – Sony 2-581-922-11 User Manual
Page 22: Aspect
22
01GB02CD-EUR.fm
CDX-NC9950
2-581-922-11 (1)
masterpage:Left
3
Press
<
or
,
repeatedly to select
“Wallpaper,” then press
(ENTER)
.
4
Press
<
or
,
repeatedly to select
“Select,” then press
(ENTER)
.
5
Press
<
or
,
repeatedly to select the
desired image, then press
(ENTER)
.
6
Press
(MENU)
.
The display returns to the normal display.
Changing images automatically
1
Press
(MENU)
.
2
Press
<
or
,
repeatedly to select
“Display,” then press
(ENTER)
.
3
Press
<
or
,
repeatedly to select
“Wallpaper,” then press
(ENTER)
.
4
Press
<
or
,
repeatedly to select
“Auto,” then press
(ENTER)
.
5
Press
<
or
,
repeatedly to select the
desired speed, “FAST,” “MIDDLE,” or
“SLOW,” then press
(ENTER)
.
6
Press
(MENU)
.
The display returns to the normal display.
To cancel the image change, select “OFF” in step
5.
Selecting the images to be
displayed
You can select:
• USER – to display user stored images in
sequence.
• ALL – to display pre-stored/user stored images
in sequence.
1
Press
(MENU)
.
2
Press
<
or
,
repeatedly to select
“Display,” then press
(ENTER)
.
3
Press
<
or
,
repeatedly to select
“Wallpaper,” then press
(ENTER)
.
4
Press
<
or
,
repeatedly to select
“Arrange,” then press
(ENTER)
.
5
Press
<
or
,
repeatedly to select
“USER” or “ALL,” then press
(ENTER)
.
6
Press
(MENU)
.
The display returns to the normal display.
Note
“Arrange” in the menu can not be selected when no
user images are stored.
Setting a panorama image
— Panorama
You can select a panorama image as a wallpaper
which scrolls automatically.
1
Press
(MENU)
.
2
Press
<
or
,
repeatedly to select
“Display,” then press
(ENTER)
.
3
Press
<
or
,
repeatedly to select
“Panorama,” then press
(ENTER)
.
4
Press
<
or
,
repeatedly to select the
desired image, then press
(ENTER)
.
5
Press
(MENU)
.
The display returns to the normal display.
Note
Panorama size images cannot be stored. Only pre-
stored panorama images are available.
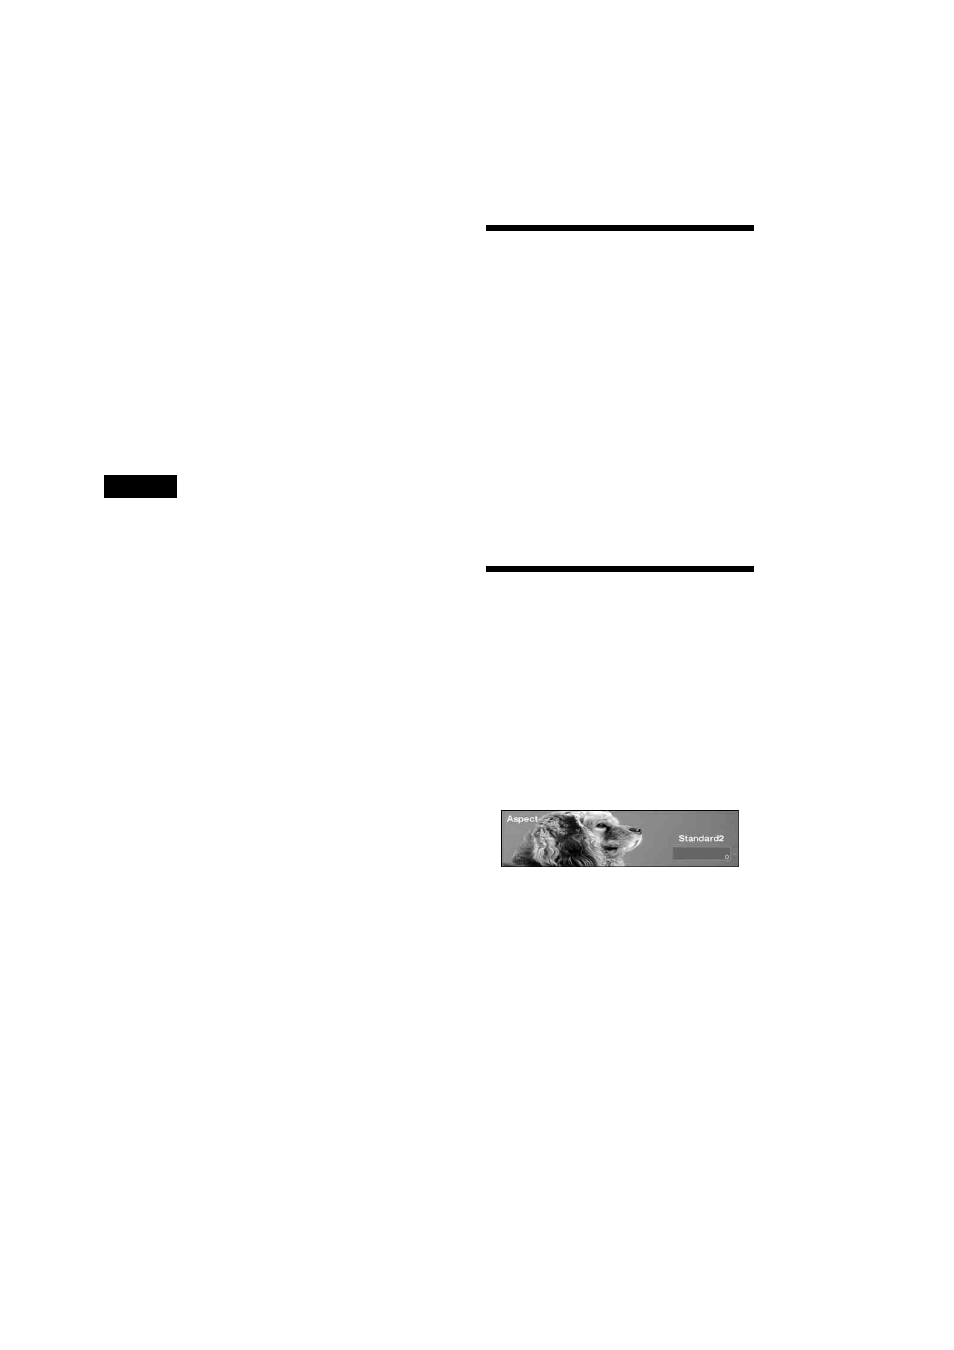
Selecting the aspect ratio
— Aspect
You can deform or clip out images to fit the
screen size with the aspect ratio selected.
1
Press
(MENU)
.
2
Press
<
or
,
repeatedly to select
“Display,” then press
(ENTER)
.
3
Press
<
or
,
repeatedly to select
“Aspect,” then press
(ENTER)
.
4
Press
<
or
,
repeatedly to select the
desired image mode.
Each time you press
< or ,, the image
type changes as follows:
When “Video full” or “Video & Spectrum
Analyser” is selected.
Standard2
y Standard1 y Wide2 y
Wide1
y Cinema2 y Cinema1
When “Video & Capture” or “Video &
Slideshow” is selected.
Standard3
y Wide3 y Cinema3
To adjust the image position
Cinema and Wide type images can be scrolled
up or down by pressing or pressing and
holding
M or m.