JVC GR-D91 User Manual
Page 31
EN
31
USING MENUS FOR DETAILED ADJUSTMENT
TIME CODE
[OFF]: Time code is not displayed.
ON: Time code is displayed on the camcorder and on
the connected TV. Frame numbers are not displayed
during recording.
CLOCK ADJ.
Allows you to set the current date and time (
੬
pg. 10).
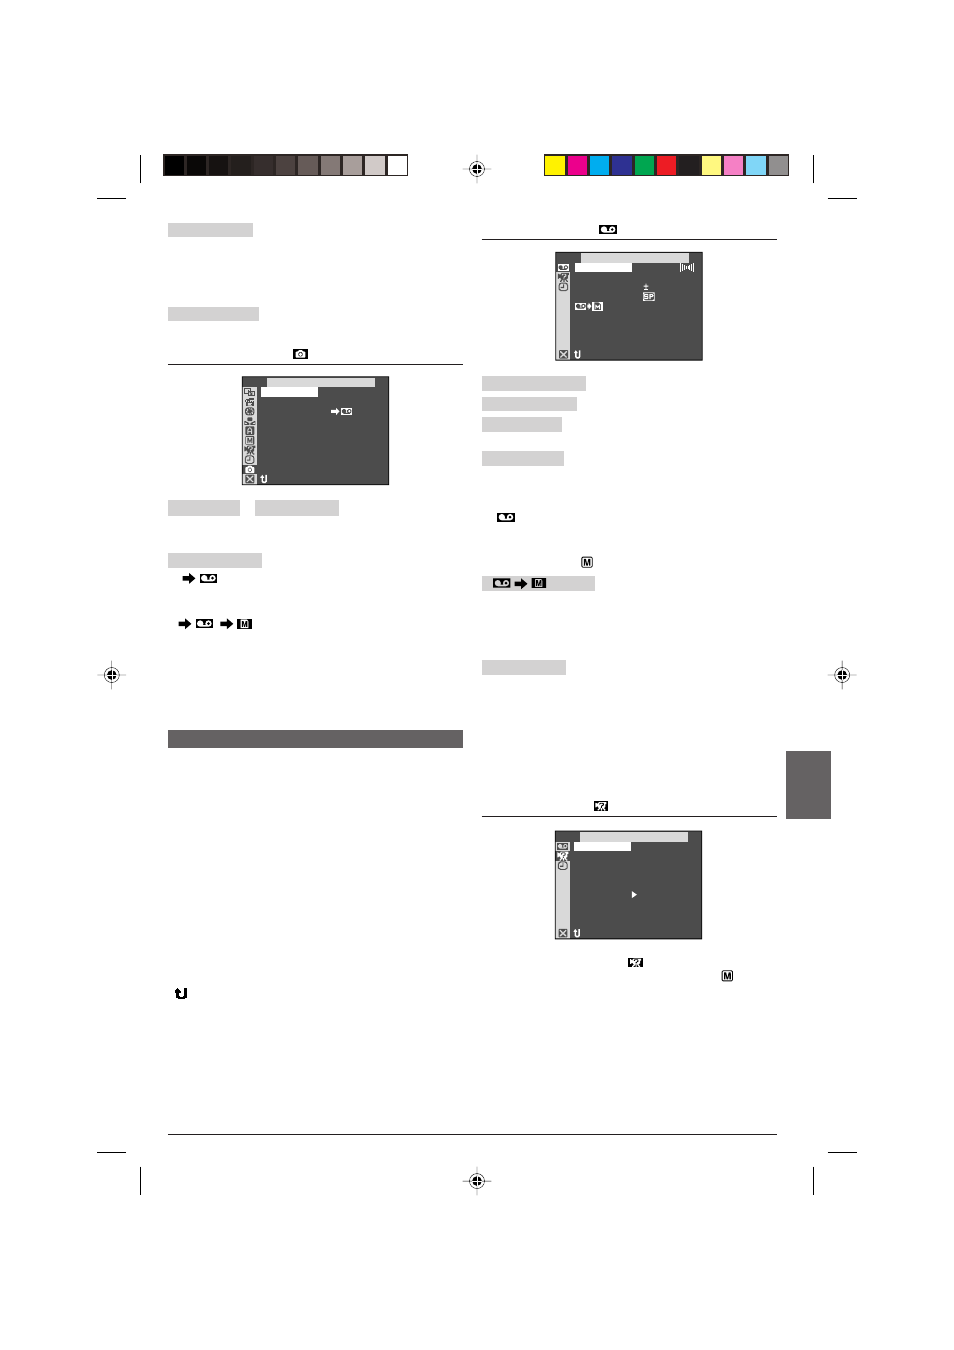
DSC
QUALITY , IMAGE SIZE
Refer to “Picture Quality/Image Size Setting”
(
੬
pg. 11).
REC SELECT
[
]: When Snapshot recording is performed
with the VIDEO/DSC Switch
4
set to “VIDEO”, still
images are recorded only onto the tape.
/
: When Snapshot recording is
performed with the VIDEO/DSC Switch
4
set to
“VIDEO”, still images are recorded not only onto the
tape but also on the memory card (640 x 480 pixels).
In this mode, the “SNAP MODE” selection in the
CAMERA Menu is also applicable to memory card
recording.
VIDEO
SOUND MODE
........
੬
pg. 32, “Playback Sound”.
12BIT MODE
........
੬
pg. 32, “Display”.
SYNCHRO
........
੬
pg. 38, “For More
Accurate Editing”.
REC MODE
Allows you to set the tape recording mode ([SP] or
LP) depending on your preference (
੬
pg. 10).
It is recommended you use “REC MODE” in the
“
VIDEO” Menu when using this camcorder as a
recorder during dubbing (
੬
pg. 33, 34).
• “REC MODE” can be set when the Power Switch u is
set to “PLAY” or “
” (
੬
pg. 10, 28).
COPY
ON: Enables dubbing of images recorded on a tape
to a memory card (
੬
pg. 21).
[OFF]: Enables snapshots to be taken during tape
playback.
S/AV INPUT
ON: Enables audio/video signal input from the AV
and S-VIDEO connectors (
੬
pg. 33).
[OFF]: Enables audio/video signal output to a TV,
VCR, etc. via the AV and S-VIDEO connectors (
੬
pg. 16, 33).
• When “S/AV INPUT” is set to “ON”, camcorder
playback cannot be viewed on the AV output.
–
RETURN
–
–
DSC
TY
QUAL I
REC SELECT
F I NE
02
1
X7
4
8
6
I MAGE S I ZE
–
–
–
–
–
–
I
V DEO
M D
O E
SOUND
M D
O E
12B I T
RO
SYNCH
ODE
REC M
COPY
STEREO
SOUND 1
OF F
OF F
O . O
NPUT
S / AV I
RETURN
MELODY
EEP
B
–
RETURN
AM RESET
C
LCD
R I OR I TY
P
–
ON
EMO MODE
D
–
ON
EMOTE
R
–
ON
AL LY
T
–
S
Y
S
TEM
For Playback Menu
The following procedure applies to all except Synchro
Comp (
੬
pg. 38).
1
Set the VIDEO/DSC Switch
4
to “VIDEO”, then set
the Power Switch
u
to “PLAY” while pressing down the
Lock Button
y
located on the switch.
2
Press the MENU/VOLUME wheel
%
in. The Menu
Screen appears.
3
Rotate the MENU/VOLUME wheel
%
to select the
desired function menu, and press it.
4
Rotate the MENU/VOLUME wheel
%
to select the
desired function, and press it to display the Sub Menu.
5
Rotate the MENU/VOLUME wheel
%
to select the
desired parameter and press it. Selection is complete.
6
Rotate the MENU/VOLUME wheel
%
to select
“
RETURN” and press it twice to close the Menu
Screen.
SYSTEM
Each setting is linked with “
SYSTEM”, which
appears when the Power Switch
u
is set to “
”
(
੬
pg. 30).
The parameters are the same as in the description on
pg. 30.
[ ] = Factory-preset
1 GR-D91US EN 23-34
02.11.6, 2:15 PM
31