Settings and adjustments for shooting, Lens settings, Monitor adjustment – JVC KY-F1030U User Manual
Page 25: On off 1 2 3 4
E21
Lens settings
3. Settings and adjustments for shooting
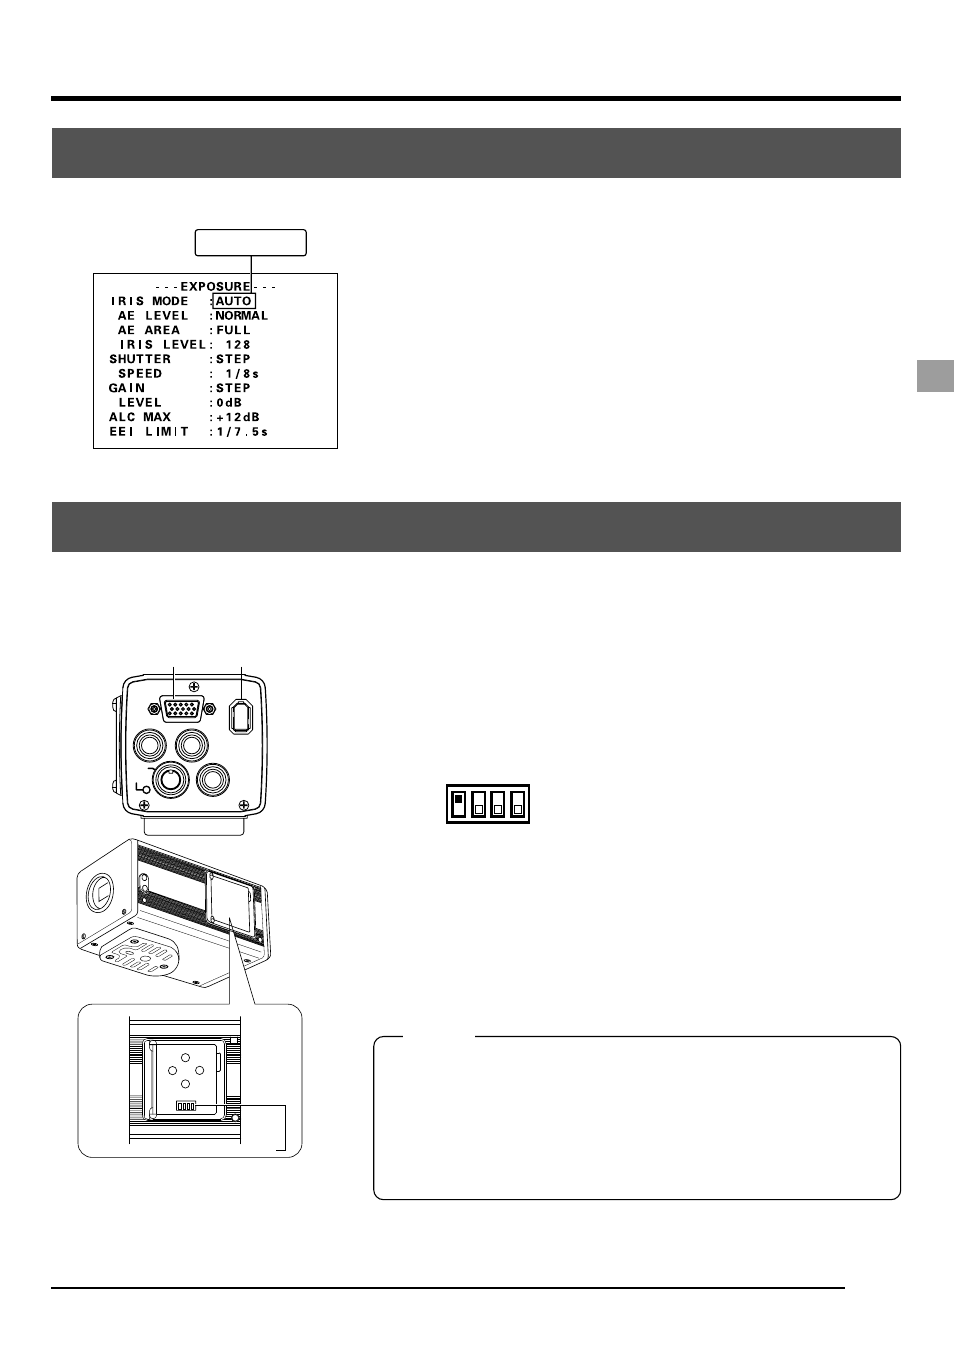
Set according to whether the used lens to be used is an auto-iris lens or a manual lens.
Set the [IRIS MODE] on the [EXPOSURE] screen.
(
੬
page E33)
AUTO
: Setting when auto-iris lens is used in auto mode.
MANUAL : Set when using a manual lens, using an auto-iris
lens in MANUAL or no lens.
* If the auto-iris lens cable is not connected to
the [LENS] connector, the setting automatically
becomes “MANUAL”.
(Default setting: AUTO)
Monitor adjustment
ON
OFF
1 2 3 4
The colour contrast and brightness are adjusted whilst, built-in test signals of the camera are
being displayed on the PC monitor.
1.
Connect the [ANALOG OUT] connector or the
[IEEE1394] connector to the PC.
2.
Set the function setting switch NO.1 on the switch panel
on the side of the KY-F1030 to “ON”.
3.
Turn ON the KY-F1030, and then start the PC.
* When connecting through the [IEEE1394] connector,
power is supplied from the PC.
4.
Adjust the monitor.
MEMO
• For how to adjust, see the instructions for the employed
monitor.
• The peak level of the test signal is set to 0.7V from the fac-
tory. To use 0.57V, change the setting by [TEST PATTERN]
➝
[LEVEL] on the [SYSTEM SETTING] screen.
੬
page E40 TEST PATTERN
Set the used Lens
UP/AW
SET
MENU
DOWN
1 2 3 4
ANALOG OUT
IEEE1394
LENS
MD
CONTROL
REMOTE
DC IN
POWER
SEE INSTRUCTION MANUAL
[ANALOG OUT]
[IEEE1394]
Inside window
Default Setting Switch