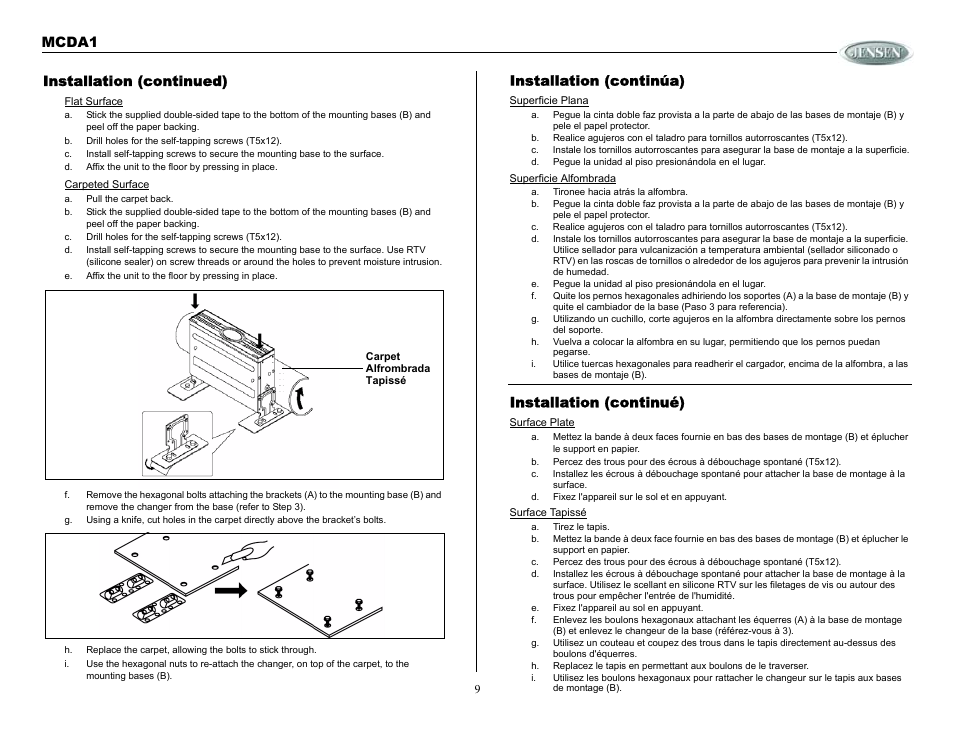
Installation (continued), B. drill holes for the self-tapping screws (t5x12), A. pull the carpet back – Jensen MCDA1 User Manual
Page 9: C. drill holes for the self-tapping screws (t5x12), Installation (continúa), A. tironee hacia atrás la alfombra, Installation (continué), D. fixez l'appareil sur le sol et en appuyant, A. tirez le tapis, E. fixez l'appareil au sol en appuyant
 Installation (continued), B. drill holes for the self-tapping screws (t5x12), A. pull the carpet back | C. drill holes for the self-tapping screws (t5x12), Installation (continúa), A. tironee hacia atrás la alfombra, Installation (continué), D. fixez l'appareil sur le sol et en appuyant, A. tirez le tapis, E. fixez l'appareil au sol en appuyant | Jensen MCDA1 User Manual | Page 9 / 28