I.link timer programming, Load a d-vhs cassette, Select recording channel (i.link input) – JVC HM-DH5U User Manual
Page 48: Set timer program on the inte- grated hdtv source, Engage recording standby mode
Masterpage:Left-FullCol
48
EN
Filename [HM-DH5U_Eng.fm]
TIMER RECORDING (cont.)
i.LINK Timer
Programming
This VCR can perform D-VHS recording of a program
which is timer-programmed on your Integrated HDTV (or
Digital Set Top Box).
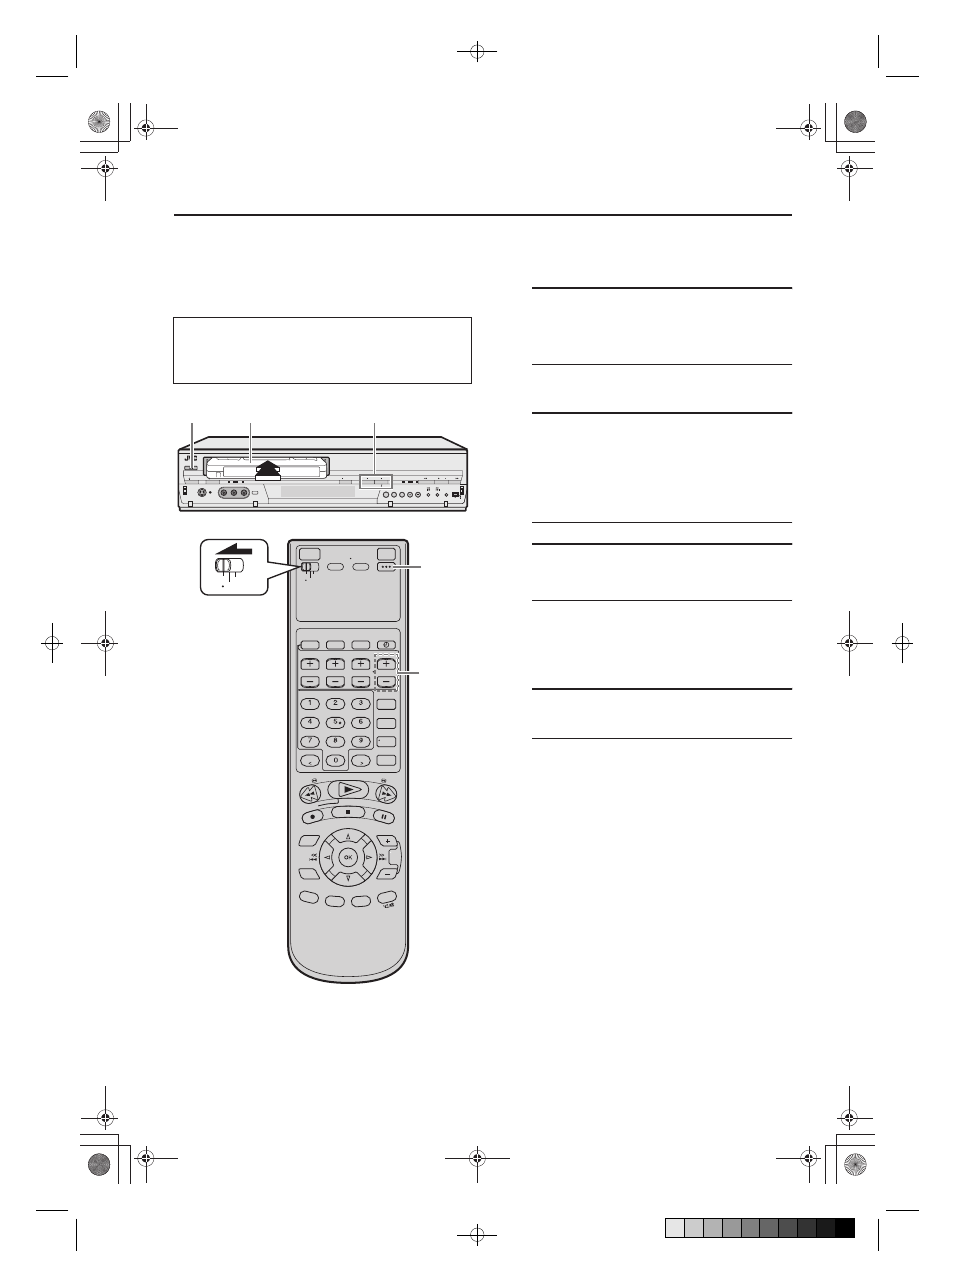
A
Load a D-VHS cassette
Make sure the record safety tab is intact. If not,
cover the hole with adhesive tape before inserting
the cassette.
•
The [D-VHS] LED on the front panel and [D-
VHS] indicator on the front display panel light
up and the D-VHS recording mode is enabled.
B
Select recording channel (i.LINK
input)
On the front panel:
Press [CHANNEL +] or [–] to select “I-1” etc.
On the Remote:
Press [TV/VCR CH +] or [–] to select “I-1” etc.
•
Set “LINC” to “AUTO”. (A page 70)
C
Set timer program on the Inte-
grated HDTV source
•
Confirm that a link has been established
between this VCR and the Integrated HDTV.
•
Set the recording speed to “AUTO” if this option
is available.
•
For timer programming method, refer to the
manual of the Integrated HDTV.
D
Engage recording standby mode
Press [POWER] to turn off the VCR.
•
The Integrated HDTV will activate the VCR to
automatically start recording through i.LINK at
the programmed time.
•
The VCR may not record a short portion at the
beginning of the program, to ensure full
recording of the program, turn on the VCR
slightly before the programmed time.
•
Turn on the VCR and the TV (and/or Digital Set Top
Box).
•
Set the [VCR/TV/CABLE/DBS] selector on the
Remote to [VCR].
A
B
D
D
B
VCR
TV
CABLE
/DBS
HM-DH5U_Eng.fm Page 48 Wednesday, June 2, 2004 12:43 PM
(X:100.0%, Y:100.0%)
Created with Grafikhuset CMYK PDF Creator for keiji tanaka at Sanwa Document Services P/L.