Dbs receiver brand setting, Multi-brand remote control (cont.) – JVC SR-VDA300U User Manual
Page 62
62
EN
MULTI-BRAND REMOTE CONTROL (cont.)
This Remote can control some functions of the DBS
(Direct Broadcast Satellite) receivers listed below.
1
Turn on the DBS receiver
Turn on the DBS receiver using the Power button
on the DBS receiver or its Remote.
2
Set remote operation mode
Set the VCR/TV/CABLE/DBS selector to “CABLE/
DBS”.
3
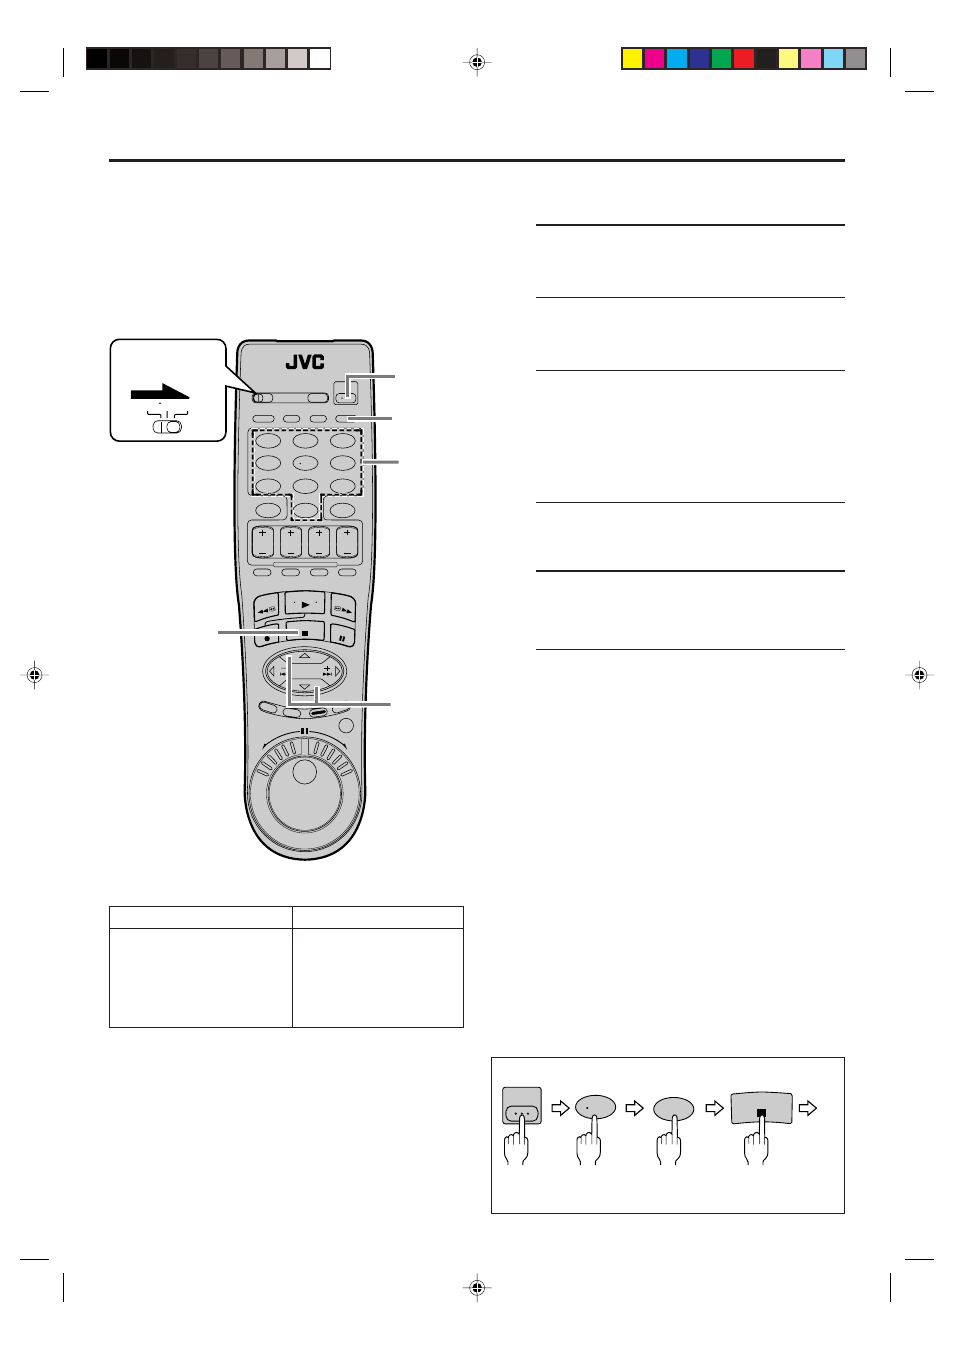
Enter DBS receiver brand code
Follow the example shown below.
1 Press and hold POWER.
2 Press the Number keys to enter your DBS
receiver’s brand code by referring to the table
below.
3 Press STOP (
7 ), and release POWER.
● Once you have set the Remote to operate the
DBS receiver, you do not have to set it until you
replace the batteries from the Remote.
4
Operate DBS receiver
First set the VCR/TV/CABLE/DBS selector to
“CABLE/DBS”, then press one of the following
buttons: POWER, TV CH +/–, and Number keys.
● For some brands, you must press ENTER after
having pressed the Number keys to enter a
channel number.
● To change the DBS receiver’s channels, press
TV CH +/– or the Number keys. (The CH +/–
button can be used to change the VCR’s
channels only.)
● To operate the VCR, set the VCR/TV/CABLE/
DBS selector back to “VCR”.
NOTES:
●
Depending on the type of DBS receiver, some or all functions
cannot be operated using this Remote.
●
It’s not possible to operate a DBS receiver not equipped with
a remote sensor.
●
It's not possible to set the Remote for both your DBS receiver
and a cable box at the same time. You can only set the
Remote to operate one of these units at a time.
DBS BRAND NAME
BRAND CODE
JVC (DISH Network)
51
ECHOSTAR (DISH Network)
51
PRIMESTAR
50
SONY (DSS)
41
RCA (DSS)
40
(Ex.) To set the Remote to JVC 51:
Release
Hold
down
Press in succession
DBS Receiver
Brand Setting
STOP
. , ?
1
JKL
5
POWER
1
2
3
4
5
6
7
8
9
0
VCR TV CABLE/DBS
3
–2
Number
TV CH +/–
ENTER
2
3
–3
POWER
3
–1 3
VDA300U-EN56-63
03.3.12, 4:29 PM
62