JVC SR-VDA300U User Manual
Page 59
EN
59
1
2
3
4
5
6
7
8
9
0
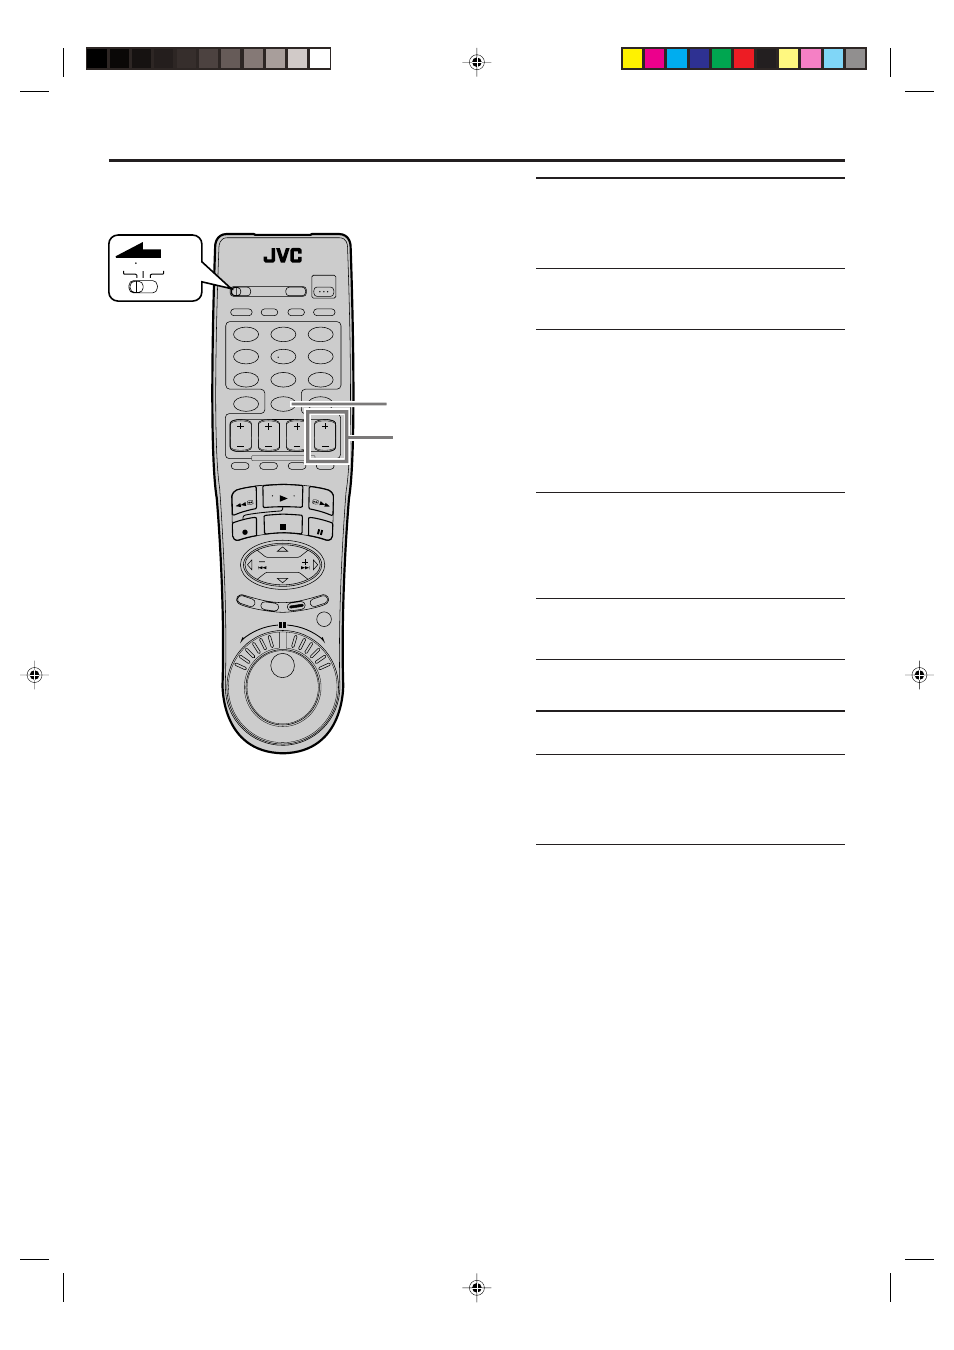
VCR TV CABLE/DBS
3
3
2
Load cassettes
Insert the playback cassette into the playback
VCR and the cassette to be recorded on into the
recording VCR.
3
Select input mode on recording VCR
Select the correct external input on the other
VCR.
● On this VCR (when using this VCR as the
recording VCR);
L-1 or L-2 — when connecting the other VCR
to the audio/video input
connectors or the rear panel.
F-1
— when connecting the other VCR
to the audio/video input
connectors on the front panel.
Press the Number key “0 (AUX)” or CH +/–.
NOTES:
●
When using this VCR as the recording VCR, set the
video input terminal setting correctly (
੬
pg. 57).
●
When using this VCR as the playback VCR for
editing, set “DIGITAL R3” to “OFF” (
੬
pg. 49).
4
Select edit mode
Set the edit mode to “ON” for the VCRs if such a
mode is equipped.
● On this VCR, set “PICTURE CONTROL” to
“EDIT” (
੬
pg. 49).
5
Start playback
Press PLAY (
3 ) on the playback VCR.
NOTE:
If the playback VCR is equipped with a superimpose/
OSD disable feature then set it to “OFF” before starting
playback (
੬
pg. 52).
6
Start recording
Press REC (
¶ ) on the recording VCR.
NOTE:
Be sure to select “AUTO” for “PICTURE CONTROL” (or
“NORM” when “V, CALIBRATION” is set to “OFF”) after you
finish dubbing the tapes (
੬
pg. 49).
VDA300U-EN56-63
03.3.12, 4:29 PM
59