Self-timer, Pg. 43) is disabled, Pg. 43) – JVC GR-DV801 User Manual
Page 43: Motor drive mode, Ad v a nced fe a ture s
EN
43
Master Page: Right
● If Program AE with special effects (੬ pg. 33) is
engaged, certain modes of Program AE with
special effects are disabled during Snapshot
recording. In such a case, the icon blinks.
● If SNAPSHOT is pressed when “DIS” is set to
੬ pg. 36), the Stabilizer will be disabled.
● During playback as well, all snapshot modes
except Nega mode are available when
“
COPY” is set to “OFF” in VIDEO Menu.
੬ pg. 40) However, the shutter sound is not
heard.
● During Snapshot recording, the image displayed
in the viewfinder may be partially missing.
However, there is no effect in the recorded image.
● When a cable is connected to the AV connector,
the shutter sound is not heard from the speaker,
however it is recorded onto the tape.
Motor Drive Mode
Keeping SNAPSHOT pressed in step 5 provides an
effect similar to serial photography. (Interval
between still images: approx. 1 second)
● The Motor Drive mode is disabled when “REC
SELECT” is set to “
/
Once the camcorder is set, the camcorder operator
can become part of the scene in a more natural way,
adding the final touch to a memorable picture.
1
Set the Power Switch to “M” while pressing down
the Lock Button located on the switch.
2
Open the LCD monitor fully, or pull out the
viewfinder fully.
● You can tilt the LCD monitor upward to 180°
so that it faces forward and view yourself while
self-recording with the viewfinder pushed
back.
3
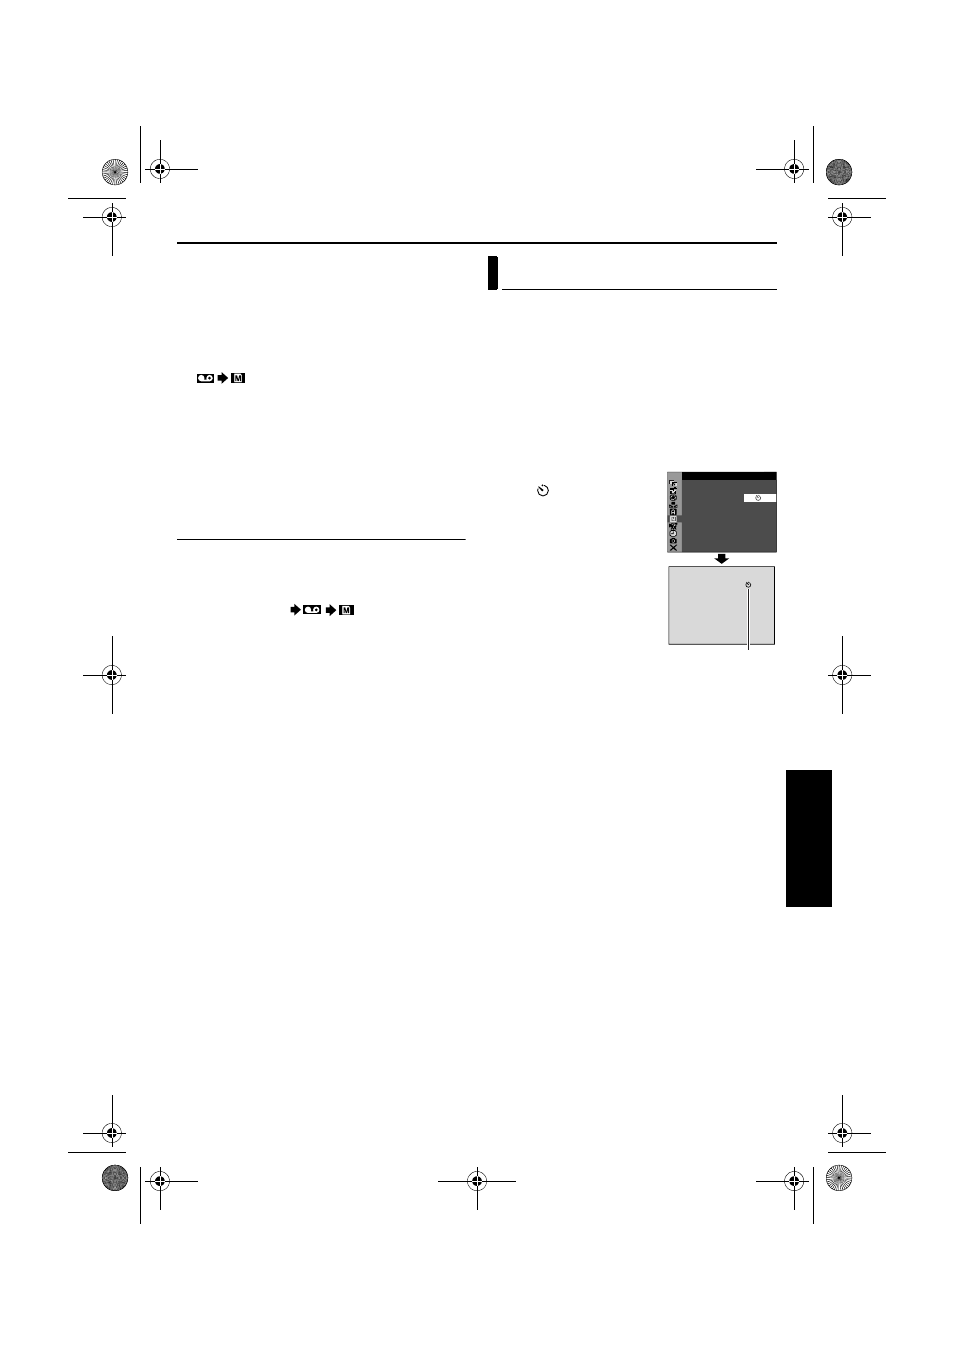
Set “SELF-TIMER” to
“ON
”. (
4
To engage the Self-Timer
for video recording, press
the Recording Start/Stop
Button.
● After 15 seconds, the
beep sounds and video
recording starts.
5
To stop Self-Timer
recording, press the
Recording Start/Stop
Button again.
● The camcorder re-enters
Record-Standby mode.
OR
5
Press SNAPSHOT.
● After 15 seconds, the beep sounds and
snapshot recording starts. After that, the
camcorder re-enters Record-Standby mode.
6
To end Self-Timer recording, select “OFF” in
step 3.
Self-Timer
NU
L
MA
A
O
ME
L
– T I
SE F
R
F
F
–
N
RETUR
ON
Self-Timer indication
CONTINUED ON NEXT PAGE
GR-DV801US.book Page 43 Wednesday, January 22, 2003 5:39 PM