Select band, Input channel, Enter new channel information – JVC HR-J260EU User Manual
Page 30: Close confirmation screen, Access main menu, Access confirmation screen, Select position, Subsidiary settings (cont.), Storing channels manually
30
EN
1
2
3
4
5
6
7
8
9
0
2
4
1
3
?
SUBSIDIARY SETTINGS (cont.)
NUMBER
Storing Channels Manually
Store channels that were not stored during Auto Set Up (
੬
pg.
4), Preset Download (
੬
pg. 6) or Auto Channel Set (
੬
pg. 28).
SELECT BAND
4
Press
%fi to change the
band between CH (regular)
and CC (cable), then
press
#
.
INPUT CHANNEL
5
Press the NUMBER keys to input the channel number you
want to store.
● Input "0" before any single number entries.
● To input the registered station name (ID –
੬
pg. 33),
press
#
until "----" (ID setting) begins blinking, then
press
%fi.
● For fine tuning adjustment, press
#
until "+/–" begins
blinking, then press
%fi. While tuning, "+" or "–"
appears.
ENTER NEW CHANNEL
INFORMATION
6
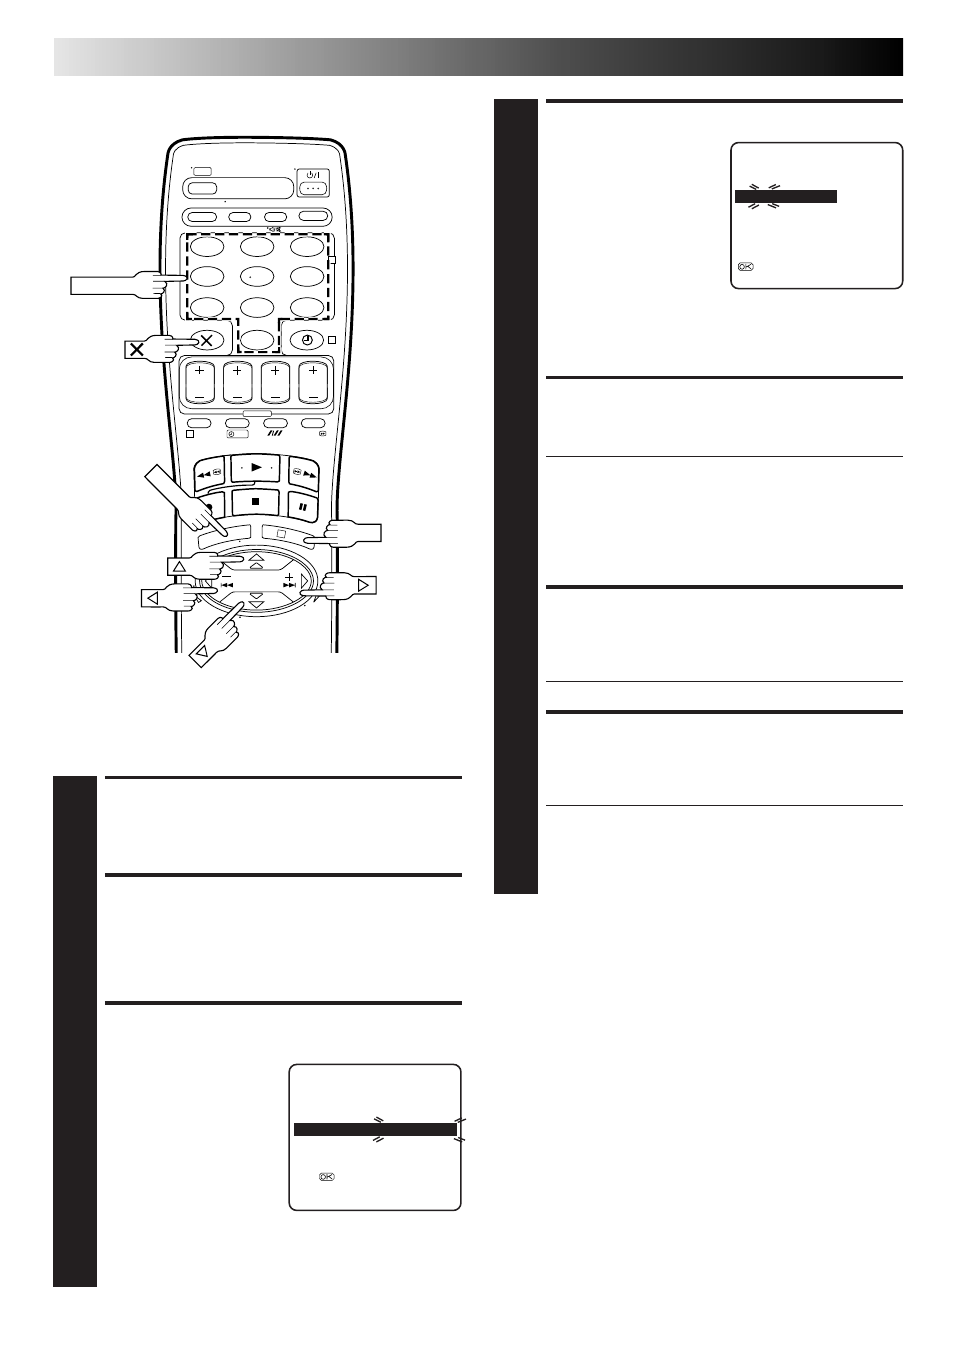
Press OK and the Confirmation screen appears.
● Repeat steps 3 through 6 as necessary.
CLOSE CONFIRMATION
SCREEN
7
Press MENU.
● To change positions, see "Change Station Channel
Position" (
੬
pg. 31).
● If you wish to set station names other than the ones
registered in your recorder,
੬
"Set Stations (B)" on
page 32.
The blueback screen and the
programme currently being
broadcast by the selected channel
appear alternately for 8 seconds
each.
The blueback screen and the
programme currently being
broadcast by the selected channel
appear alternately for 8 seconds
each.
ACCESS MAIN MENU
1
Press MENU.
ACCESS CONFIRMATION
SCREEN
2
Press
%fi to move the highlight bar (pointer) to
"MANUAL CH SET", then press OK or
#
. The Confirma-
tion screen appears.
SELECT POSITION
3
Press
%fi
@ #
until an
open position in which
you want to store a
channel begins blinking,
then press OK. The
Manual Channel Set
screen appears.
(Ex.) To store in position 12.
∞
∞
PR
CH
ID
PR
CH
ID
01
25 – – – –
08
C26 – – – –
02 CDB – – – –
09
55 – – – –
03
10
– – – –
10
C24 – – – –
04 C65
– – – –
11
C23 – – – –
05 C31
– – – –
12
– – – –
06 C32
– – – –
13
– – – –
07 C33
– – – –
14
– – – –
[
5∞ ]
=
: EDIT
= [X] : DELETE
[MENU] : EXIT
PR CH
ID
FINE
12 CH01 – – – – +/–
[
5∞] : SELECT
[
] : CURSOR +=
: OK
[MENU] : EXIT
∞
∞
OK
MENU