Perform auto channel set, View confirmation screen, Return to normal screen – JVC HR-J260EU User Manual
Page 29: Important
EN
29
PERFORM AUTO CHANNEL
SET
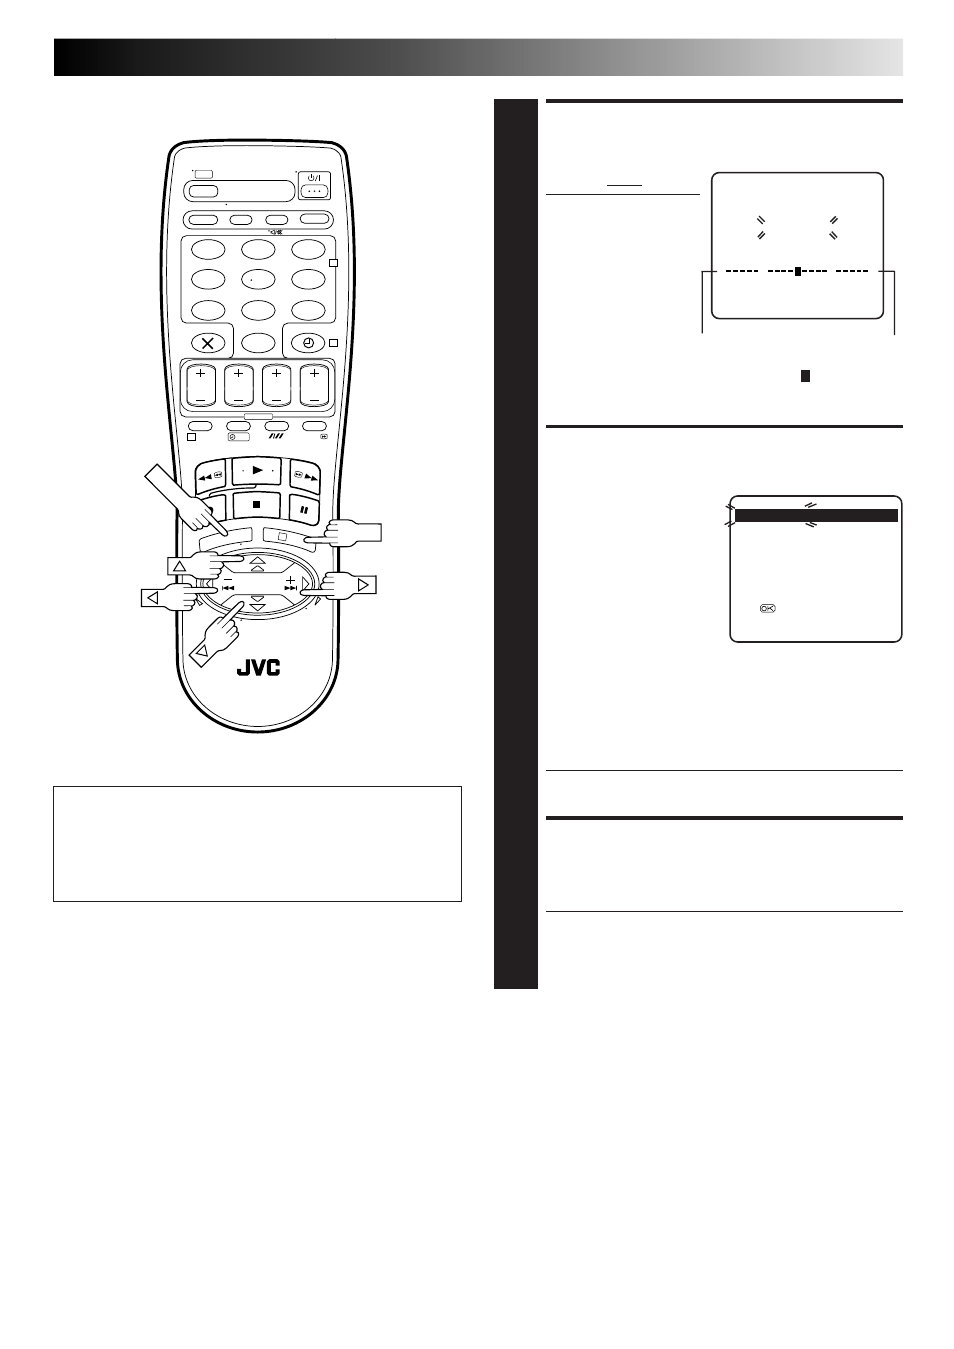
6
Press OK twice.
● You can set up the
recorder's tuner also
by Preset Download
(
੬
pg. 6).
● The Auto Set screen
appears, and remains
on screen while the
recorder searches
for receivable
stations.
As Auto Channel Set progresses, the " " mark on the
screen moves from left to right.
Wait until the screen as shown in step 7 appears.
VIEW CONFIRMATION
SCREEN
7
After "SCAN COMPLETED"
is displayed on the screen
for about 5 seconds, the
Confirmation screen
looking like the one to the
right appears. The stations
your recorder located
appear on a Confirmation
screen — channel
positions (PR) and
channels (CH).
The blueback screen and the programme currently
being broadcast by the blinking station appear
alternately for 8 seconds each.
To view the next page, use the
%fi
@ #
button on the
remote control.
● The stations located in the selected country appear at
the top of the list.
RETURN TO NORMAL
SCREEN
8
Press MENU.
● Using the Confirmation screen, you can skip or add
channel positions, enter station names and perform
other operations. Refer to pages 30 – 33 for the
procedures.
IMPORTANT
Your video recorder memorizes all detected stations even if
reception of some of them is poor. In these cases picture
quality may be poor. To delete those stations with an
unacceptable picture
੬
"Delete A Channel" on page 31.
NOTES:
●
Fine tuning is performed automatically during Auto Channel
Set. If you want to perform it manually, refer to page 32.
●
If you perform Auto Channel Set when the aerial cable is not
connected properly, "SCAN COMPLETED -NO SIGNAL-"
appears on the screen in step 7. When this happens, make
sure of the aerial connection and press OK; Auto Channel Set
will take place again.
1
2
3
4
5
6
7
8
9
0
2
4
1
3
?
C: Cable
0
+
+
+
End
Beginning
OK
MENU
AUTO SET
PLEASE WAIT
[MENU] : EXIT
PR
CH
ID
PR
CH
ID
01
25
– – – –
08
C26 – – – –
02 C08 – – – –
09
55 – – – –
03
10
– – – –
10
C24 – – – –
04 C65 – – – –
11
C23 – – – –
05 C31 – – – –
12
– – – –
06 C32 – – – –
13
– – – –
07 C33 – – – –
14
– – – –
[
5∞ ]
=
: EDIT
= [X] : DELETE
[MENU] : EXIT
∞
∞