Installation and initial setup – Marshall electronic V-R1041DP-AFHD User Manual
Page 5
5
Installation and Initial Setup
■ Unpacking
Carefully unpack the V-R1041DP-AFHD monitor and verify that the following items are included:
• V-R1041DP-AFHD Monitor
• V-PS12-5V-XLR Power Supply with 4-Pin XLR Connector
• Operating Instructions
Inspect the unit for any physical damage that may have occurred during shipping. Should there be any damage,
immediately contact Marshall Electronics at (800) 800-6608. If you are not located within the continental United States,
call +1 (310) 333-0606.
■ Installation
The V-R1041DP-AFHD monitor is shipped with a ¼”-20 mounting bracket on the bottom side, allowing the monitor to
be flexibly mounted to a camera or other device using a variety of mounts. This ¼”-20 mounting bracket can also be
attached to any side of the monitor.
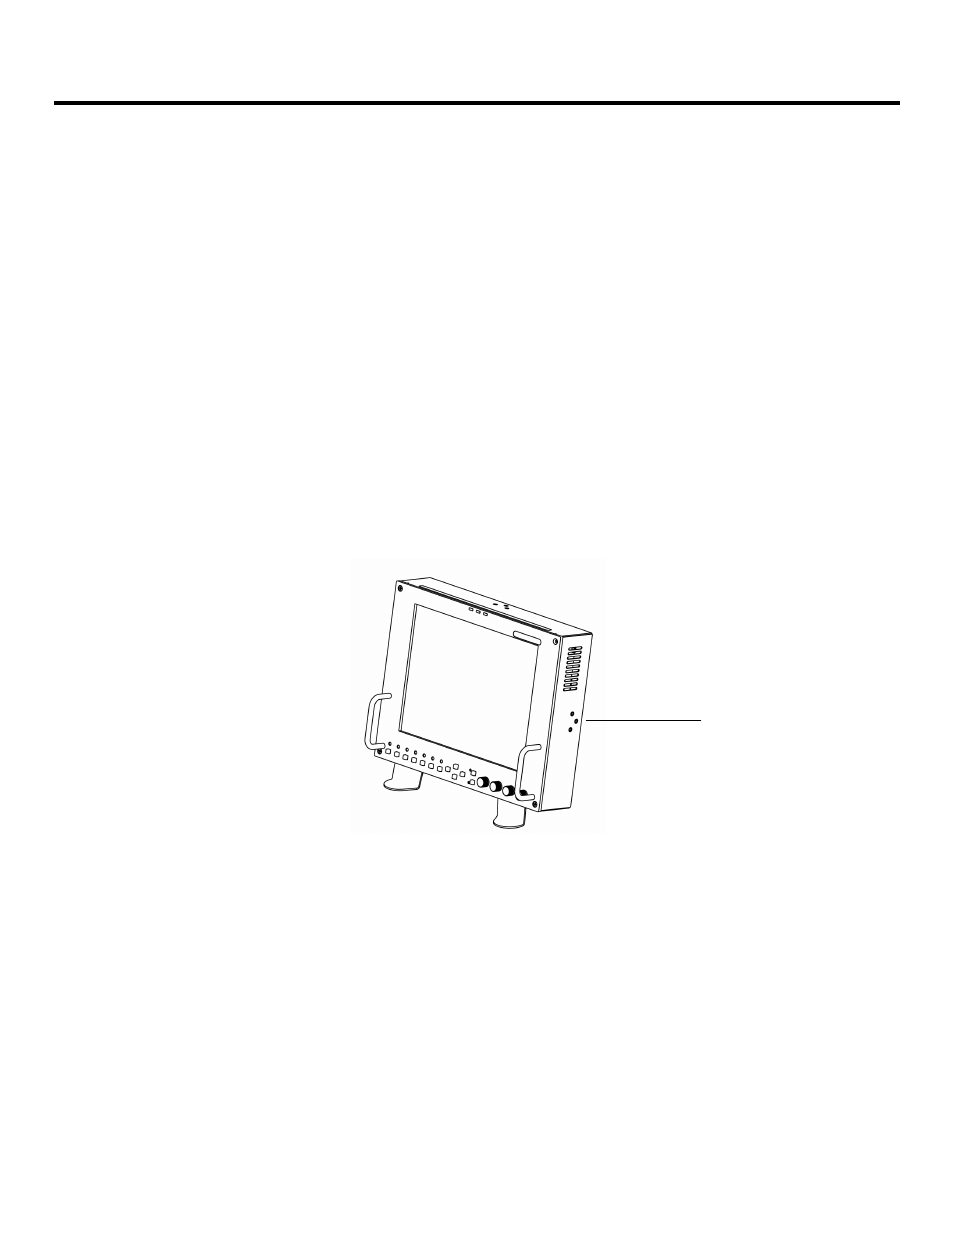
Alternately, the V-R1041DP-AFHD can be used in a desktop configuration with optional stand (Marshall part number
VP-0113-DS-A), or mounted in 19” inch rack with optional adapter (Marshall part number V-R104-1M).
■ Connections and Power-On
Plug the V-PS12-5V-XLR power supply into an AC power source (100-240 V @ 50/60 Hz). Attach the 4-pin XLR
connector to the back of the monitor. Please note that 12VDC can be also supplied directly to the monitor from a
variety of sources. The monitor will draw approximately 2 Amps at 12 Volts in operation.
Connect the required cables for video signal input and output. (Power must be applied to the V-R1041DP-AFHD for the
active loop-though outputs to be activated.) All BNC connectors are rated at 75
Ω.
Turn on the unit by pressing the power button located on the front panel. Select a video input by pressing the
corresponding input select button.
V-R1041DP-AFHD with optional desktop stand
¼”-20 Mounting Bracket
can also be attached to
any side of the monitor