Erasing – Olympus VN-750 User Manual
Page 6
6
EN
Changing the playback speed
1 Press the
`OK button to start
playback.
2 Press the
`OK button again to open
the playback speed adjustment
display.
3 Press the + or − button to adjust
the playback speed.
[1.0 PLAy]: Playback at normal
speed.
[0.5 PLAy] – [0.9 PLAy]: Playback
speed slows down.
[1.1 PLAy] – [2.0 PLAy]: Playback
speed becomes faster.
4 Press the
`OK button to complete
the setting.
• If you leave the recorder for
3 seconds, the setting will be
applied and the recorder will
return back to the original screen.
"
• Even if playback is stopped, the
changed playback speed will be
retained. The next playback will be
at that speed.
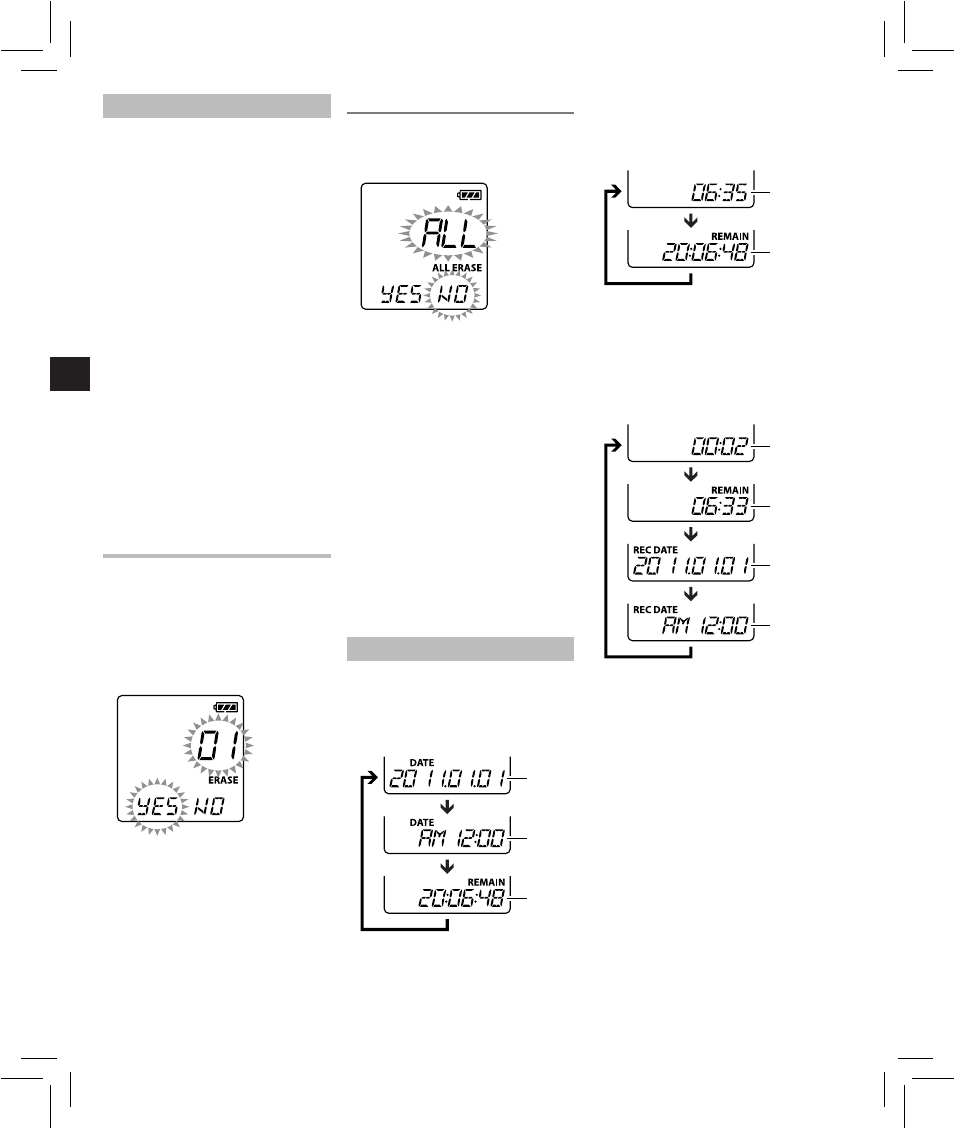
Erasing
1 Select the file you want to erase.
2 While the recorder is during stop
mode, press the ERASE button.
• File number and [NO] will flash
on the display.
3 Press the
0 button to select
[yES].
4 Press the
`OK button.
• Erasing begins and [ERASE]
flashes on the display.
Erasing all files:
1 While the recorder is during stop
mode, press the
ERASE button.
2 Press the ERASE button again.
• [ALL] and [NO] will flash on the
display.
3 Press the
0 button to select
[yES].
4 Press the
`OK button.
• Erasing begins and [ERASE]
flashes on the display.
"
• If an action is not selected within 8
seconds, the recorder will return to
stop mode.
• It may take over 10 seconds to
complete processing. Never
remove batteries during this time
because data may be corrupted.
In addition, carefully check the
remaining battery level in order to
ensure that the battery will not run
out while processing.
LCD display information
While the recorder is during stop
mode, pressing and holding the
STOP (
4) button will make the
display switch information in the
following order:
1
2
3
1 Current date
2 Current time
3 Remaining recording time
While the recorder is during recording
mode, pressing the DISPLAY
button will make the display switch
information in the following order:
1
2
1 Elapsed recording time
2 Remaining recording time
While the recorder is during stop
mode or playback mode, pressing the
DISPLAY button will make the display
switch information in the following
order:
1
2
3
4
1 Count up
2 Count down
3 Recording date
4 Recording time